
Free Shipping in the USA on nearly all items!
Limited phone hours during the Holidays! Call us: 888-611-9305
Free Shipping in the USA on nearly ALL items! Limited phone hours during the Holidays!

Under- and inter-canopy LED supplementation, paired with basic canopy management, is the most reliable way to reduce canopy shadows and restore usable light to lower bud sites. Peer-reviewed trials show inter-canopy lighting boosting dry yield by nearly 30%, and LedGrowLightsDepot’s proximity-based fixtures report yield gains over 20% in the field. Expect a real tradeoff between added energy draw and canopy gain. This guide covers measurement, fixture choice, and tuning.
TL;DR:
- Inter-canopy lighting can boost dry yield by nearly 30%, with field gains over 20%, but requires proper fixture size, placement, and spectrum for maximum effectiveness.
- Measuring baseline PPFD at multiple points helps identify shadowing issues; drops beyond 60-70% from top to bottom signal a need for supplemental light.
- Combining top and intra-canopy fixtures yields the best results, especially for tall or heavily trained plants, but must be paired with defoliation and training for optimal light penetration.
- Fixture efficacy in micromoles per joule determines the actual usable light delivered, with higher efficiency fixtures providing more return on electrical investment.
- Remeasure canopy light every two weeks and after defoliation to maintain even light distribution, adjusting fixture placement or dimming as needed.
Top-only lighting creates a steep drop in usable light from the top of the canopy down to the lowest bud sites. Photosynthetic photon flux density (PPFD) at the apical zone might read 1,000 µmol/m²/s while the basal layer sees a fraction of that, starved by leaves and stems stacked overhead. That gradient does not just dim the lower canopy. It changes how the plant allocates resources, often producing smaller, less potent lower buds and uneven ripening across a single plant.
Trial data backs this up directly. Supplying light from beneath or within the canopy homogenizes PAR through the plant, lifting basal and middle-canopy readings close to apical levels. Separate greenhouse trials on tomato found intra-canopy lighting alone raised fruit yield by a notable increase compared to no supplemental light, and combining top and intra-canopy fixtures produced the largest gains.
Two things make LED fixtures the practical answer here:
You cannot fix what you have not measured. Grab a quantum PAR meter and build a simple three-tier grid: apical, middle, and basal readings, each taken at center and at the canopy edge. That gives you six data points minimum per plant row.
Common patterns tell their own story. A hot spot directly under one fixture with dark corners points to poor centering or dirty reflective walls. A steady edge drop-off across the whole tent usually means the fixture footprint is too small for the space. Uneven basal readings from plant to plant often trace back to inconsistent training height rather than the light itself.
Pro Tip: Take your basal readings again after any defoliation pass. Removing fan leaves changes the shadow map immediately, and growers who skip the re-check often end up over-lighting a canopy that just opened up on its own.
Subcanopy lighting (SCL) sits below the canopy pointing upward, typically at floor or bench level. Inter-canopy lighting (ICL) mounts within the canopy itself, usually on vertical bars threaded between plants at mid-height. Both aim at the same shadow problem from different angles, and the trial data shows they are not interchangeable.
Lighting alone will not solve a canopy that is simply too dense. Pair whichever under-canopy strategy you choose with defoliation of shading fan leaves, lollipopping the lowest weak growth sites, and light training (LST) to open gaps for the new fixtures to actually reach tissue. A commercial rack running four-tier ICL bars still needs the same defoliation discipline as a single home tent, just multiplied across more plants.
Mounting geometry decides whether your new fixture helps or just adds heat. Bars mounted vertically between plants should sit roughly 4 to 8 inches from the nearest leaf surface, adjusted as the canopy fills in. Flood-style SCL units on the floor usually want 12 to 18 inches of clearance to avoid direct leaf contact while still reaching basal nodes.
Before buying, check three numbers on the spec sheet: efficacy in µmol per joule (higher means more usable light per watt), beam spread (narrow beams suit tight bar installs, wide beams suit floor floods), and IP rating (look for IP65 or better in any tent running humidity above 60%).
A spectrum with a meaningful blue fraction is worth prioritizing for under-canopy fixtures specifically, since blue light enrichment improves stomatal opening and CO2 assimilation in shaded leaves, which matters more at the basal level than up top where blue is already abundant.
On maintenance: keep drivers mounted outside the direct splash zone in humid rooms, wipe fixture lenses monthly to prevent dust from cutting output, and re-check IP-rated seals any time you move a fixture. Underspecified fixtures without proper optics or thermal design are one of the most expensive mistakes growers make when adding under-canopy power, since raw wattage without distribution just creates a new hot spot instead of solving the shadow.
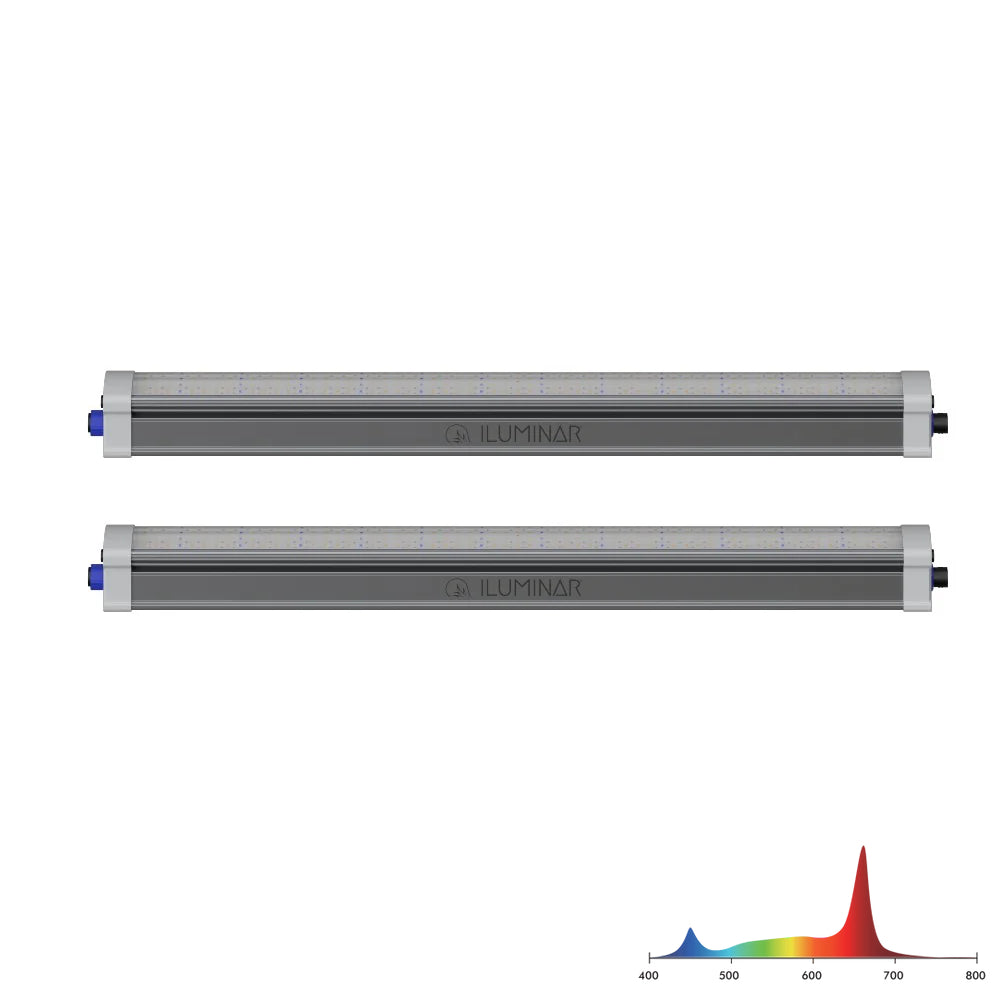
Fixture efficacy, measured in µmol per joule, matters more than the wattage printed on the box. A 100 watt fixture at 2.5 µmol/J delivers meaningfully more usable light than a 100 watt fixture at 1.8 µmol/J, for the same electricity bill.
Industry modeling frames the decision as a simple photon math problem: added watts convert to added moles of light delivered to the canopy over a day, and those moles convert to incremental grams at harvest, when efficacy and distribution are handled correctly. Because lower canopy tissue is often already fed and rooted but simply starved of light, a modest photon increase there tends to punch above its weight compared to the same photons added at the top, where light is already saturating.
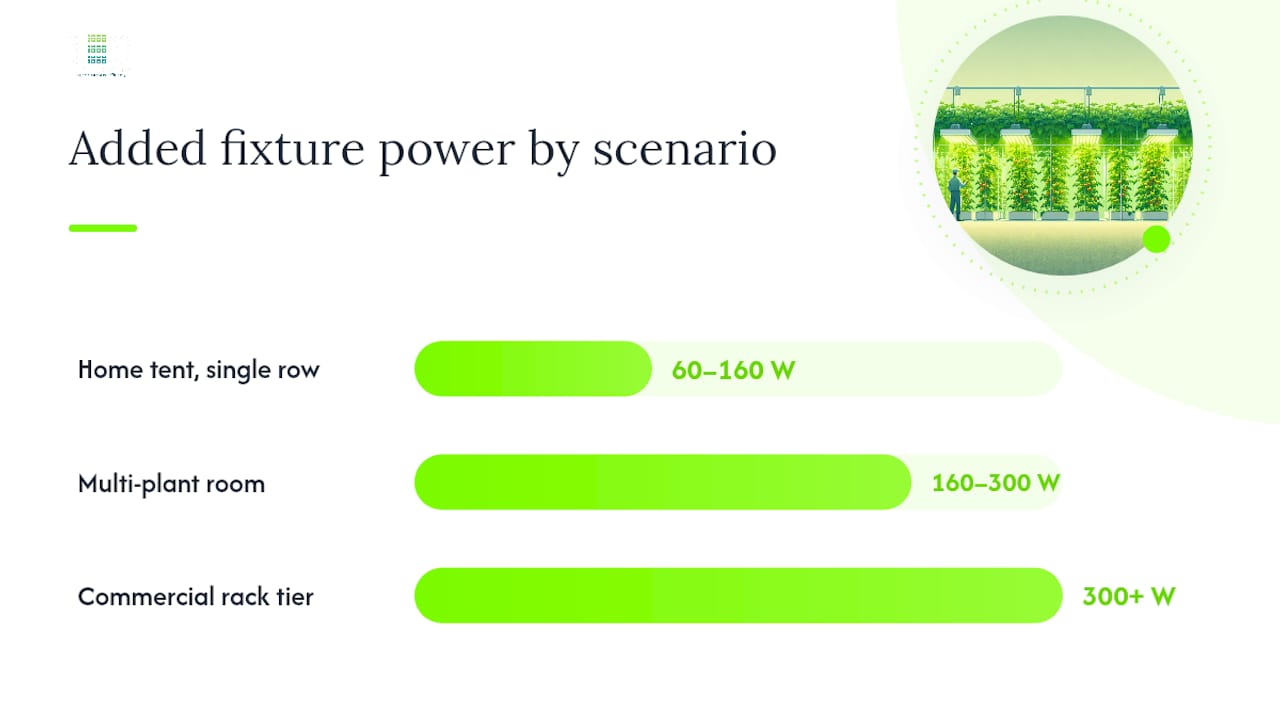
| Scenario | Added fixture power | Efficacy target | What it buys |
|---|---|---|---|
| Home tent, single row | 60 to 160 watts | low- to mid-2 µmol/J | Fills basal gap in one row |
| Multi-plant room | 160 to 300 watts | 2.5+ µmol/J | Covers 2 to 4 canopy rows |
| Commercial rack tier | 300+ watts per tier | 2.5+ µmol/J | Standardizes yield across a full tier |
Home growers should size for the specific gap the PPFD grid revealed, not the whole tent at once. Commercial operators sizing multiple racks should treat efficacy as the first filter before comparing sticker price, since a cheaper but less efficient fixture usually costs more in electricity over a single flowering cycle than it saved at checkout.
The proximity systems LedGrowLightsDepot builds are designed around the same principle the trial data confirms: getting photons physically closer to shaded tissue beats simply adding more light at the top. Field results across LedGrowLightsDepot’s customer base show yield increases over 20% when under-canopy fixtures are matched correctly to the space, backed by a 4.8 out of 5 satisfaction rating across more than 5,800 reviews.
Three mistakes show up again and again. Growers undersize the fixture, buying one small bar to cover a whole commercial row and wondering why the far corners stay dark. Growers ignore beam distribution, assuming any LED close to the canopy will do, when a narrow beam pointed at one gap leaves the rest of the tier untouched. And growers skip IP-rated housings in a humid flowering room, then deal with a failed driver mid-cycle.
Remeasure your PPFD grid every two weeks through flowering, not just once at installation. Canopies change shape fast enough that a fixture dialed in during week two is often poorly aimed by week five.
— Scott
Picking the right fixture comes down to your canopy’s shape and how much of it needs light, not just your budget. LedGrowLightsDepot carries three distinct options built for different shadow problems, each solving the gap the trial data above points to directly.
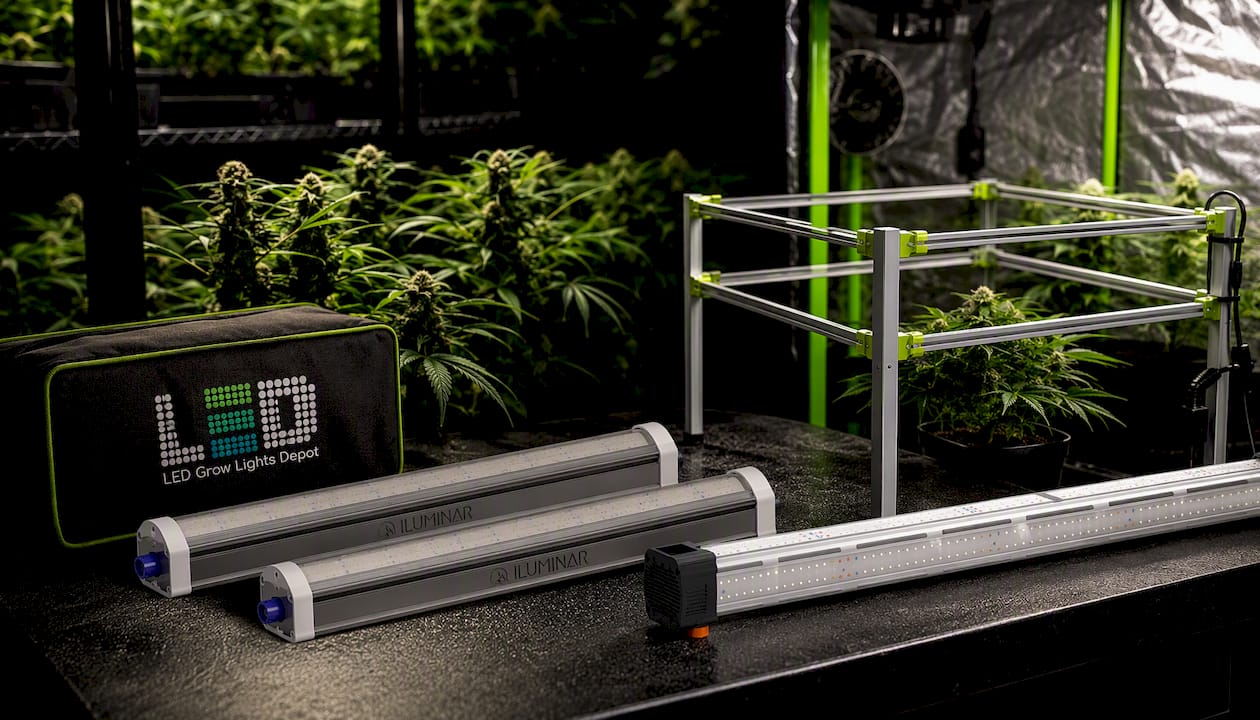
For a compact tent or bench row, the ILUMINAR 160W Under Canopy Light FS-Spectrum (2-Pack) delivers a full spectrum floor-level fix without the footprint of a larger system. If you’re running several separate zones that each need their own dialed-in intensity, the PROXIMITY Cube Lighting System gives you modular, focused coverage you can place exactly where the shadow map shows a gap. Taller plants or commercial rack tiers benefit most from a true inter-canopy bar, and the ThinkGrow Model One 4’ Inner Canopy LED Bar (ICL-300) with its built-in 120W driver mounts directly between plants at mid-height.
Before you buy, run through the same checklist covered above: confirm µmol/J efficacy, beam spread suited to your row width, an IP rating matched to your room’s humidity, and mounting hardware that fits your existing structure. Browse the full under-canopy grow lights collection or the top lighting range if you’re still building out your primary fixture, or start from the full catalog if you’d rather talk through your specific canopy layout first.
Canopy shadows form when top-only lighting cannot reach past dense upper foliage, leaving lower and middle bud sites with a fraction of the light intensity found at the top.
Yes. A controlled trial found inter-canopy lighting increased dry inflorescence yield by up to 29.95% compared to top lighting alone, and LedGrowLightsDepot’s proximity-based systems report field yield gains over 20% when matched to the right canopy layout.
Most growers target no more than 15 to 20% variation between center and edge readings at each canopy level. Wider swings usually point to fixture spacing or beam spread problems rather than plant genetics.
ICL tends to produce the largest yield and potency gains in tall or heavily trained canopies since the fixture sits within the foliage itself. SCL can be more power-efficient for shorter, denser rows where a floor-level fixture reaches the whole basal layer without extra hardware.
Remeasure every two weeks through flowering, and always after a defoliation pass, since removing leaves changes the shadow map immediately. A canopy that was well-lit at installation often needs repositioning as it fills back in.
0 of 3 items selected





Leave a comment