
Free Shipping in the USA on nearly all items!
Limited phone hours during the Holidays! Call us: 888-611-9305
Free Shipping in the USA on nearly ALL items! Limited phone hours during the Holidays!

Under-canopy lighting (UCL) reliably increases usable yield and bud quality in indoor and commercial cannabis grows when paired with proper environmental control. Growers who add purpose-built LED bars beneath the canopy consistently report:
TL;DR: The ROI case is strong. Assess your canopy depth and DLI deficit at the lower third of your plants first, then size your UCL accordingly.
Under-canopy lighting refers to supplemental LED fixtures placed below the main canopy, typically mounted on low-profile stands or horizontal bars positioned at mid-plant height or lower. The fixtures face upward, delivering PAR directly to bud sites that top lights cannot reach because the upper canopy blocks them.
In a standard top-light-only setup, the bottom third of the plant may receive only 5–10% of the PPFD that the tops receive. That is not a minor deficit. It means lower bud sites are essentially growing in the dark relative to what photosynthesis requires, and the result is the airy, underdeveloped popcorn buds that growers spend hours removing.
Top lighting vs. UCL vs. interlighting serve different jobs. Top lights establish the primary DLI budget for the whole canopy. Interlighting (also called intra-canopy lighting) places fixtures inside the canopy at mid-height, targeting the middle zone. UCL sits below the canopy and fires upward, targeting the lowest bud sites and the underside of mid-canopy leaves. The distinction matters for placement, fixture ratings, and PPFD targets. Understanding canopy light distribution principles helps you size each layer correctly.
Pro Tip: A simple smartphone PAR meter app won’t cut it for UCL planning. Use a calibrated quantum sensor at node height — measure three to five points across the lower canopy before you buy a single fixture. That map tells you exactly how deep your deficit is.
The headline benefit is yield, but the economics get more interesting when you look at what UCL does to grade distribution.
Industry reports commonly cite 20–35% increases in dry bud weight from under-canopy lighting when combined with optimized CO₂, VPD, and nutrient programs. At typical wholesale prices, the difference on a commercial canopy can be economically significant, justifying a pilot run.
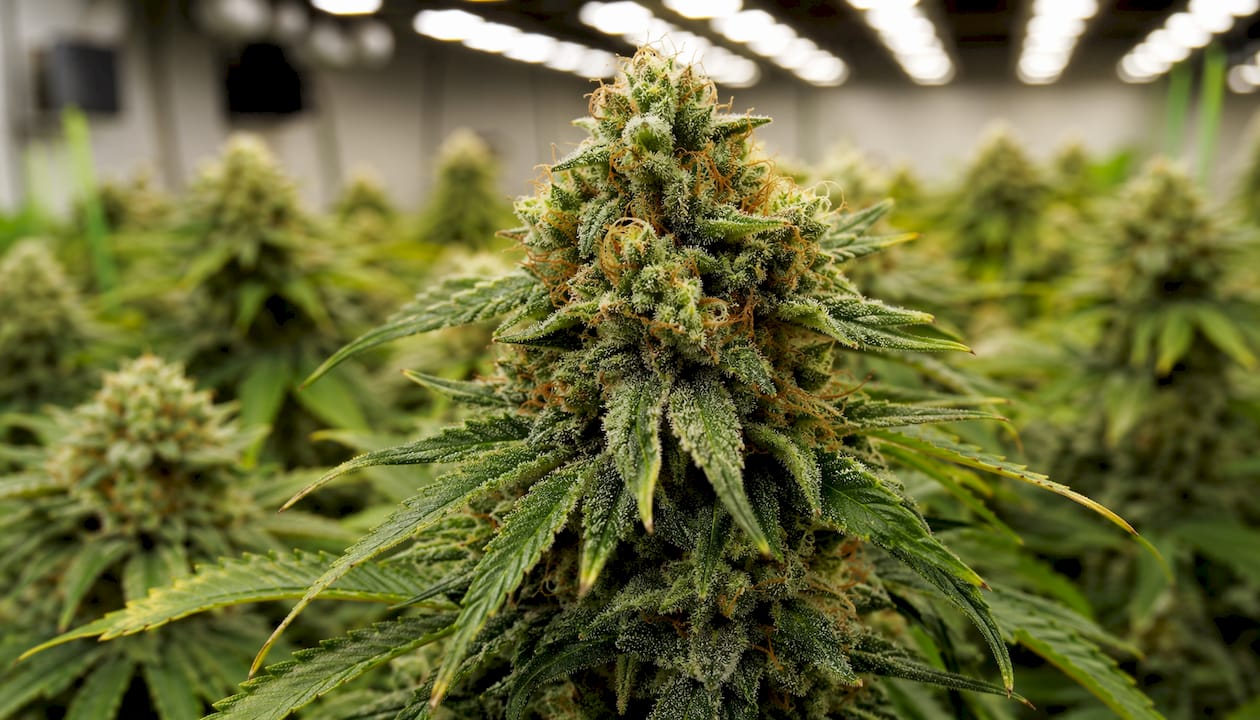
This is the benefit most growers don’t anticipate. Lower buds that receive adequate supplemental PAR can match top colas in THC and terpene concentrations. That changes your grade distribution significantly. Flower that previously sorted as C-tier trim or low-value biomass moves into the B or even A tier, and the revenue per pound on that material jumps accordingly.
Adding UCL can reduce or eliminate lollipopping entirely in some operations, because the lower sites that would have been stripped develop into usable flower instead. For a commercial facility running 10 or more rooms, the labor savings alone can justify the fixture cost within a single cycle.
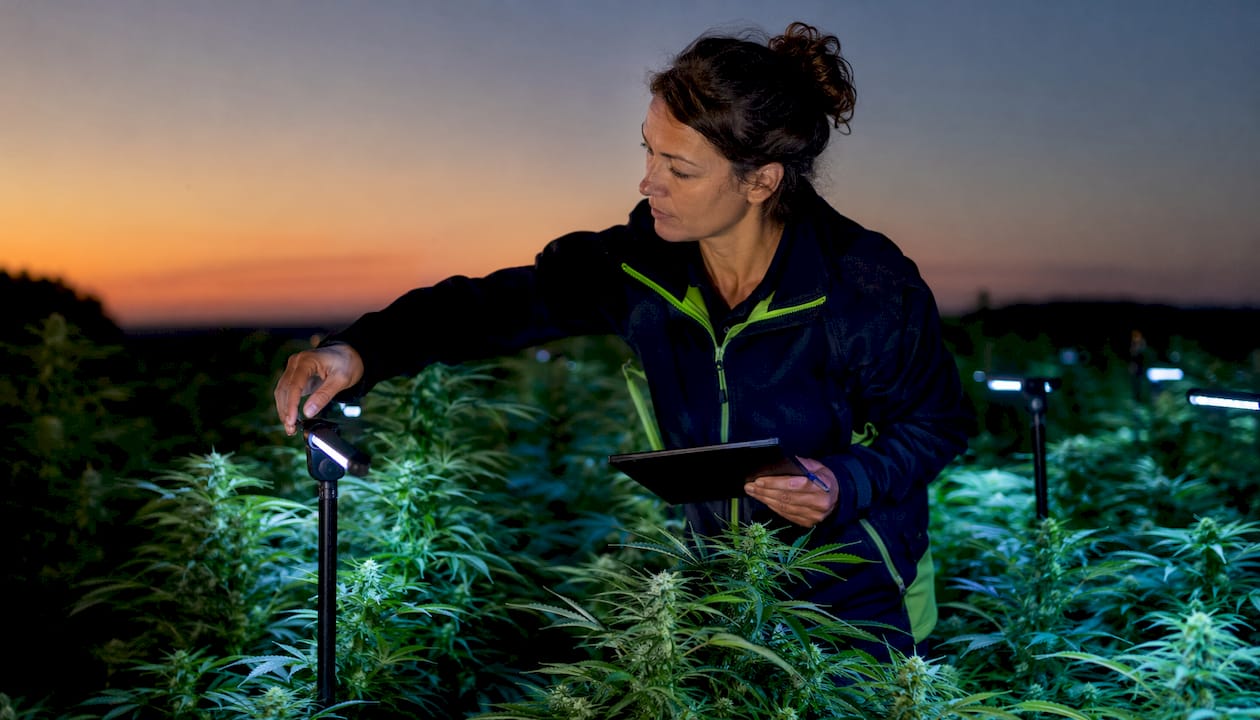
UCL also reduces stem elongation by providing bidirectional light, which discourages the plant from stretching aggressively toward a single overhead source. The result is a sturdier, more uniform plant structure with more consistent trichome coverage from top to bottom.
Key dependency factors: Benefits are largest in high-density rooms with deep canopies, genetics that produce long internodal spacing, and facilities already running elevated CO₂ (1,000–1,500 ppm), tight VPD (0.8–1.2 kPa in flower), and full nutrient programs. UCL on top of a poorly controlled environment will underperform.
Timing matters more than most growers expect. Adding UCL too early wastes energy on vegetative tissue that doesn’t need it; adding it too late means you’ve already lost weeks of lower-bud development.
The standard recommendation: activate UCL in early-to-mid flower, typically around day 14–21 after the flip. Some vendors suggest a staggered approach, activating around day 16 and then adjusting intensity at day 19–21 to balance energy use and IPM schedules. The logic is that by day 14, bud sites are set and the plant is actively building flower structure, so supplemental PAR at the lower canopy has the most impact.
Decision checklist before you add UCL:
Operational integration: schedule UCL activation around your IPM and spray cycles. Fixtures under the canopy are directly in the spray zone. Turn them off before any foliar application, allow the canopy to dry completely, and then resume. This protects both the fixtures and reduces the humidity spike that can follow a spray event. If you’re running urban or vertical setups with tight spacing, this scheduling discipline is especially critical.
| Zone | Target PPFD (µmol/m²/s) | Mounting Distance from Bud Site | Spectrum Notes |
|---|---|---|---|
| Lower bud sites (bottom third) | 150–300 | 12 inches above substrate or pot rim | Full-spectrum or red-heavy (red wavelength emphasis) |
| Mid-canopy supplemental | 200–300 | 12–18 inches below canopy midpoint | Balanced white + red |
| Tent-scale single bar | 100–150 | 8–14 inches from lower bud sites | Full-spectrum preferred |
These ranges are starting points. PAR map your specific room after installation and adjust intensity via dimming before assuming the numbers are right for your genetics and canopy density.
Pro Tip: After installing UCL, measure leaf surface temperature at node height with an infrared thermometer, not just ambient air temperature. Low-profile upward-facing bars run cool individually, but in a high-density room with multiple bars, the microclimate at the lower canopy can shift. A delta-T of more than 2–3°F above ambient at node height is a signal to improve airflow or reduce fixture density.
Not every LED bar sold as an “under-canopy light” is actually built for the job. Here’s what to verify before purchasing.
Specification checklist:
Questions to ask suppliers:
For high-density commercial rooms, prioritize fixtures with the highest IP rating and the most flexible mounting system. For tents, a single low-profile bar with 0–10V dimming and a full-spectrum output covers most needs. The role of green light in canopy photosynthesis is worth understanding when choosing spectrum, since green wavelengths penetrate deeper into dense canopies than red or blue.
The evidence base for UCL in cannabis is now substantial enough to move beyond anecdote.
Industry white papers and grower reports frequently cite yield increases from under-canopy lighting, with new adopters typically at the lower end and optimized environments achieving higher improvements. The Thrive Agritech white paper documents labor reductions and notes that payback periods under one year are common when considering yield gains, grade improvements, and labor savings.
In high-density rooms, where the lower canopy is deepest and most light-deprived, UCL effectively doubles the productive canopy surface area. That framing, from Greenhouse Grower’s analysis of commercial UCL adoption, captures why the ROI is so compelling: you’re not adding square footage, you’re activating the square footage you already paid for.
Variability caveat: results depend heavily on genetics, environmental control quality, planting density, and how well the UCL is tuned. A strain with short internodal spacing and a naturally dense canopy will respond differently than a tall, open-structured sativa-dominant variety. Run a one-room pilot with full PAR mapping before committing to a facility-wide rollout. Measure yield and grade distribution over a complete cycle, not just a visual impression at harvest.
Most UCL failures trace back to one of four problems: wrong fixtures, wrong intensity, ignored environment, or poor scheduling.
Common mistakes:
Troubleshooting checklist:
| Symptom | Probable Cause | Quick Fix |
|---|---|---|
| Bleached or bleaching lower buds | UCL intensity too high | Dim to 50% and re-map PPFD |
| Botrytis at lower bud sites | Humidity spike from UCL heat + poor airflow | Add oscillating fans at lower canopy; increase exhaust |
| Fixture failure within one cycle | Non-rated fixture in wet zone | Replace with IP65+ or UL wet-location rated bar |
| No visible yield improvement | UCL added too late (after week 4 of flower) | Start UCL at day 14–21 next cycle |
| Uneven lower bud development | Beam angle too narrow or spacing too wide | Reposition bars; use 120°+ beam angle fixtures |
Pro Tip: Schedule UCL downtime around every IPM intervention. Before any foliar spray, turn off under-canopy fixtures, complete the application, and wait until the canopy is fully dry before reactivating. This protects fixture ratings, prevents moisture from being driven into connectors, and avoids the humidity spike that follows a wet spray in an enclosed space.
Under-canopy lighting delivers its strongest returns when fixtures are purpose-built for wet environments, activated at day 14–21 of flower, and tuned to 150–300 µmol/m²/s at lower bud sites in an already well-controlled grow environment.
| Point | Details |
|---|---|
| Yield uplift range | Reported 20–35% increases in dry bud weight under optimized CO₂, VPD, and nutrient conditions. |
| Bud quality gain | Lower buds can match top colas in THC and terpene concentration when given adequate supplemental PAR. |
| Timing matters | Activate UCL at day 14–21 of flower; earlier wastes energy, later misses critical bud development. |
| Fixture spec is non-negotiable | IP65+ or UL wet-location rating required; non-rated fixtures fail fast in the under-canopy environment. |
| Ledgrowlightsdepot recommendation | Purpose-built under-canopy LED bars with environmental controls and PAR-mapping support are available at Ledgrowlightsdepot for both tent-scale and commercial rollouts. |
Most growers add under-canopy lighting expecting a yield bump and get one. What they don’t anticipate is the grade shift. When lower buds develop properly, the sorting math changes completely. You’re not just harvesting more weight; you’re harvesting more sellable weight at a higher price per pound. That’s a different kind of ROI, and it’s the one that actually justifies the capital expense in a commercial operation.
The mistake I see most often isn’t buying the wrong fixture or setting the wrong PPFD. It’s adding UCL to a room that isn’t ready for it. If your VPD is drifting, your CO₂ is inconsistent, or your plants haven’t been trained to open the canopy, UCL won’t fix those problems. It will amplify whatever is already happening, good or bad. The growers who see 35% yield gains are the ones who treated UCL as the last layer of optimization, not the first.
For a pilot rollout, measure four things before and after: PAR at lower bud sites, DLI across the full canopy, harvest weight by grade tier, and sorting labor hours. Those four numbers tell you whether UCL is working and where to tune next. Scale to additional rooms only after one full cycle of clean data.
Getting 20–35% more usable yield from the same square footage starts with the right hardware. Ledgrowlightsdepot carries purpose-built under-canopy LED bars rated for wet-location use, along with the environmental controls you need to measure and manage the conditions that determine whether UCL actually performs.
The TrolMaster Hydro-X environmental control system with full-spectrum quantum PAR sensing gives you real-time DLI data at canopy level, so you’re not guessing whether your UCL is hitting target PPFD. Pair it with the right fixture and you have a measurable, repeatable pilot setup. Ledgrowlightsdepot holds a 4.8 out of 5 rating across more than 5,800 customer reviews, and the team provides spec data and installation guidance for both tent-scale growers and commercial facilities. Visit ledgrowlightsdepot.com to browse under-canopy fixtures, check compatibility with your existing top-light setup, or get a recommendation for a pilot kit sized to your room.
0 of 3 items selected





Leave a comment