
Free Shipping in the USA on nearly all items!
Limited phone hours during the Holidays! Call us: 888-611-9305
Free Shipping in the USA on nearly ALL items! Limited phone hours during the Holidays!

Zone a multi-room facility by production stage and canopy footprint, not by room square footage, and control transitions with a networked dimming controller instead of standalone timers, target 150–300 µmol/m²/s in propagation, 400–600 µmol/m²/s in veg, and 700–900+ µmol/m²/s in flower (higher with CO₂ enrichment), per grow light coverage guidance. Aim for a uniformity ratio above 0.7 (average to edge readings).
The USDA Plant Hardiness Zone Map tells you what grows outdoors in your region. Indoors, your own PAR meter is the only map that matters.
Effective multi-room grow facility light zoning requires stage-based PPFD targets, controller-managed dimming, and PAR-verified uniformity above 0.7 to work reliably at scale.
| Point | Details |
|---|---|
| Zone by stage and canopy | Split rooms by production stage first, then add cultivar or bench-level sub-zones as needed. |
| Hit numeric PPFD targets | Use 150–300 µmol/m²/s for propagation, 400–600 for veg, and 700–900+ for flower. |
| Verify uniformity | Measure a 5–9 point PAR grid per fixture and confirm a uniformity ratio of 0.7 or higher. |
| Coordinate with HVAC | Every 100 W of lighting adds roughly 341 BTU/hr of heat load that HVAC must absorb. |
| Upgrade with proven hardware | LedGrowLightsDepot’s Master Controller and ROI-FF 650W fixtures support the zone-level dimming and tiling strategy this guide recommends. |
Splitting your facility into lighting zones gives you independent control over photoperiod, spectrum, and intensity in each room, which is the entire point of running separate spaces instead of one giant grow. Get the zoning right and you save energy by only running flower-level intensity where flower is actually happening.
Zoning also removes the compromise that kills throughput: running veg-stage PPFD in a room that’s half veg, half flower because you couldn’t isolate the schedules. Proper zoning lets propagation, vegetative, and flowering run concurrently on different photoperiods without one stage dragging on another.
Pro Tip: Plan your lighting zones around existing HVAC boundaries and physical room separations first. Fighting your ductwork to match an ideal lighting layout costs more than adjusting the lighting plan to fit the building.
Pick the model that matches your schedule complexity and how many strains you’re running, not the model that looks cleanest on paper.
Most commercial facilities layer these. Use room-based zoning for the big separations, then apply cultivar or canopy sub-zones inside larger flower rooms where bench-level control matters.
There’s no universal answer here. A single-strain volume operation should not run the same zoning plan as a boutique multi-cultivar facility, and forcing one model onto the wrong operation shows up first as inconsistent bud grading.
Program these ranges into your controller presets as your starting KPIs, then adjust based on PAR mapping results described in The Life Cycle of a Cannabis Plant.
Convert PPFD into a daily light integral target for each stage rather than tracking instantaneous intensity alone. DLI accounts for both intensity and photoperiod length, and it’s the number that correlates more directly with biomass accumulation over a cycle.
Uniformity matters as much as the raw number. Measure PPFD at canopy height across a 5–9 point grid per fixture footprint, and aim for an average-to-edge ratio of 0.7 or higher, per commercial lighting sizing guidance. A room that averages 800 µmol/m²/s but drops to 400 at the edges isn’t hitting the target, it’s just hitting the average.
Spectrum guidance follows the same stage logic: full-spectrum white with a boosted blue fraction supports compact vegetative growth, while red-rich spectrums during flower push flowering response. Tunable-spectrum fixtures let one zone serve multiple stages without a fixture swap, which matters if your production schedule shifts seasonally. Before you raise any PPFD target for a CO₂-enriched room, confirm your HVAC can absorb the added thermal load. More light always means more heat.
Multiple smaller fixtures tiled with 10–20% overlap outperform one oversized central fixture for canopy uniformity, according to grow light sizing data. A single large fixture concentrates PPFD at the center and starves the edges no matter how bright it is.
Calculate fixture count from canopy footprint, not room footprint. Many commercial rooms achieve a majority canopy utilization once you exclude aisles and service space, so using room square footage in your fixture math may overestimate your coverage. Use fixture PPF and beam angle to set spacing, then set mounting height per the manufacturer’s spec sheet for your target PPFD.
Dense canopies and stacked racks benefit from under-canopy or interlighting fixtures placed within the canopy itself, not just above it, since upper-canopy leaves shade lower bud sites in mature plants. Dim under-canopy fixtures independently to avoid hotspots against the main canopy layer.
Pro Tip: Measure your actual canopy footprint with a tape measure before ordering fixtures. “Room size” and “canopy size” are rarely the same number, and that gap is where under-lit edges come from.
Controller-based dimming with zone-level control becomes essential once you’re running more than two rooms. Standalone timers are fine for a single tent, but they can’t hold stage-based presets, ramp sunrise/sunset transitions, or log compliance data across a facility.
Centralized master controllers give you one point of scheduling and monitoring across every zone, with better redundancy planning than a pile of independent relays. Distributed relay systems can be cheaper up front but multiply your points of failure as you scale.
Pro Tip: Prioritize DLC-certified fixtures and controllers that support remote monitoring and logging. That data trail is what makes SOP compliance and audits fast instead of a scramble.
Measure every zone with a PAR meter using a 5–9 point grid per fixture footprint, logging average, maximum, minimum, and the resulting uniformity ratio, a practice reflected in commercial coverage calculator methodology.
Document fixture model and serial number, mounting height, measurement date and time, canopy height at measurement, PPFD averages by grid point, calculated DLI, and any deviation from target. That log becomes your defense in an audit and your fastest diagnostic tool when yield drops unexpectedly.
Start with canopy footprint mapping and HVAC coordination before you order a single fixture, then move to procurement, controller integration, and validation, following the sequence outlined in multi-room lighting workflow guidance.
A small retrofit covering one to three rooms typically runs a few weeks from planning to tuned validation. A full-facility rebuild across four or more rooms stretches into months once electrical and HVAC upgrades enter the picture.
The most frequent error is calculating fixture counts from room footprint instead of canopy footprint, which leaves you under-lit at the edges no matter how good the fixture is.
Troubleshooting steps:
Call in an electrician for panel upgrades, an HVAC contractor for re-sizing, and a controls integrator for anything beyond basic zone programming.
The methodology behind any credible zoning claim starts with PAR mapping against fixture-spec PPF, not marketing copy. Sizing a zone means matching fixture output to measured canopy area, then validating with the same grid method used to document the baseline.
In one documented case, switching to proximity-based under-canopy systems improved under-canopy light distribution and reportedly delivered a notable yield increase, alongside improved bud grading. Facility teams that see gains like this document baseline PPFD readings before install and repeat the same grid pattern after, so the improvement is measurable, not anecdotal.
Electrical load planning comes first. Every additional lighting zone adds circuit demand, and undersized wiring or panel capacity is the single most common code violation inspectors flag in retrofit grow rooms. Have a licensed electrician verify circuit capacity before adding fixtures to any zone, especially when consolidating multiple rooms onto shared controller infrastructure.
DLC-certified fixtures matter for more than energy rebates. Certification confirms the fixture meets defined photometric and electrical safety benchmarks, which simplifies both insurance underwriting and utility incentive applications for commercial accounts.
Moisture and lighting don’t mix well in a grow environment running high humidity for propagation or flowering. Fixtures and controllers rated for the ambient humidity of their zone reduce corrosion risk and electrical failure over a multi-year operating life.
Blackout procedures need documented emergency protocols too. If a controller fails mid-cycle, a facility needs a manual override that can force lights to a safe default state rather than leaving a room stuck at flowering intensity indefinitely. Building that override into your SOPs, and testing it before it’s needed, is part of basic facility safety, not an optional extra. Local fire and building codes may also dictate maximum electrical loads per room, so check jurisdiction-specific requirements before finalizing a zoning plan that adds significant wattage to any single space.
Lighting zones can’t be planned in isolation from your other environmental systems, since every one of them interacts with light intensity. Raise PPFD in a flowering zone and you raise transpiration, which raises humidity, which then demands more from your dehumidification system.
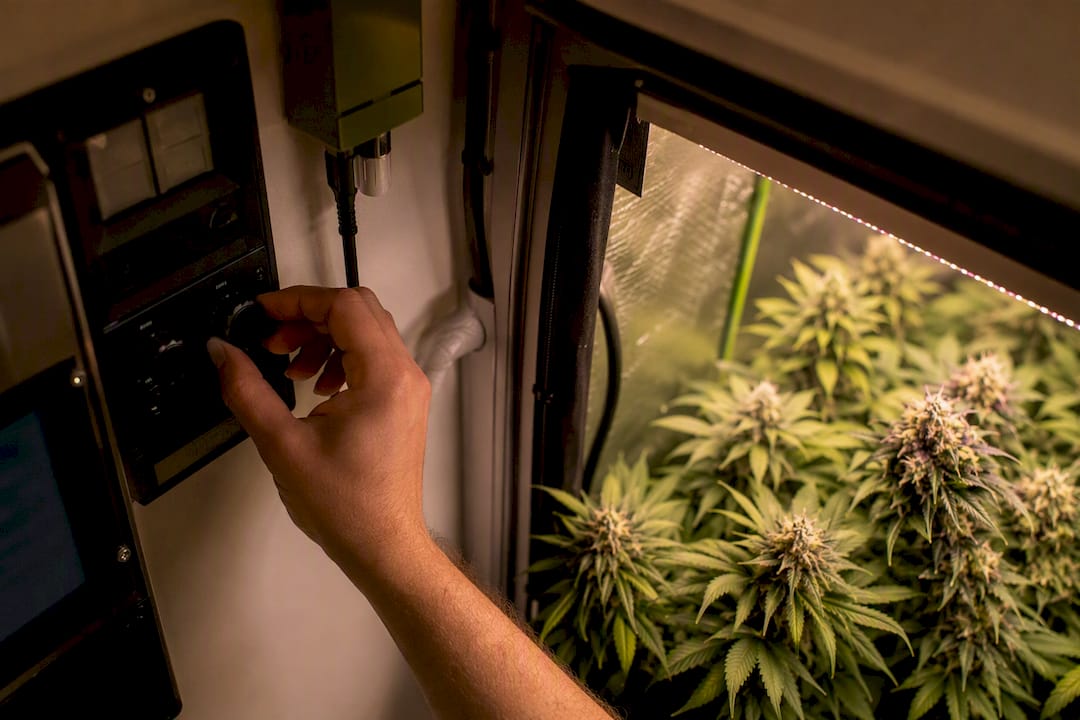
CO₂ enrichment programs specifically require higher PPFD to be worth running. Pumping CO₂ into a room lit for standard ambient conditions wastes the gas, since photosynthesis can’t use the extra CO₂ without more light driving the reaction. If you’re running CO₂ above roughly 800 ppm, plan for the higher end of the flowering PPFD range and confirm HVAC can pull the corresponding heat load.
Vapor pressure deficit, the humidity and temperature relationship that governs plant transpiration, shifts every time you change lighting intensity or duration in a zone. A zone tuned for 900 µmol/m²/s needs different humidity targets than the same room running 500. Treat your environmental controller and your lighting controller as one integrated system rather than two separate schedules, ideally syncing setpoint changes so a lighting ramp and a humidity adjustment happen together instead of one lagging the other by hours.
Facilities running multiple zones concurrently, as outlined in scalable multi-zone cultivation approaches, see the clearest benefit when environmental monitoring spans every zone at the same resolution as the lighting data. A zone with detailed PAR logs but no corresponding humidity and CO₂ tracking only tells half the story when something goes wrong.
Canopy mapping comes before anything else. Skip a proper baseline PAR map and every downstream decision, fixture spacing, controller presets, HVAC sizing, gets built on a guess instead of a measurement. Start there.
Every zoning strategy in this guide comes down to two pieces of hardware working together: a controller that can hold independent presets per zone, and fixtures that tile cleanly across your canopy without leaving edges under-lit. LedGrowLightsDepot builds around exactly that gap, with a customer satisfaction rating of 4.8 out of 5 from more than 5,800 reviews behind the product lineup.
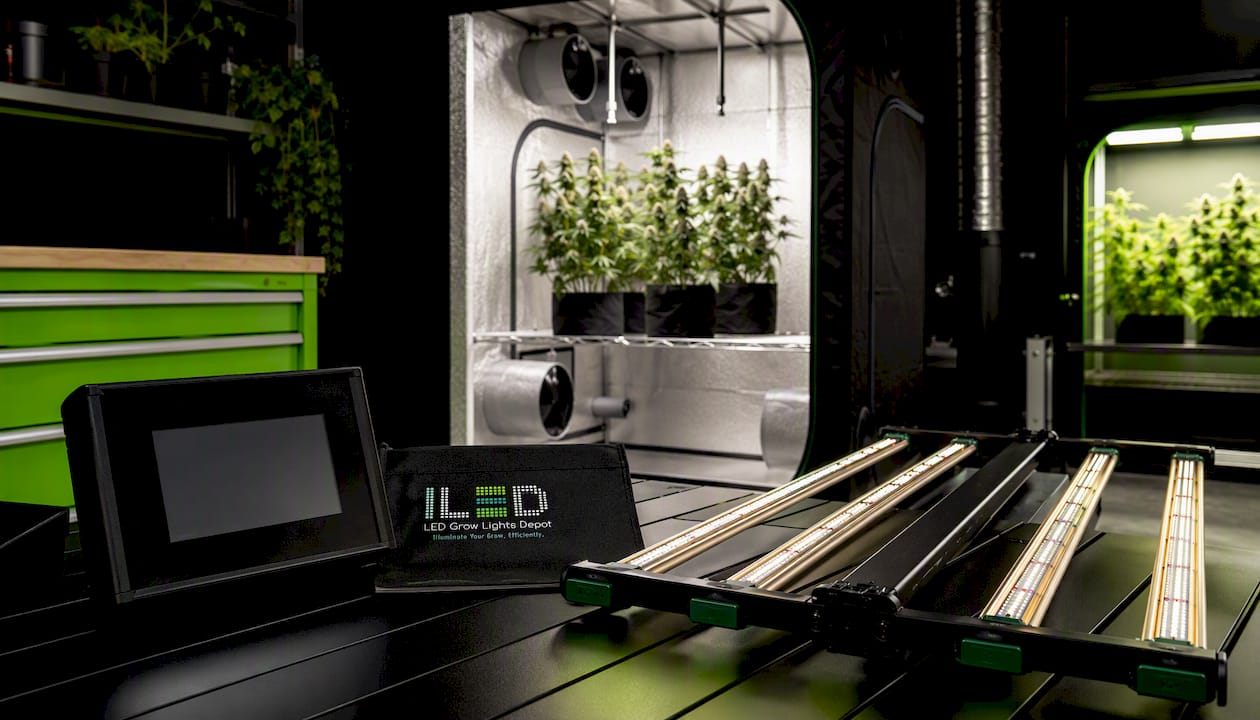
The Grower’s Choice Master Controller handles the zone-level dimming and scheduling this guide recommends, letting you run separate presets for propagation, veg, and flower zones from one system instead of stitching together timers. For tiled flowering layouts, the Grower’s Choice ROI-FF 650W fixture is built for exactly the overlap-tiling approach covered in the fixture placement section above. If your propagation or cloning stage needs a fully isolated blackout environment, the Secret Jardin Dark Room 120 v3.0 gives you a contained 4’ x 4’ space with the light control that stage demands.
Browse the fixture and controller lineup, or contact LedGrowLightsDepot’s team directly for facility-specific planning support before you place a bulk order.
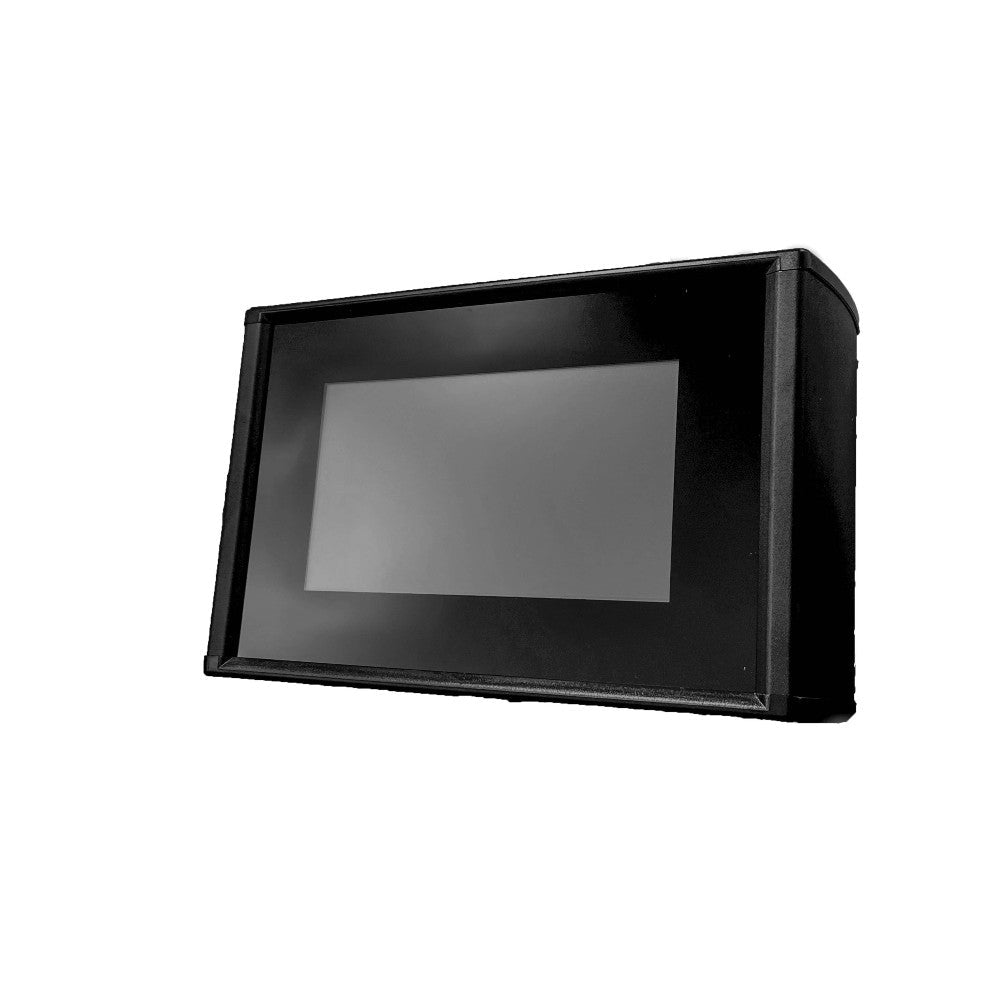
Confirm regional context with the USDA Plant Hardiness Zone Map, size fixtures with a coverage calculator, and verify every zone with a PAR meter.
0 of 3 items selected





Leave a comment