
Free Shipping in the USA on nearly all items!
Limited phone hours during the Holidays! Call us: 888-611-9305
Free Shipping in the USA on nearly ALL items! Limited phone hours during the Holidays!

Seeds germinate indoors when they absorb water and reach the right soil temperature. Light plays no role until cotyledons push through the surface. Get those two variables right and most seeds will sprout reliably. According to Lancaster UNL Extension, the foundation is a sterile, soilless seed-starting mix kept at “wrung-out sponge” moisture, with soil temperature held in the 65–75°F range for most vegetables.
Quick-start checklist before you read further:
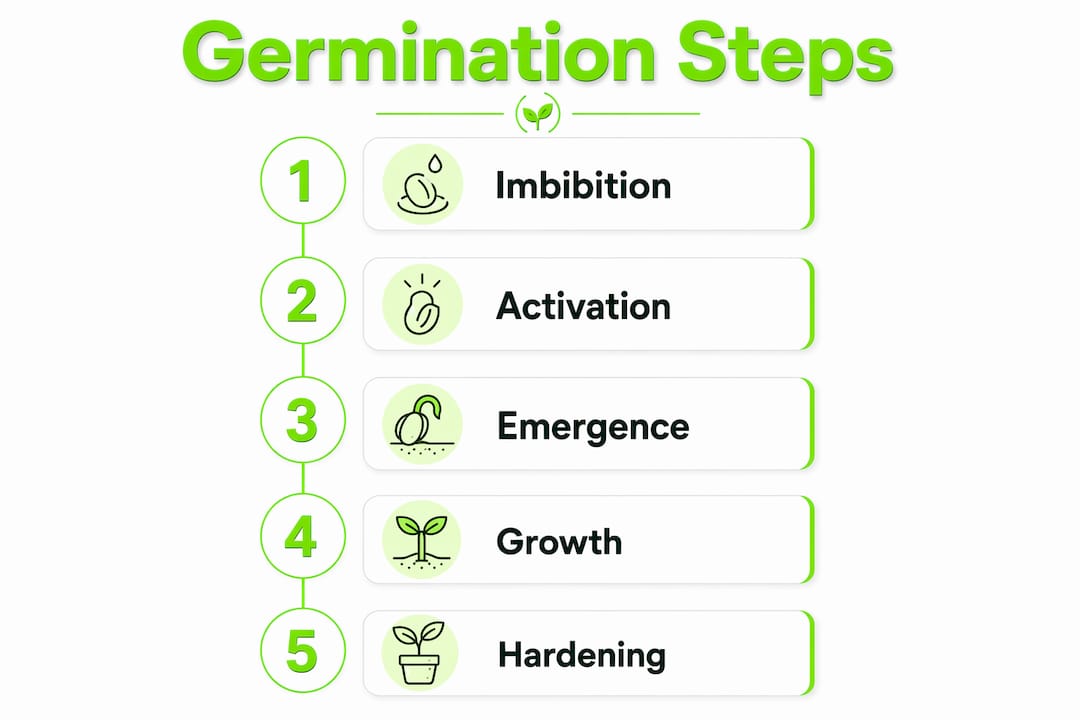
Germination moves through three biological stages. First, imbibition: the seed rapidly absorbs water, which softens the seed coat and activates metabolic enzymes. If the medium dries out during this phase, the embryo desiccates and dies. Second, enzymatic activation breaks down stored starches to feed the embryo. Third, the radicle (primary root) pushes through the seed coat and anchors into the medium, followed by the hypocotyl curling upward toward the surface.
Soil temperature drives enzyme reaction rates at every stage. A seed sitting in a 60°F room may have soil at 55°F or colder, which is why ambient air temperature is a poor proxy for what the seed actually experiences. Heat mats raise soil temperature roughly 10–20°F above surrounding air, which is often the difference between a week-long wait and a three-week one.
Crop-type temperature windows matter too:
Some seeds also need pre-treatment to break dormancy. Stratification (cold exposure in the fridge) mimics winter for perennials like coneflower and milkweed. Scarification (lightly sanding or nicking the seed coat) helps hard-shelled seeds like nasturtiums absorb water faster. Soaking peas, beans, and parsley for roughly 24 hours before sowing can speed germination, though over-soaking leads to rot.
Pro Tip: Place a soil thermometer probe directly in your seed tray, not on the shelf beside it. Room air and tray soil can differ by 15°F or more, especially near a cold window.
The minimal kit is shorter than most beginners expect.
Essential:
Situational:
Pro Tip: For expensive or rare seeds, sow one per cell and keep a few in reserve rather than using your entire packet at once. A second sowing two weeks later also staggers your harvest.
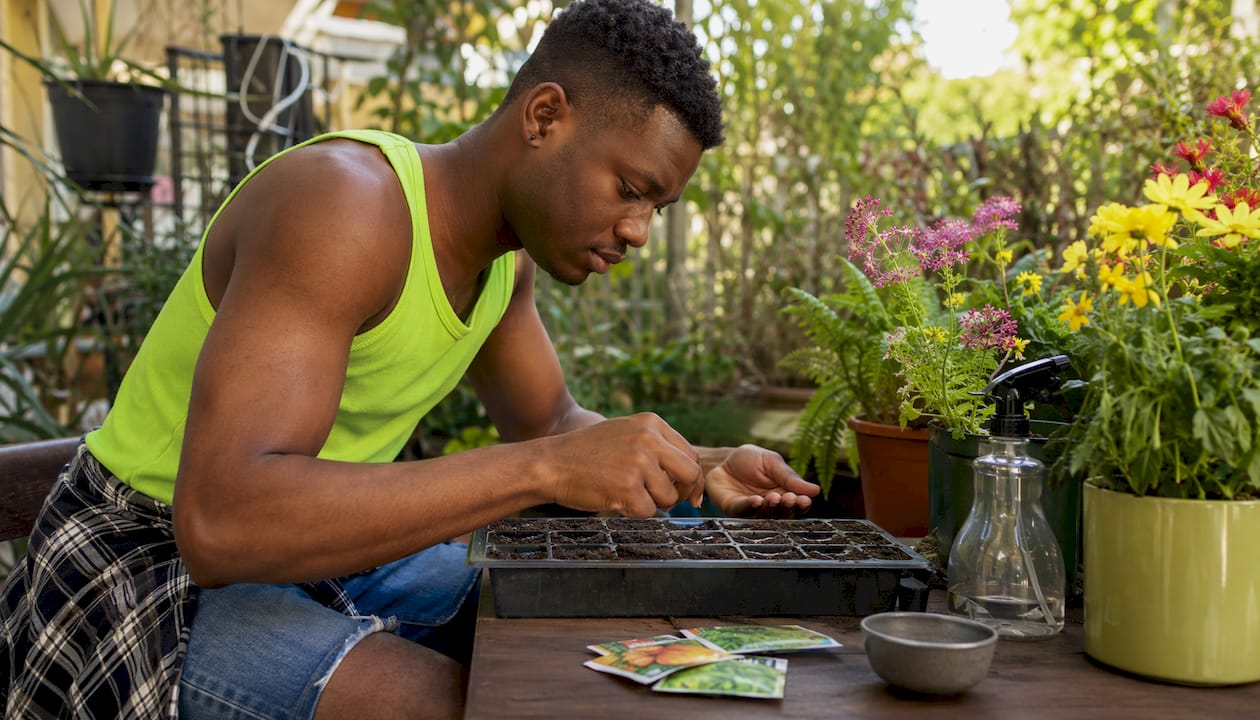
Damping-off is the most common seedling killer, and overwatering is its primary cause. The fungal pathogens responsible thrive in stagnant, saturated surface conditions.
Bottom watering solves this neatly. Set your cell tray in a shallow tray of water and let it wick for 10–30 minutes, then tip out any excess. The medium draws moisture upward, keeping the root zone hydrated while the surface stays relatively dry. Roots also grow downward toward the water source, which builds a stronger root system than top watering does.
Bottom watering is the most reliable way to keep the root zone moist while maintaining a dry surface. It reduces damping-off risk and encourages deeper root growth — two outcomes that top watering simply cannot match as consistently.
Signs you have overwatered: the medium feels soggy rather than moist, seedlings collapse at the soil line (classic damping-off), or you see white mold on the surface. If damping-off appears, remove affected seedlings immediately, improve airflow, and let the surface dry slightly between waterings. Sterile mix and clean trays reduce pathogen load from the start.
Remove the humidity dome as soon as cotyledons appear. Leaving it on after emergence traps the warm, moist air that damping-off fungi need.
Soil temperature is the primary control variable in the germination process. Room temperature is not.
| Crop group | Target soil temp | Heat mat needed? |
|---|---|---|
| Cool-season (lettuce, cabbage, broccoli) | 50–70°F | Usually not |
| Most vegetables | 65–75°F | Sometimes |
| Warm-season (tomato, pepper, basil) | 75–90°F | Yes |
Heat mats raise soil temperature 10–20°F above ambient air. For warm-season crops in a 68°F room, that gets soil into the 78–88°F range where tomato and pepper enzymes work at full speed.
Practical heat mat tips:
Seeds do not need light to germinate. The moment cotyledons appear, that changes completely. Running lights during germination is wasteful; not running them the instant sprouts emerge causes legginess.
A practical lighting setup for seedlings:
Once true leaves appear, a small oscillating fan on low for a few hours daily strengthens stems through gentle mechanical stress. This mimics outdoor wind and produces stockier plants that survive transplant shock better. It also reduces the humid microclimate around foliage that damping-off fungi exploit.
Spacing matters too. Crowded seedlings compete for light and trap moisture between leaves. Thin to one plant per cell as soon as the stronger seedling is obvious.
Hardening off is non-negotiable before outdoor transplanting:
Pro Tip: Avoid hardening off on windy days early in the process. A seedling that has never felt real wind can desiccate or snap in a strong gust before its stem has toughened.
| Problem | Likely cause | Fix |
|---|---|---|
| No germination after 2+ weeks | Cold soil, old seed, sown too deep | Check soil temp; test seed viability; re-sow at correct depth |
| Damping-off (collapse at soil line) | Overwatering, poor airflow, contaminated mix | Remove affected plants; improve airflow; bottom water only |
| Leggy, floppy seedlings | Insufficient light or too few hours | Lower fixture; extend to 16 hours/day |
| Slow, uneven germination | Temperature fluctuations | Add heat mat with thermostat; move tray away from drafts |
Realistic germination timelines vary widely:
When to re-sow versus wait: if a warm-season crop shows zero germination after three weeks at correct soil temperature, re-sow with fresh seed. Cool-season crops and slow germinators like parsley deserve four weeks before giving up.
Follow this sequence at the bench to avoid the most common mistakes:
Two timing checks: mark your expected germination date on the tray label (days-to-germination from the seed packet), and mark your last frost date on a calendar so you know exactly when outdoor transplanting becomes safe.
Moisture and soil temperature are the two variables that determine whether seeds germinate indoors; everything else supports those two controls.
| Point | Details |
|---|---|
| Soil temp beats room temp | Use a heat mat and probe thermometer; warm-season crops need 75–90°F soil, not just a warm room. |
| Sterile mix prevents disease | Garden soil introduces pathogens; soilless mixes with perlite and vermiculite drain correctly and stay disease-free. |
| Bottom water to stop damping-off | Set trays in shallow water for 10–30 minutes; this keeps the surface dry and roots growing downward. |
| Lights on at cotyledon emergence | Running lights before sprouts appear wastes energy; delaying causes legginess. Use 14–16 hours/day. |
| Ledgrowlightsdepot for seedling lighting | Ledgrowlightsdepot’s LED fixtures and guides help beginners set the right light distance, spectrum, and schedule for compact seedlings. |
Most first-time growers obsess over lights before they have the basics locked in. They buy a grow light, set it up over their tray, and then wonder why half their seeds never sprouted. The light had nothing to do with it. Cold soil and inconsistent moisture killed those seeds before they had a chance.
The priority order that actually reflects how germination works: sterile mix first, moisture control second, soil temperature third, grow light fourth. Light only matters after emergence, and by that point the hard work is already done or already lost.
That said, the lighting stage is where most growers lose their second chance. A seedling that germinates successfully but then stretches toward a dim window for two weeks arrives at transplant time weak, floppy, and vulnerable. The grow light is not optional once cotyledons appear. It is the tool that converts a successful germination into a transplant-ready plant.
Ledgrowlightsdepot’s germination and LED guide covers the lighting side of this workflow in depth, with specific fixture recommendations for seedling stages. The brand holds a 4.8/5 rating from more than 5,800 reviews, which reflects consistent results across a wide range of home growers and growing setups.
Beginners who want to skip the guesswork on lighting and heat can find both in one place. Ledgrowlightsdepot carries full-spectrum LED fixtures built for the seedling stage, with adjustable height and low heat output that suits small seed-starting benches. Pair one with a thermostatic heat mat and you have direct control over the two variables that matter most.

When choosing a seedling light, look for adjustable mounting height, a full-spectrum or 6,500K output, and low radiant heat so the fixture does not dry out your medium. For heat mats, thermostat compatibility is the key feature. A mat without a thermostat can overheat the medium on warm days.
Ledgrowlightsdepot’s beginner’s guide to choosing an LED grow light walks through fixture selection in plain language. With a 4.8/5 rating from more than 5,800 customers, the brand is a practical starting point for anyone setting up their first indoor seed-starting station. Browse the full range at ledgrowlightsdepot.com.
The following resources were used to build this guide and are worth bookmarking for deeper study:
Always check your seed packet first. Packet instructions carry crop-specific depth, spacing, and days-to-germination data that no general guide can fully replace. Your local cooperative extension office can also provide the last-frost date for your specific zip code.
0 of 3 items selected





Leave a comment