
Free Shipping in the USA on nearly all items!
Limited phone hours during the Holidays! Call us: 888-611-9305
Free Shipping in the USA on nearly ALL items! Limited phone hours during the Holidays!

Follow this ordered checklist to cut, dry, cure, and store your first indoor cannabis harvest without losing potency or flavor. The sequence matters as much as the numbers: check trichomes with a loupe, cut at the right window, choose wet or dry trim based on your room’s humidity, dry slow, cure patiently, and store dark and cool.
Here’s the full run, start to finish:
A hygrometer in the drying room and a jar hygrometer during cure are not optional extras. They’re how you catch problems before mold or over-drying ruins a harvest you spent months growing. If your grow room lighting setup includes proximity fixtures from LedGrowLightsDepot, you already have an advantage going into harvest week: even canopy finishing means less guesswork about which colas are actually ready first.
| Point | Details |
|---|---|
| Read trichomes with a loupe | Aim for 60–80% milky trichomes for balanced effects, more amber for sedative results. |
| Dry slow and controlled | Hold 60–70°F and 50–60% RH for 7–14 days; a clean stem snap means it’s ready. |
| Cure patiently in jars | Target 60–62% jar RH, burp daily for the first two weeks, cure a minimum of 2–4 weeks. |
| Store dark, cool, and sealed | Keep jars at 60–65°F away from light, and limit how often you open them. |
| Stage your harvest with the right gear | LedGrowLightsDepot’s Happy Hydro Trim-Jail kits and drying racks keep buds organized and off contaminated surfaces during trim and dry. |
The biggest mistake first-time growers make isn’t in the drying room. It’s not having the right tools staged before the first cut, which forces rushed decisions and unsanitized handling right when precision matters most.
Build your kit the day before harvest, not the morning of:
Wipe down every surface in your drying space before you bring in a single branch. Many growers also stop watering 24 to 48 hours before cutting to reduce plant weight and shorten drying time, though some prefer watering right up until harvest, since a well-hydrated plant stays more turgid and easier to handle without leaves going limp mid-trim. Either approach works. Pick one and stay consistent across your harvest so your drying timeline is predictable.
Keep a spare hygrometer, a small dehumidifier or humidifier, and an extra fan on hand. If humidity swings unexpectedly, you want backup equipment within reach, not a last-minute order.
Pro Tip: Set up two distinct zones: a bright cutting station near your plants, and a separate dark, low-traffic drying room. Cut, trim what you’re trimming wet, then move material into the dark zone in one trip. Every extra handling pass knocks off trichomes you worked months to grow.
Trichome color is the single most reliable signal, and it beats guessing by leaf color or the calendar every time. Clear trichomes mean the plant isn’t ready. Once most trichomes turn milky or cloudy, you’ve hit peak potency for most recreational and balanced-effect goals. As amber trichomes increase, THC begins converting to CBN, which shifts the effect toward more sedating and body-heavy.
Most growers aim for a predominantly milky trichome appearance with some amber for a balanced, energetic-to-relaxed effect. If you want a heavier, sleep-leaning result, allow more amber trichomes before cutting. Neither number is a hard rule. It’s a target range you adjust based on the high you’re chasing.
Trichomes aren’t the only signal worth reading. Pistil color matters too: as harvest nears, most pistils darken from white to orange or red and curl inward. Swollen, tight calyxes and a strong, sharp aroma also point toward ripeness, while yellowing fan leaves near the bottom of the plant usually mean the plant is naturally winding down nutrient uptake.
Check trichomes at the same time of day, under the same light, every time you sample. Trichome color can look different under warm LED light versus a flashlight, and inconsistent lighting during inspection is a common reason growers misjudge ripeness by several days in either direction.
To sample without wrecking a cola, snip one small sugar leaf or a tiny lower bud with clean scissors, then examine it immediately under the loupe rather than pulling at the main bud structure. Do this on two or three spots around the plant, since upper colas often ripen ahead of lower growth.
Pro Tip: Sample in the last hour before lights-off or first thing in the morning under grow lights, never mid-day when heat and light intensity can make trichomes look cloudier than they actually are.
You have two real choices at harvest: cut the whole plant at the base in one motion, or work branch by branch. Whole-plant cutting is faster and works well if your drying room has good airflow and low humidity, since hanging one large structure is simpler than managing dozens of individual branches. Branch-by-branch cutting takes longer but gives you more control in tighter or more humid spaces, letting you space material for airflow more precisely.
If your canopy ripened unevenly, which is common in home setups, cut the top colas first and let lower branches finish for another three to seven days. Staggering the cut avoids sacrificing overall quality by rushing immature lower buds just to keep the harvest simple.
Once you start cutting, work fast but gentle. Remove large fan leaves immediately since they hold little cannabinoid value and just add clutter and moisture to your drying room. Keep the space dim, use sanitized shears, and hold branches by the stem, never by the buds themselves, since squeezing knocks off trichomes.
Run through this short list as each branch comes down:
Wet trimming means cutting fan leaves and shaping buds immediately after harvest, before anything goes to dry. Dry trimming means hanging whole branches first and trimming only after the material has dried down. Both get you to the same destination, but the path differs in speed, mess, and risk.
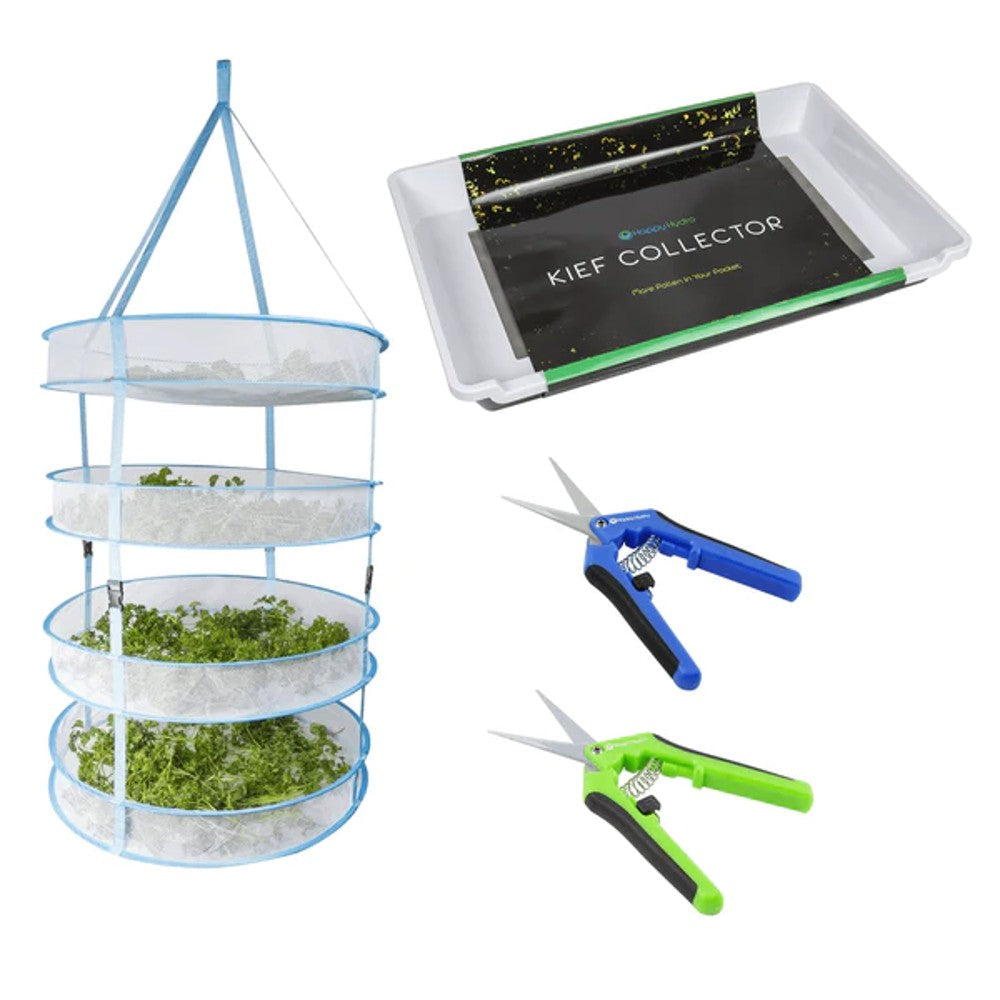
Wet trimming reduces mold risk in humid rooms because it opens up dense bud clusters and improves airflow around each cola while drying. It’s also generally faster overall since you’re not fighting brittle, dry leaves later. The tradeoff is a stickier, messier process and slightly faster drying, which some growers feel costs a touch of terpene depth.
To wet trim: set up a tray, change gloves often since resin buildup slows your hands down, snip fan leaves at the stem, then trim sugar leaves close to the bud without cutting into the calyx structure. Contain your trim in a separate bin as you go so sticky material doesn’t spread across your workspace.
Dry trimming preserves more aroma and terpene content because the plant material isn’t opened up and exposed to airflow until it’s already dried. It’s slower and the leaves get brittle, which makes precision harder. Work over a fine sifting screen or a clean, non-static tray while dry trimming. This catches dislodged trichome heads, which you can collect as dry sift, a genuinely useful byproduct rather than waste.
As a decision rule: if your drying room runs above 60% RH, lean wet trim to cut mold risk. If you can hold your room under
RH with good airflow, dry trim will usually reward you with better terpene retention.
Pro Tip: If you’re unsure, wet trim just the densest, most crowded colas to improve their airflow, and dry trim the looser, already well-spaced branches. You don’t have to pick one method for the entire harvest.
Drying too fast is the single most common way first-time growers ruin flavor. The fix is straightforward: hold your drying room at 60 to 70°F, ideally close to 65°F, with relative humidity between 50 and 60%, targeting around 55%. Airflow should be gentle and indirect, never blowing straight onto hanging buds.
| Drying Factor | Target Range |
|---|---|
| Temperature | 60–70°F (ideal ~65°F) |
| Relative humidity | 50–60% (target ~55%) |
| Typical duration | 7–14 days |
| Readiness test | Stem snaps cleanly, doesn’t bend |
Drying too fast from excess heat or aggressive airflow commonly strips terpenes and leaves you with harsh, hay-like smoke, even if THC content is fine. The goal is slow and even, not fast and convenient.
Test for dryness on smaller stems first, since they dry faster than thick main stems. A small stem that snaps cleanly is a good early sign, but confirm on a thicker branch before you commit the whole batch to jars. If a stem bends without breaking, it needs more time on the rack.
If drying is moving too fast, raise the room’s humidity slightly, back off any active airflow, and if possible drop the temperature a couple of degrees. If it’s moving too slow, the fix runs the other way: bump airflow gently and consider a small dehumidifier if your room consistently sits above 60% RH. Check daily for fuzzy white or gray patches and an off, musty smell. Anything under suspicion should be isolated in its own tub immediately, away from the rest of your batch, until you can confirm it’s safe.
Run two hygrometers throughout the process, one near the canopy where buds actually hang and one at the room’s center, since readings can vary meaningfully between the two spots. Keep a simple log for each batch: cut date, daily temp and RH readings, and the day you moved to jars. That log becomes the reference that makes your second and third harvests far more consistent than your first.
Curing is where flavor and smoothness actually get built, not the drying stage. Fill jars 70 to 75% full, never packed tight, and aim for jar humidity around 58 to 62%, with 60 to 62% as the sweet spot most growers target for flavor balance.
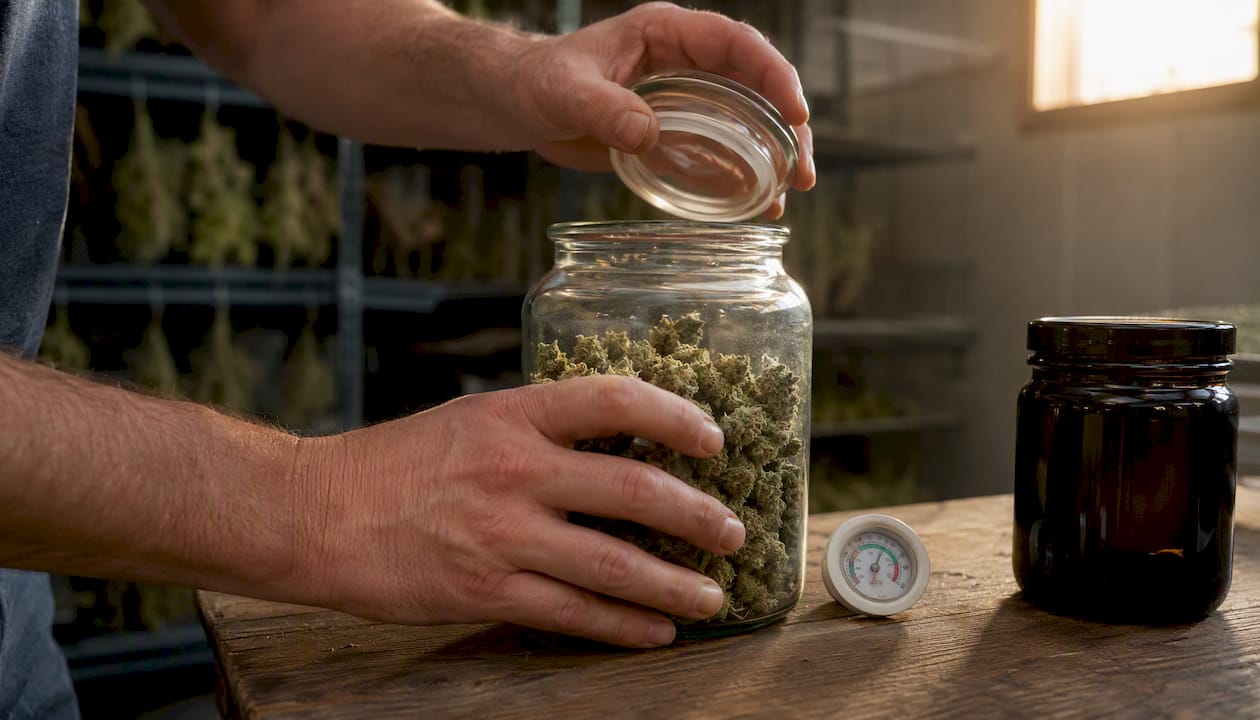
For the first one to two weeks, burp jars daily, opening the lid for 10 to 30 minutes to let moisture escape and fresh air in. By weeks three and four, you can taper to burping every few days. After that, weekly checks are usually enough to confirm stability.
A small in-jar hygrometer takes the guesswork out of this stage entirely. Don’t overpack jars. Uneven pockets of moisture inside a crammed jar are a common, avoidable cause of localized mold.
Basic cures are usable at 2 to 4 weeks, but the real payoff shows up between 6 and 8 weeks or beyond, when chlorophyll smell fades and the flavor rounds out into something smoother and more complex than what you smoked at week two.
If that doesn’t fix it, leave the jar open in a dark, low-humidity spot for an hour before re-sealing.*
Once your cure is where you want it, storage becomes about defense: keeping light, heat, and oxygen away from buds that took months to grow. Store jars in a dark, cool location, ideally 60 to 65°F, away from windows, vents, and any appliance that generates heat.
Oxygen exposure degrades cannabinoids and terpenes gradually over time, so limit how often you open jars and avoid leaving lids off longer than necessary. For anything you’re not touching for a few months, vacuum-sealed jars or bags cut that exposure down further.
Label every jar with the harvest date and strain, and use an oldest-first rotation so nothing sits forgotten at the back of a cabinet for a year. If you ran more than one strain or more than one batch, keep them in separate jars. Mixing batches makes it harder to trace the source if mold or an off smell ever shows up later.
Stick with glass over plastic for anything you’re storing more than a few weeks. Plastic can affect flavor over time and doesn’t hold humidity as evenly.
Every new grower hits at least one of these. Recognizing the symptom fast is what separates a salvageable batch from a wasted one.
Timing your cut around your light cycle, not just your calendar, is a detail experienced growers pick up early and most first-timers miss entirely. Harvesting at the start of the dark cycle, or first thing in the morning before lights come back on, protects the volatile terpenes that give your final product its aroma and flavor.
The reasoning is straightforward once you see it: light exposure in the final hours before a cut can accelerate the breakdown of the same terpenes you spent the whole grow trying to preserve. A plant sitting under bright light right up to the moment of cutting is losing some of that aromatic complexity before the blade even touches the stem.
If you’re running LED fixtures, consider a soft dim or a short dark period in the 24 to 48 hours before your planned harvest, rather than running full intensity right up to the cut. Spectrum and proximity also play a role in how a plant finishes those final days. Full-spectrum lighting tuned correctly during the last stretch supports more even ripening across the canopy, which means less guessing about which colas are actually ready when trichome day arrives.
Pro Tip: Two nights before your planned harvest, dim supplemental lighting or shift your light schedule to extend the dark period slightly. It costs you nothing and it’s one of the few free levers you have left this late in the grow.
The hardest part of a first harvest isn’t the cutting. It’s the waiting. Drying feels slow when you can already smell how good the buds are, and curing feels slower still when jars sit on a shelf for weeks while you burp them and wait.
The most common beginner mistake isn’t technical, it’s emotional: pulling buds out of the jar too early because the smell and the anticipation win out over the checklist. Buds smoked at day ten of curing are noticeably harsher and less flavorful than the exact same buds smoked at day forty five. That gap closes almost entirely with patience alone, no other change required.
Trust the numbers over the impulse to sample early. Every harvest after your first gets easier, not because the process changes, but because you stop second-guessing steps you’ve already proven work.
Even canopy finishing starts well before harvest day, and it comes down to how evenly your lighting reaches every bud site, not just the top of the canopy. Proximity lighting systems designed for under-canopy distribution help lower buds catch up to the tops in the final weeks, which means less staggered ripening and fewer judgment calls about which branches to cut first.
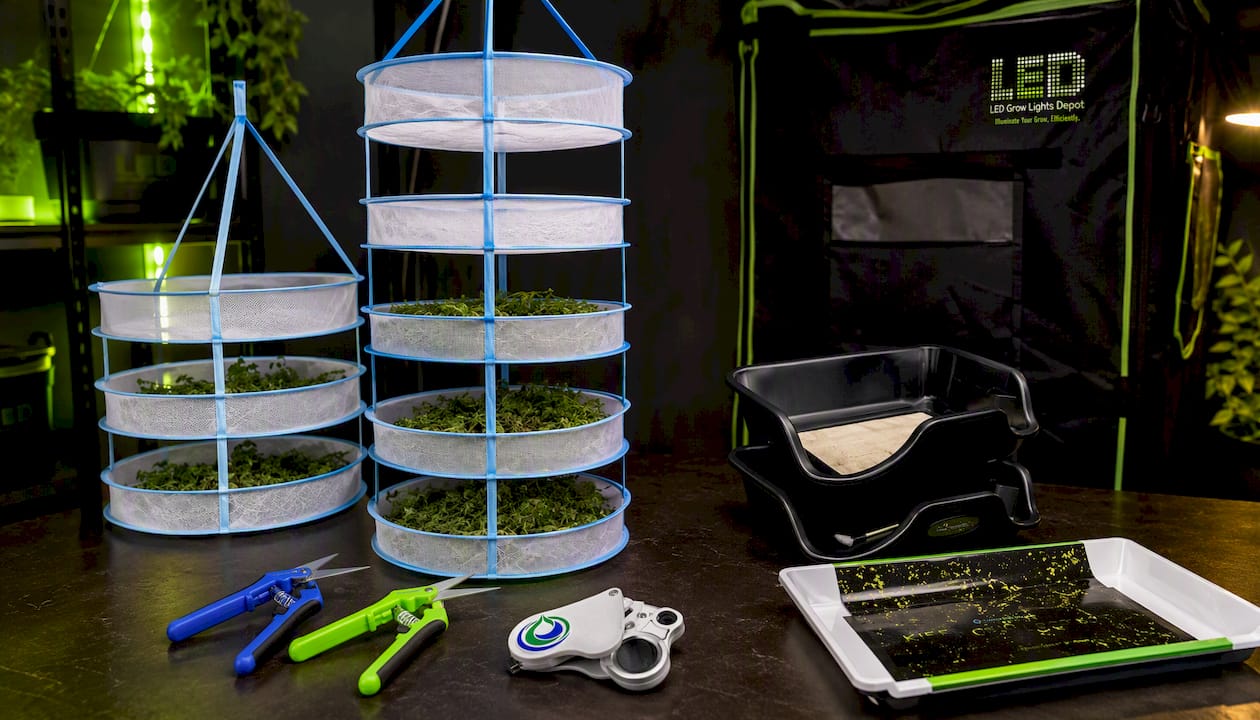
Once harvest day arrives, the right physical setup matters just as much as the light did during the grow. A dedicated drying and trimming kit keeps buds off cluttered tables, spaced correctly for airflow, and away from the constant handling that knocks off trichomes. The Happy Hydro Trim-Jail Kit with a 4-tier drying rack gives smaller harvests a contained, organized space to dry without losing trim material to the floor. For a bigger first harvest, the 6-tier drying rack version adds capacity without eating up more floor space. If you’d rather start with tools and drying covered in one purchase, the Trimming & Drying Kit bundle pairs a 4-tier rack with trimming scissors so you’re not piecing together gear from three different stores days before you cut.
Browse LedGrowLightsDepot’s lighting and harvest accessories now to have your drying room staged before your trichomes hit peak milky.
This article is general information, not a substitute for advice from a qualified lawyer. Consult a qualified legal professional about your own circumstances before acting on anything here.
0 of 3 items selected





Leave a comment