
Free Shipping in the USA on nearly all items!
Limited phone hours during the Holidays! Call us: 888-611-9305
Free Shipping in the USA on nearly ALL items! Limited phone hours during the Holidays!

Yes, for most removable-driver LED fixtures, mount the driver outside the tent. It cuts tent heat, frees headroom, and extends component life provided you follow specific wiring and mounting rules: Use appropriately sized wire, a fireproof mounting surface, and a well-ventilated external spot for the driver itself.
TL;DR:
- Moving the driver outside the grow tent reduces ambient temperature, vapor pressure, and exhaust workload, especially beneficial for less efficient drivers.
- Use 14–16 AWG wire, mount on noncombustible surfaces, and ensure proper ventilation to prevent safety hazards and component damage during relocation.
- Confirm your fixture has a removable driver, and follow step-by-step safety and wiring procedures to maintain proper voltage and polarity.
- External drivers are more vulnerable to humidity and dust, which can accelerate corrosion and heat buildup, so regular cleaning and environmental control are crucial.
- For convenience and safety, consider fixtures designed with remote-ready or low-heat features to avoid complex wiring and keep heat management simple.
A grow tent driver sitting inside a sealed tent works like a small space heater running next to your canopy around the clock. Driver heat behaves differently than canopy-level LED heat. It’s a steady, dry heat source close to your air intake, and it pushes up both temperature and vapor pressure deficit (VPD) in ways that fight your dehumidifier and exhaust fan. Removing that heat load from a sealed tent lowers ambient tent temperature by a few degrees and can shift VPD back into a comfortable range, which often means less exhaust runtime and less AC strain, according to Mist Culture’s driver heat research.
The benefits stack up in a few concrete ways:
Pro Tip: If you’re running a high-efficiency driver like a Mean Well HLG series unit, you may get away with leaving it inside a large tent. Cheaper drivers dump far more waste heat and are the better candidates to relocate first.
Moving a driver outside the tent is an electrical project, not a rearranging project. Skip the safety basics and you risk voltage drop, overheating, or a fire hazard, not just a dim light.
Follow these non-negotiables:
For a deeper look at how heat buildup damages components over time, LedGrowLightsDepot’s guide on thermal management for high-power LED fixtures is worth reading before you start.
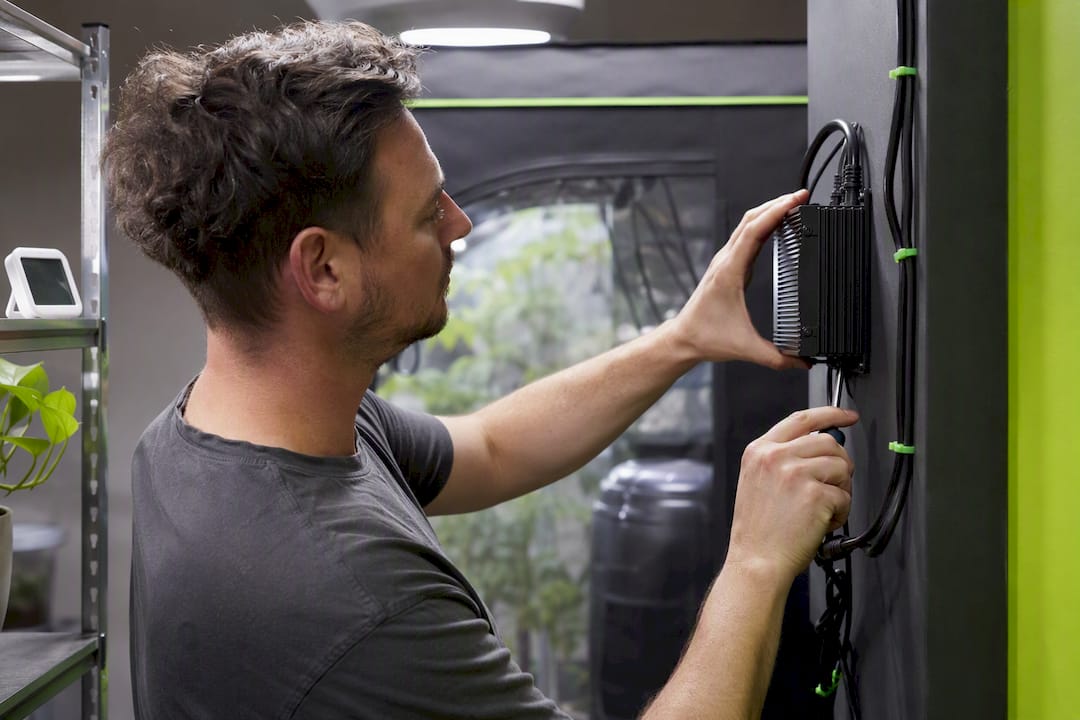
Before you touch a wire, confirm your fixture actually has a removable or remote-ready driver. Some budget fixtures integrate the driver into the light bar itself, and forcing a separation on those voids the warranty and risks damaging the circuit board. Check your manufacturer’s documentation first.
Tools and supplies checklist:
Step-by-step process:
Once power is restored, verify voltage output matches your driver’s rated specification under load, confirm polarity is correct at both ends, and physically tug-test every connection to make sure nothing is loose. If your multimeter reading drifts noticeably from the driver’s rated output, suspect a bad crimp or undersized wire before assuming the driver itself failed.
Most issues after an external driver mount trace back to one of three causes: undersized wire, a poor connection, or inadequate ventilation in the new location.
If a fix isn’t obvious after checking wire gauge, crimps, and airflow, or if you smell anything burning, stop and call a licensed electrician. No grow is worth a house fire.
This guide reflects the practical wiring standards used across the LED lighting industry, drawn from manufacturer documentation and electrical component sourcing guides like Digi-Key’s driver mounting resource. LedGrowLightsDepot has spent years fitting growers with fixtures suited to their exact space, backed by a 4.8 out of 5 rating across more than 5,800 customer reviews.
Not every grower wants to run wire extensions and mount hardware on a wall. If you’d rather skip the DIY wiring project entirely, a low-heat or remote-ready fixture solves the same headroom and heat problem without any cutting or crimping. LedGrowLightsDepot’s guide to low-heat LED lights for tight grow spaces walks through fixtures built to run cool enough that driver relocation becomes optional rather than necessary. For readers who do want to attempt the wiring themselves, the DIY LED grow lights guide covers modification safety in more depth than we can fit here.
Not all LED drivers behave the same way once you’ve moved them outside the tent, and the type you’re running affects both your wiring approach and your dimming options.
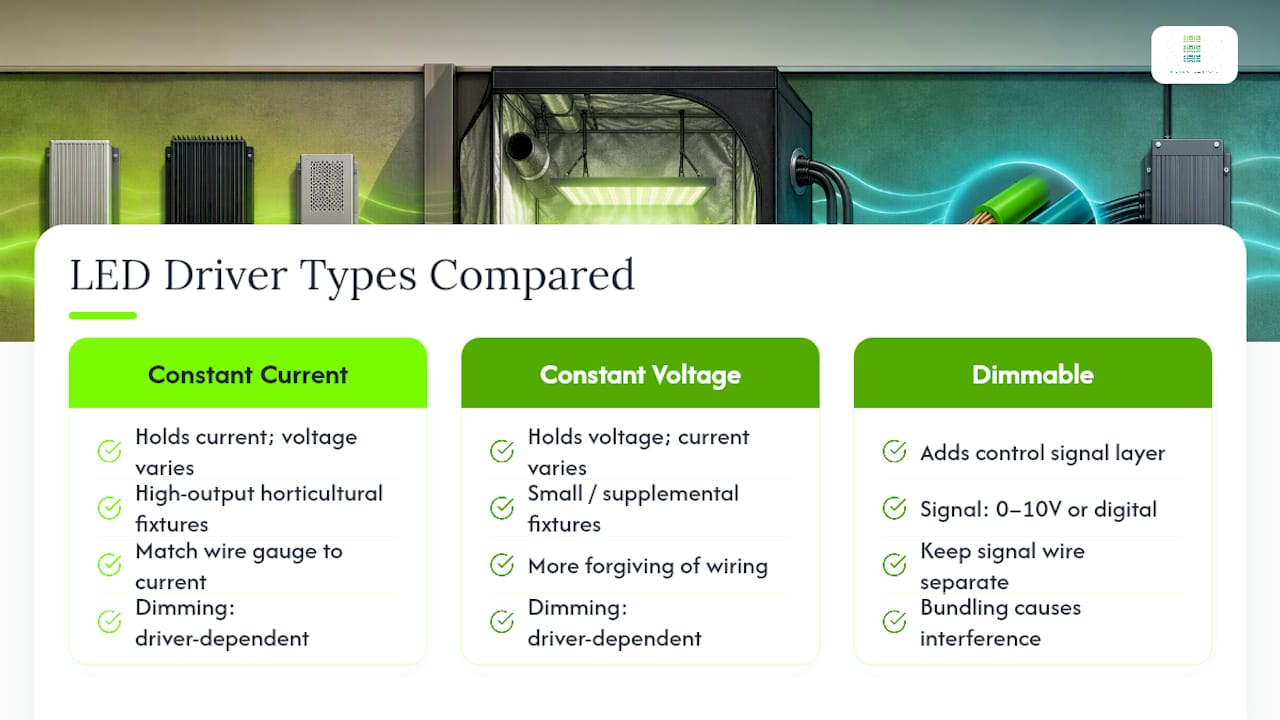
Constant current drivers hold amperage steady while voltage fluctuates with the LED load. Most high-output horticultural fixtures use this design because it protects the diodes from current spikes that shorten their lifespan. If your fixture uses a constant current driver, matching wire gauge to the rated current draw, not just the wire’s general capacity, matters more than with constant voltage setups.
Constant voltage drivers hold voltage steady and let current vary, which is more common in supplemental strip lighting and smaller fixtures. These tend to be more forgiving of minor wiring inconsistencies but still need correctly sized cable to avoid voltage sag over longer extension runs.
Dimmable drivers add a control layer, usually 0 to 10 volt analog dimming or a proprietary digital protocol, that requires a separate signal wire alongside the DC power leads. When extending a dimmable driver’s cable run, keep the dimming signal wire separate from the power leads where possible to avoid electrical interference that can cause erratic dimming behavior. Some growers skip this and wonder why their dimmer suddenly acts glitchy after an extension. It’s almost always signal interference from bundling the wires too tightly together.
Check your fixture’s documentation for driver type before buying extension cable or dimming accessories, since mismatched components waste money and create the exact voltage problems this guide is trying to help you avoid.
IP rating matters far less once a driver leaves a sealed tent for a dry indoor room, but it still isn’t irrelevant. Most growers relocating a driver are moving it to an adjacent room, closet, or open rack, not outdoors, so a driver’s rated ingress protection against water and dust becomes a secondary concern rather than a primary one.
That said, the room you’re mounting into still has its own environment. A driver mounted near a humidifier, in a basement with moisture issues, or close to an exterior door that lets in dust and debris benefits from a higher IP rating even indoors. IP65 rated drivers, common in many horticultural LED fixtures, handle dust and light moisture exposure without issue and give you more flexibility in where you mount them.
If you’re mounting a driver in a garage, shed, or any space exposed to outdoor air, weatherproofing becomes non-negotiable rather than optional. A driver with a low IP rating, exposed to moisture or dust infiltration in that kind of location, will fail faster than one kept in a stable indoor environment, and moisture intrusion into a live electrical component is a fire and shock risk, not just a performance issue.
The safest default: treat your external driver’s new location like you’d treat any other electronics. Dry, ventilated, and away from direct exposure to outdoor air unless the driver’s IP rating explicitly supports that environment.
Moving a driver outside the tent doesn’t move it into a controlled environment. It moves it into whatever climate exists in that grow room, garage, or closet, and that climate has its own effect on driver longevity.
Humidity is the bigger concern for most indoor growers. A driver mounted near your tent in a room with poor humidity control faces the same condensation risk as any electronic component in a damp basement. Moisture intrusion into a driver’s housing accelerates corrosion on internal connections and can shorten its working life well below its rated hours. If your grow room already runs humid because of open reservoirs or poor exterior ventilation, that humidity follows the driver even after you’ve pulled it out of the tent.
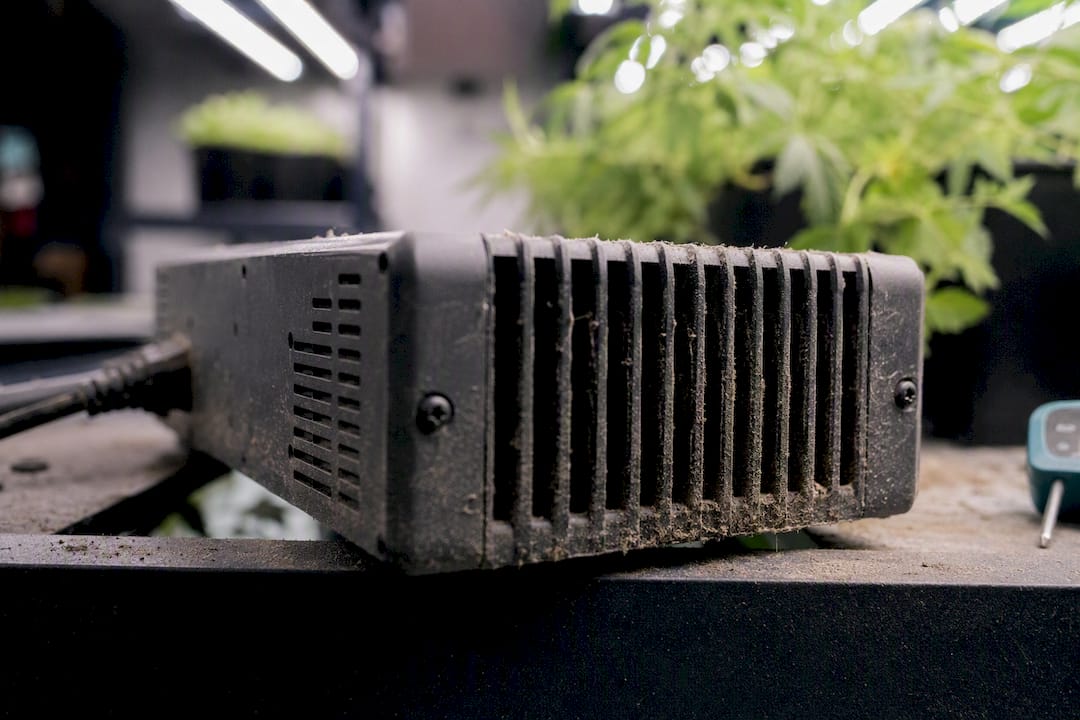
Dust is the quieter problem. Drivers rely on passive airflow through vents to shed heat, and a thin layer of dust buildup on those vents acts like insulation, trapping heat that should be escaping. Over months, that buildup pushes internal operating temperature higher than the driver was designed for, which shortens component life even without a formal moisture failure. A quick wipe-down of driver housings every month or two, especially in dusty grow spaces, does more for long-term reliability than most growers realize. Without adequate room ventilation, an external mounting spot can become its own small heat pocket, according to VoltServer’s research on remote LED drivers, which defeats part of the reason you moved the driver in the first place.
Here’s the honest decision path. If your fixture has a clearly removable driver, you’re comfortable with a multimeter, and your run is short, DIY relocation is straightforward and worth doing. If you’re unsure whether your driver is removable, or your space forces a long cable run, a fixture built with a remote-ready or low-heat design solves the same problem without the wiring project. If any part of this touches your home’s electrical panel or circuits, that’s an electrician’s job, full stop.
Most growers overestimate the risk of the wiring itself and underestimate the risk of skipping ventilation planning for the driver’s new home. Heat has to go somewhere. Plan for that before you plan the cable route.
— Scott
If you’d rather not run wire extensions at all, several LedGrowLightsDepot fixtures solve the headroom and heat problem before you ever pick up a crimping tool.
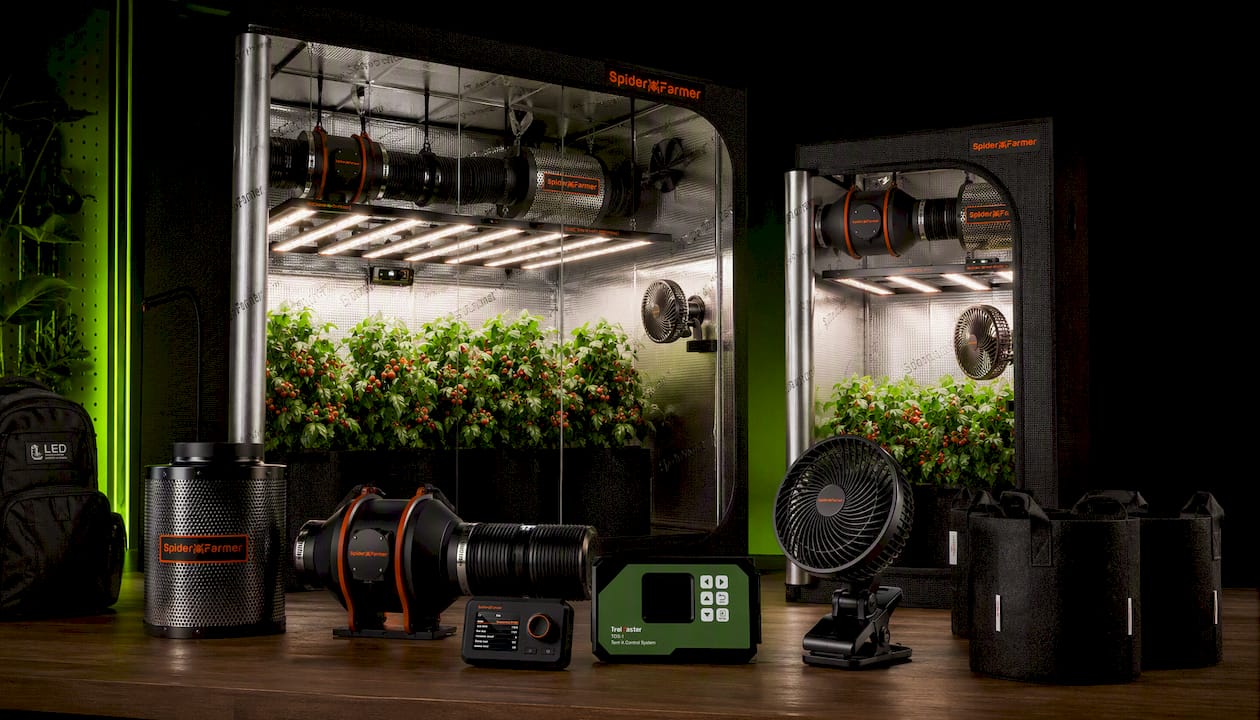
The ThinkGrow LED Model-I fits compact tents where every inch of vertical space counts, with a low-profile design that keeps fixture bulk to a minimum. Growers pushing for more canopy coverage tend to reach for the Grower’s Choice ROI-E720, which offers a removable-driver design if you decide to relocate later. For 4x4 flowering rooms, the Grower’s Choice ROI-FF 650W balances output with manageable heat. Growers running micro tents or supplemental side lighting often pair a main fixture with a Sunblaster Micro LED Grow Light, which adds coverage without meaningfully raising tent temperature.
If you’d rather skip the wire work entirely, browse LedGrowLightsDepot’s full lineup of remote-ready and low-heat fixtures and find the one built for your exact tent size and headroom.
0 of 3 items selected





Leave a comment