
Free Shipping in the USA on nearly all items!
Limited phone hours during the Holidays! Call us: 888-611-9305
Free Shipping in the USA on nearly ALL items! Limited phone hours during the Holidays!

Run your tent at a slight negative pressure, just enough for the walls to pull gently inward, and size the exhaust fan to hit your calculated CFM after filter and duct losses. Slight negative pressure keeps odors and spores from leaking into your living space. Excessive negative pressure collapses tent walls, starves your canopy of fresh air, and burns out fan motors. The fix comes down to one rule: exhaust slightly exceeds intake, and both are sized against real, not rated, airflow.
TL;DR:
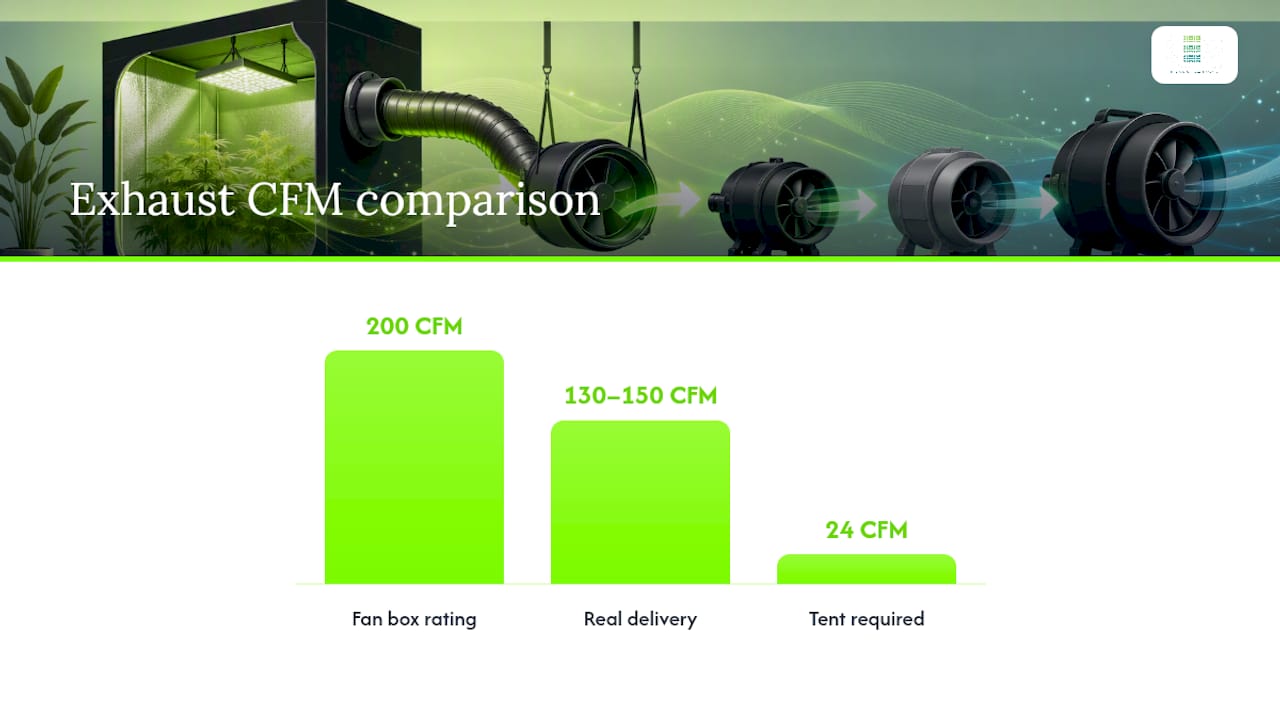
- Ensure your exhaust fan size accounts for filter and duct losses, realistically reducing airflow capacity to 130-150 CFM for a 200 CFM rated fan.
- Maintain negative pressure with gentle inward wall flex and tissue tests, avoiding over-ventilation that can damage the tent structure.
- Calculate minimum passive intake area based on actual CFM needs, including a safety margin, to prevent poles from bowing or walls collapsing.
- Mount filters high and route ducting short and straight to limit static pressure buildup, and add powered intake fans only if passive intake is insufficient.
- Regularly inspect filters, seams, and zippers; track fan RPM and environmental conditions to prevent drift from optimal negative pressure.
A grow tent runs at negative pressure when the exhaust fan pulls out more air than passive vents let in, dropping internal pressure just below the room outside. That pressure difference draws fresh air in through gaps, seams, and any intake ports instead of pushing tent air out through them. It’s the same physics that keeps a commercial kitchen’s smoke inside the hood system rather than drifting into the dining room.
The target is subtle. You want the tent skin to flex inward slightly when the fan runs, not clamp down like shrink wrap. Guidance from ventilation specialists consistently frames this as a narrow band: enough vacuum to contain odors and spores, not so much that the tent structure fights back. Growers chasing “more extraction is always better” tend to overshoot this band and end up troubleshooting problems they created themselves.
You don’t need a manometer to know if your setup is dialed in. Two low-tech tests tell you almost everything in under a minute.
Pro Tip: Never run a new exhaust fan at full power on day one.
If you don’t know your tent’s total passive intake area, don’t run the fan wide open while you figure it out. That’s how poles bend and zippers get yanked out of track.
Start with tent volume, then apply an air changes per hour (ACH) target. Multiply length by width by height in feet, then multiply by your desired ACH, then divide by 60 to get cubic feet per minute (CFM). High-transpiration crops in flower often call for 20 to 30 ACH during lights-on, which is more aggressive than most beginners assume.
That number is only your starting point. Manufacturer CFM ratings are measured with zero static pressure, meaning no filter, no ducting, no bends. Real installations lose airflow fast: a 200 CFM fan can realistically deliver only 130 to 150 CFM once you add a carbon filter and route ducting through a couple of turns.
| Static pressure source | Typical CFM penalty |
|---|---|
| Carbon filter | ~20% |
| Two 90° duct bends | ~30% combined |
| Long duct run | Additional 15% |
Statistic Callout: A fan rated for 200 CFM in free air can drop to the 130 to 150 CFM range once a filter and two bends are added, per real-world testing on grow tent ventilation. Buy against that lower number, not the box number.
Minimum passive intake area follows a simple formula: total required CFM ÷ 144 equals square feet of open intake. Convert that to inches if you’re cutting vent ports. For a common 3×3×6.5 tent (about 58.5 cubic feet), 25 ACH puts you around 24 CFM raw, but real-world derating and safety margin push your target exhaust fan selection well above that on paper spec.
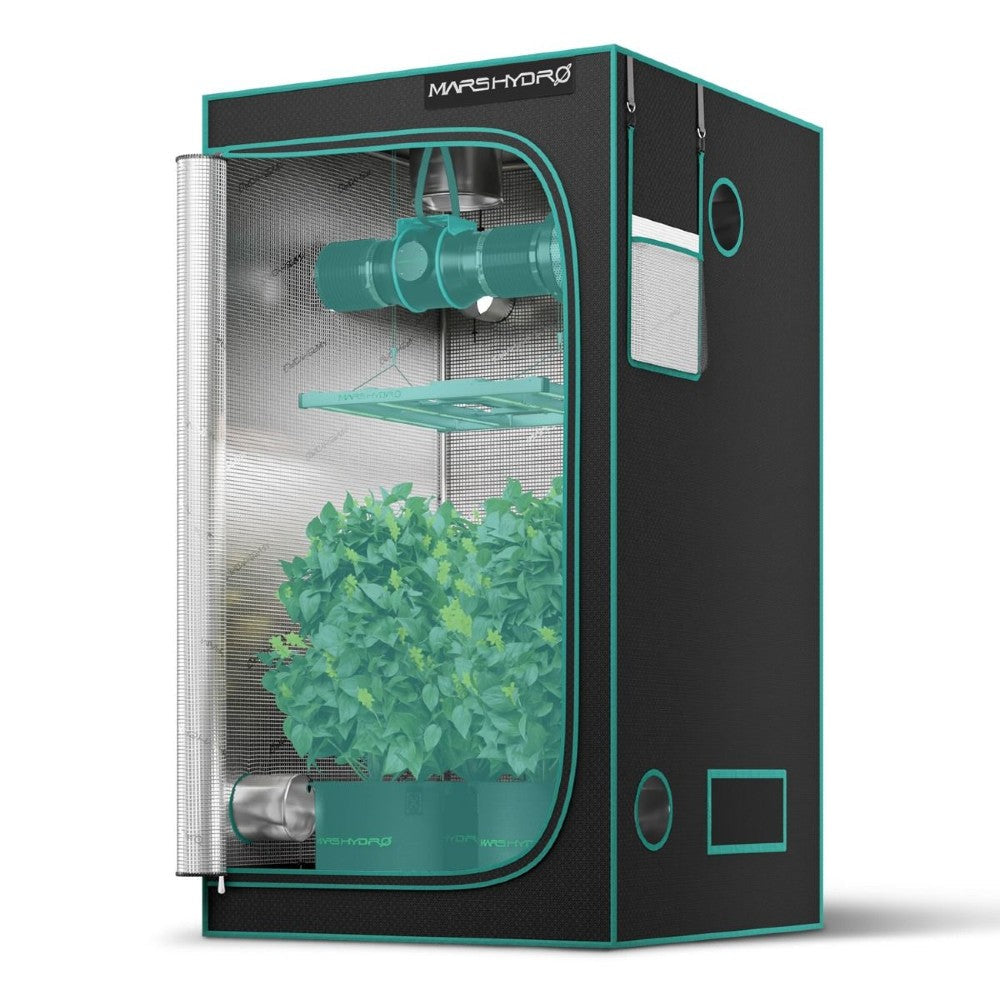
Pro Tip: If you’re building a setup around a Mars Hydro 2′3" x 2′3" x 5′3" tent, keep duct runs under 5 feet. Small tents lose proportionally more static pressure to bends than large ones.
Match the symptom to the cause before you touch anything.
If you inject CO2, reduce exhaust speed during injection windows or you’ll vent your investment straight outside. Sealed tents hold CO2 longer but demand tighter humidity control since there’s less fresh air exchange. For stubborn high humidity, resist the urge to just crank the exhaust higher. Adding a dehumidifier is often the better fix since more extraction alone can worsen your negative pressure problem while barely denting RH.
Negative pressure isn’t a set-it-and-forget-it setting. Conditions drift as filters load up and seasons change.
Statistic Callout: Loaded carbon filters raise static pressure gradually, which is why sizing headroom of at least 15% above your calculated CFM matters more in month three than on install day.
Check the prefilter weekly for dust buildup; a clogged prefilter chokes airflow before the carbon media even gets a chance to work. Inspect the carbon filter monthly by eye, and replace it per the manufacturer’s schedule or sooner if you notice a drop in odor control. Walk the tent seams and zipper tracks monthly for leaks or fraying, and repair light gaps immediately since they’re also pressure leaks. Keep a simple written log of fan speed settings over time. Gradual increases needed to hit the same airflow are your early warning that a fan is derating and due for replacement.
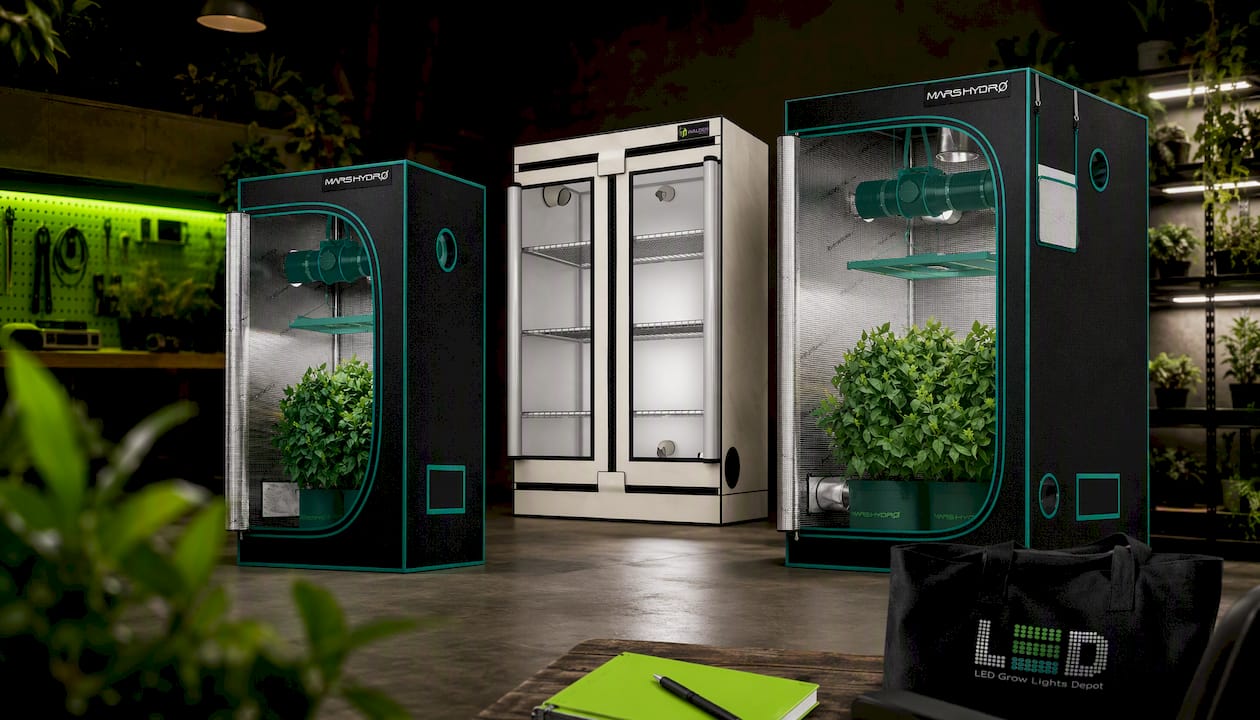
LedGrowLightsDepot builds its ventilation recommendations around the same fan sizing and intake area math outlined above, backed by a 4.8 out of 5 customer satisfaction rating across more than 5,800 reviews. For the small worked example in this guide, the Mars Hydro 2′3" x 2′3" x 5′3" tent fits directly. For the 3×3×6.5 calculation, the Mars Hydro 3′3" x 3′3" x 5′9" tent matches almost exactly. Vertical growers running an Active Grow 3-Tier Walden White tent should recalculate intake area per tier, since stacked shelving restricts passive airflow more than a single-chamber design. Never assume a tent and fan sold together arrive pre-balanced. Verify the intake area and delivered CFM yourself before you trust the setup with a flowering room.
Most advice on this topic obsesses over fan wattage and CFM ratings printed on the box, and that’s the wrong starting point. The number that actually prevents damage is intake area, not exhaust power. A grower with a modest 4-inch fan and generous passive vents will run a cleaner, safer tent than someone who bolts on a 6-inch fan rated for a room twice the size and leaves the intake ports mostly closed.
The conventional wisdom of “bigger fan, better results” ignores that static pressure eats real-world CFM fast, and an undersized intake turns that oversized fan into a liability. I’d rather see a grower undersize the exhaust slightly and nail the intake ratio than the reverse. Tent poles don’t bend from too little extraction. They bend from too much vacuum chasing too little makeup air.
If you take one thing from this article, run the tissue test weekly, not once at setup. Filters load, seasons change, and a tent that was perfectly balanced in week one can drift into implosion territory by week eight without anyone touching a dial.
— Scott
Guessing at fan size costs growers bent poles, blown-out zippers, and stunted plants when intake and exhaust fall out of balance. LedGrowLightsDepot sells ventilation combos already matched to specific tent volumes, so you’re not left calculating static pressure penalties from scratch on a fan and filter bought separately from three different sellers.
For a compact grow, the Spider Farmer 4-inch 205 CFM inline fan and carbon filter combo pairs cleanly with the tent sizes covered in this guide. Larger rooms with higher ACH demands should look at the Spider Farmer 6-inch 402 CFM combo for the headroom that heavy filter loading eventually demands. Browse the complete tent and fan kit if you’d rather start with a tent and ventilation already scaled to each other, then check your intake area against the math in this guide before your first grow cycle.
0 of 3 items selected





Leave a comment