Free Shipping in the USA on nearly all items!
Limited phone hours during the Holidays! Call us: 888-611-9305
Free Shipping in the USA on nearly ALL items! Limited phone hours during the Holidays!

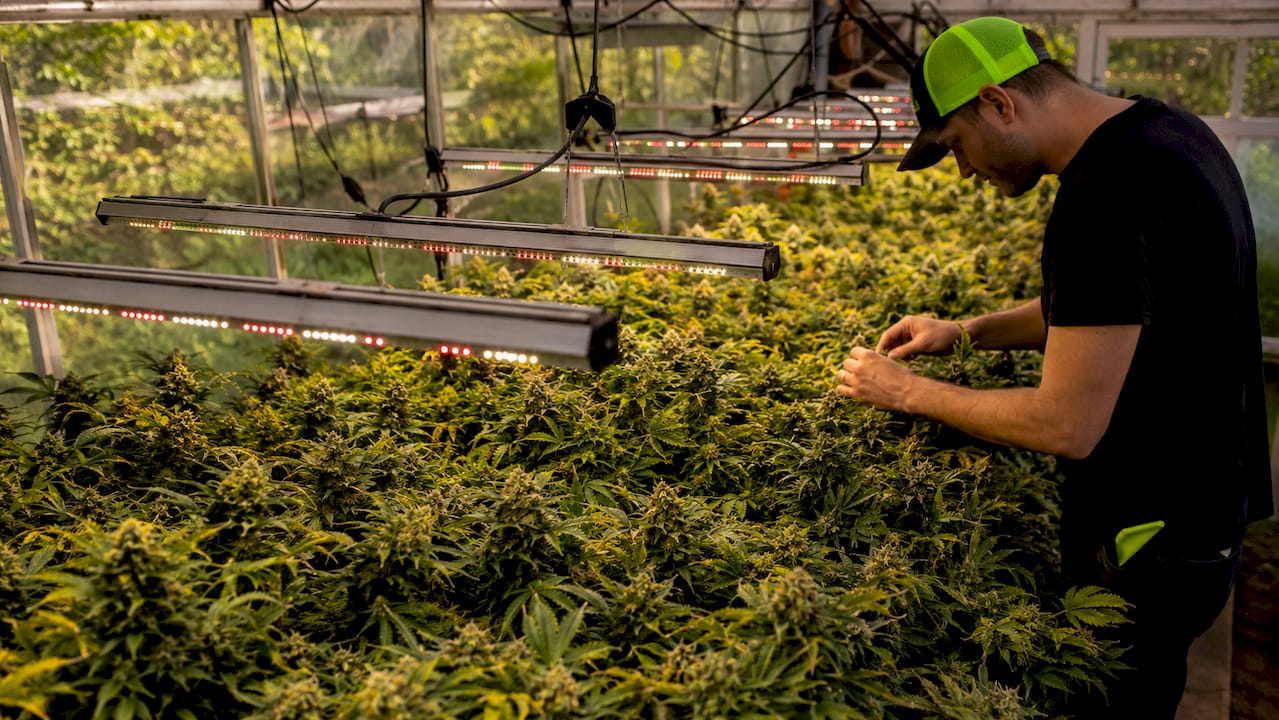
Under-canopy lighting is defined as supplemental grow lighting placed beneath or within the plant canopy to deliver direct photons to lower bud sites that overhead fixtures cannot reach. This is why under-canopy lighting improves buds: those shaded lower sites receive enough light to photosynthesize actively, producing denser flowers with measurable cannabinoid and terpene content instead of airy, underdeveloped popcorn buds. Growers who add supplemental LED bars below the canopy consistently report yield increases of 20–35% under controlled conditions. The industry term for this practice is interlighting or under-canopy supplemental lighting, and it has moved from commercial greenhouse experiments into standard practice for serious home growers and licensed cultivators alike.
The physics of light attenuation inside a cannabis canopy are unforgiving. A dense upper canopy absorbs and scatters photons exponentially as light travels downward, so by the time it reaches mid and lower bud sites, intensity has dropped far below what flowering tissue needs.
The practical consequences show up in three specific ways:
Two metrics matter most here. PPFD (Photosynthetic Photon Flux Density) measures the number of photons hitting a surface per second, expressed in μmol/m²/s. DLI (Daily Light Integral) measures total photon delivery over a full photoperiod. Lower bud sites in a typical indoor setup receive a DLI that is 60–80% lower than the top cola, which explains the dramatic quality difference between top and bottom flowers on the same plant.
Getting the mechanics right separates a meaningful yield gain from wasted electricity. Three variables control the outcome: intensity, spectrum, and fixture position.
The industry target for lower bud sites is 300–400 μmol/m²/s PPFD. That range keeps lower tissue in net-positive photosynthesis without pushing into light saturation, which wastes energy and risks stress. Anything below 200 μmol/m²/s produces marginal gains. Anything above 600 μmol/m²/s at close range risks bleaching and heat damage without a corresponding yield benefit.

Spectrum-optimized fixtures outperform white-only LED strips for under-canopy use. The table below shows why:
| Feature | White-only LED strips | Spectrum-optimized bars |
|---|---|---|
| Deep red (660 nm) output | Low to moderate | High, targeted |
| Far-red (730 nm) for flowering | Absent in most | Included in quality fixtures |
| Photosynthetic efficiency | Moderate | High |
| Cannabinoid/terpene support | Limited | Documented improvement |
| Heat output at equivalent PPFD | Higher | Lower |
Deep red at 660 nm drives chlorophyll absorption directly. Far-red at 730 nm triggers the Emerson enhancement effect, which increases the efficiency of photosynthesis beyond what either wavelength achieves alone. For flowering cannabis, far-red also accelerates floral initiation and bud maturation.
Physical fixture placement must be customized by cultivar because canopy stretch varies significantly between strains. A sativa-dominant cultivar with 24 inches of vertical stretch needs bars positioned differently than a compact indica. Rigid mounting systems create hotspots and uneven coverage. Adjustable LED bars that slide along vertical rails give you the flexibility to dial in coverage as the plant develops through flowering.
Pro Tip: Use a quantum PAR meter to verify actual PPFD at your lowest productive bud site before and after installing under-canopy fixtures. Guessing the intensity based on fixture wattage alone leads to under-lit or over-lit zones that cost you yield.
The numbers are specific enough to plan around. Supplemental LED strips recover 15–30% of yield lost to shading by illuminating lower branches. That figure represents marketable weight, not total biomass. The distinction matters because lower buds without supplemental light often grade out as trim or popcorn, which sells at a fraction of top-shelf price or gets processed rather than sold as flower.
The quality improvements are equally significant:
The benefits of under-canopy lighting compound over multiple harvests. Once you dial in fixture position and intensity for a specific cultivar, you replicate those gains every run without additional setup time.
Adding light without adjusting the rest of your environment is the fastest way to get diminishing returns. More photons mean higher metabolic demand, and your plant needs the inputs to match.
Follow this sequence when adding under-canopy fixtures to an active flowering room:
Pro Tip: CO₂ supplementation at 1,000–1,200 ppm amplifies the gains from under-canopy lighting significantly. Elevated CO₂ raises the light saturation point of cannabis, so lower buds can use higher PPFD without hitting diminishing returns.
Most under-canopy lighting failures trace back to a short list of avoidable errors.
The full spectrum grow light advantages that apply to top lighting apply equally to under-canopy fixtures. Spectrum quality is not a premium feature. It is a baseline requirement for the results you are after.
Under-canopy lighting improves buds by delivering 300–400 μmol/m²/s PPFD to lower bud sites, converting shaded, airy flower into dense, potent, A-grade cannabis with documented yield gains of 20–35%.
| Point | Details |
|---|---|
| Light attenuation causes fluffy buds | Lower bud sites drop below 100 μmol/m²/s without supplemental lighting, making them net carbon consumers. |
| Target PPFD is 300–400 μmol/m²/s | This range keeps lower tissue in active photosynthesis and drives cannabinoid and terpene production. |
| Spectrum matters as much as intensity | Deep red at 660 nm and far-red at 730 nm outperform white-only strips for bud density and potency. |
| Install at day 16 of flowering | Activating fixtures between days 16–21 maximizes the development window without wasting energy during stretch. |
| Environment must match increased light | VPD, CO₂, and nutrition all need adjustment when you add under-canopy fixtures to avoid diminishing returns. |
The most common mistake I see is growers who invest in quality top lighting and then try to solve the lower-bud problem with the cheapest LED strip they can find. They spend $800 on an overhead fixture and $15 on a strip light, then wonder why their lower buds are still airy. The math does not work that way.
Spectrum-optimized LED bars designed specifically for interlighting are not a luxury. They are the tool that actually does the job. When you match fixture quality below the canopy to what you are running overhead, the results are not subtle. I have seen home growers in 4x4 tents add a single quality LED bar at mid-canopy and watch their lower third go from trim-grade to sellable flower in one run.
The other thing I want to push back on is the idea that this is only for commercial operations. Small growers benefit proportionally more because every gram matters more at smaller scale. A 25% yield increase on a 4-plant run is not a rounding error. It is the difference between having enough flower and running short.
The growers who get the best results are the ones who treat under-canopy lighting as part of a system, not an add-on. They adjust VPD, dial in nutrition, and measure PPFD at the bud site. They do not guess. That discipline is what separates a good harvest from a great one, regardless of grow room size.
— Scott
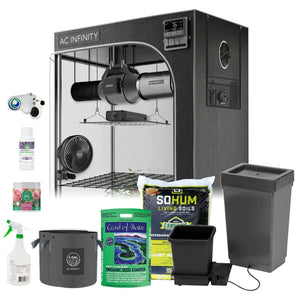
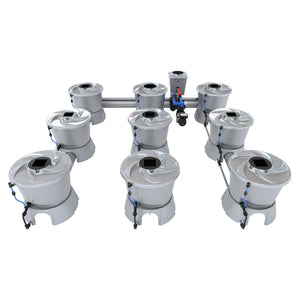
Ledgrowlightsdepot carries a full selection of LED grow lights built for both top-canopy and supplemental under-canopy use, including spectrum-optimized bars with the deep red and far-red output your lower buds need. Products like the Grower’s Choice ROI-E720 and the Medic Grow LED Spectrum X are built for growers who want measurable results, not guesswork. With a 4.8 out of 5 rating from more than 5,800 verified customers, Ledgrowlightsdepot backs every recommendation with real grower experience. Browse the full catalog at Ledgrowlightsdepot and filter by PPFD output and spectrum to find the fixture that fits your setup.
The industry standard target is 300–400 μmol/m²/s at the lowest productive bud site. Below 200 μmol/m²/s, gains are marginal and lower tissue remains in net-negative photosynthesis.
Most growers activate under-canopy fixtures between days 16–21 of flowering. This timing captures the full bud development window without wasting energy during the stretch phase.
No. Under-canopy lighting supplements but does not replace strong top lighting. Overhead fixtures remain the primary photosynthesis energy source, and supplemental bars only perform when top lighting is already dialed in.
Fluffy buds result primarily from inadequate light reaching lower canopy zones during flowering, not genetics. Adding under-canopy fixtures that deliver 300+ μmol/m²/s at those sites resolves the problem in most cases.
Yes. Higher light intensity increases metabolic demand, so phosphorus and potassium requirements rise during flowering. Monitor runoff EC and adjust your feed program within the first week after activating under-canopy fixtures.
{"one"=>"Select 2 or 3 items to compare", "other"=>"{{ count }} of 3 items selected"}


Leave a comment