
Free Shipping in the USA on nearly all items!
Limited phone hours during the Holidays! Call us: 888-611-9305
Free Shipping in the USA on nearly ALL items! Limited phone hours during the Holidays!

Controlling junction temperature (Tj) and case temperature (Tc) is the single most important factor in preserving the luminous flux, spectrum stability, forward voltage behavior, and service life of any high-power LED grow light. Get that heat path right and your fixture delivers what the datasheet promises. Let it run hot and you lose PAR output, watch your spectrum drift, and burn through LEDs years ahead of schedule.
Quick action steps:
LED performance — luminous flux, wavelength, and forward voltage — all shift with temperature. Manufacturers test LEDs at a controlled Tj of 25°C, but real operating conditions push Tj to 60°C or higher. At those elevated temperatures, you’re already getting measurably less light than the spec sheet shows.
An 11°C rise in junction temperature can cut estimated useful life from roughly 37,000 hours down to about 16,000 hours — a 57% reduction in lifespan from a single-digit temperature difference.
That’s not a theoretical edge case. It’s what happens when a grow tent runs warm, airflow is blocked, or a heatsink is caked with dust. The heat path runs junction → solder → MCPCB → heat sink → ambient, and thermal resistance (Rth) at every interface determines how hot the junction actually gets. A poorly seated MCPCB or a thin layer of dried-out TIM acts like insulation, spiking Tj fast.
Here’s what that means for your plants: higher Tj reduces PAR output and shifts the emission wavelength. Blue LEDs drift toward longer wavelengths; the red-to-blue ratio your plants depend on changes. Spectrum drift is subtle at first, but it compounds over months. Lumen depreciation accelerates too, so your canopy gets progressively less light even though the fixture is still on.
Roughly 70% of electrical power in a high-power LED becomes heat rather than light. That ratio makes thermal design non-optional, not a nice upgrade.
Pro Tip: Direct Tj measurement is impractical in the field. Instead, measure Tc at the manufacturer’s designated test point using a calibrated thermocouple, then calculate Tj using the published Rth(j-c) value from the datasheet. That calculation tells you exactly how close you are to the thermal limit.
Common grow-room mistakes that artificially insulate heat paths: dust buildup on fins, drivers mounted directly against emitter boards, and fixtures hung so close to reflective walls that convective airflow stalls.
Thermal management strategies break into two axes: cooling medium (air vs. liquid) and convection type (natural vs. forced). Most growers work somewhere in the middle of that matrix.
| Cooling Method | Heat Transfer Density | Maintenance | Upfront Cost | Best For |
|---|---|---|---|---|
| Passive heat sink (natural convection) | Low | Minimal (dust cleaning) | Low | Low-wattage fixtures, well-ventilated rooms |
| Forced-air heat sink (fans + ducting) | Moderate | Fan cleaning, periodic TIM replacement | Low–moderate | Most home tents, mid-power commercial |
| Heat pipes / vapor chambers | Moderate–high | Low (no moving parts) | Moderate | Space-constrained fixtures needing even heat spread |
| Liquid cold plates + pumped loop | High | Pump/reservoir checks, fluid top-off | High | Dense commercial racks, high-power compact arrays |
| Thermoelectric (Peltier) coolers | Low–moderate | Low (solid state) | High | Niche sensor/precision apps; rarely practical for grow lights |
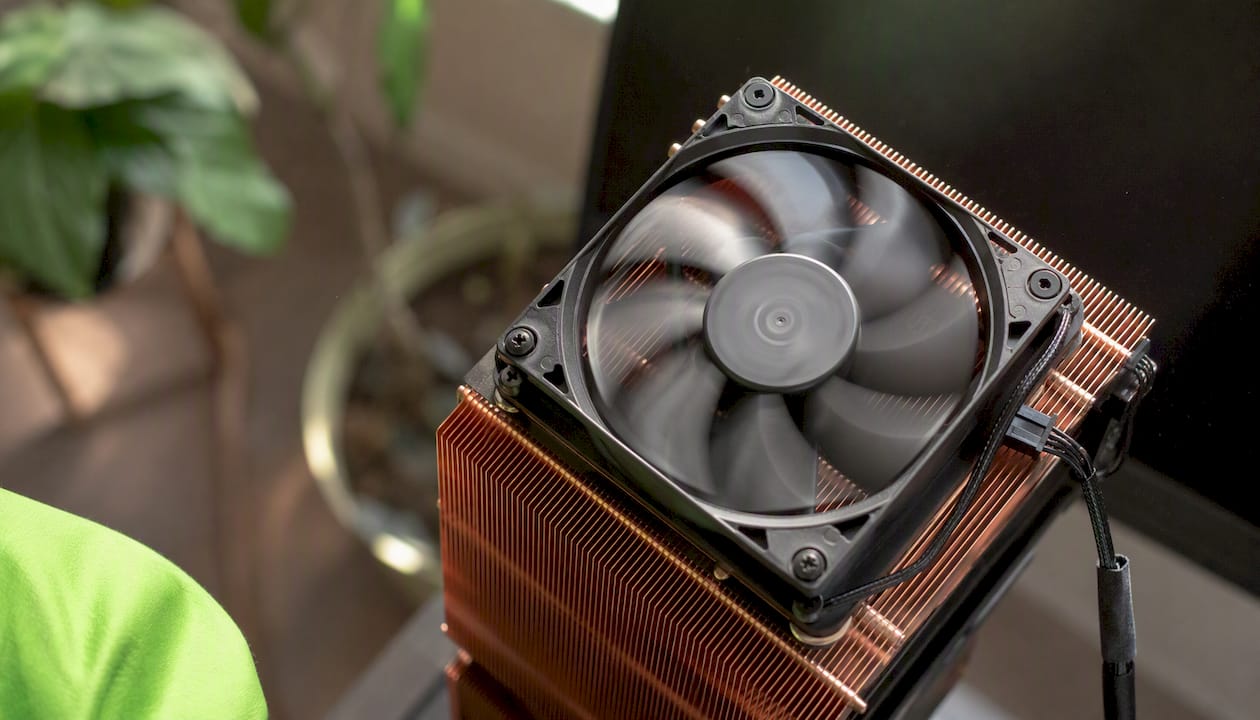
Air cooling handles the majority of home and prosumer grow setups well, especially when ambient temperatures stay controlled and fixtures have adequate spacing. Liquid cooling systems — a pump, cold plate, and radiator — move high heat flux away from compact arrays effectively, but they add maintenance overhead and capital cost that most home growers don’t need.
For a 4×4 tent with a single 400–600W fixture: forced-air cooling with a quality heat sink and one or two circulation fans is almost always sufficient. For a commercial rack running multiple high-output fixtures at close spacing, liquid cooling or heat pipes become worth the investment once air alone can’t keep Tc within spec.
Pro Tip: Heat pipes and vapor chambers reduce heat sink mass and spread heat more evenly across the sink surface — useful when you need a lighter fixture or when one section of a panel runs hotter than others. They’re a middle path between passive air and full liquid loops.
Advanced materials like synthetic diamond and boron arsenide are research-stage options with high thermal conductivity, but cost and complexity put them well outside practical grow-room use for now.
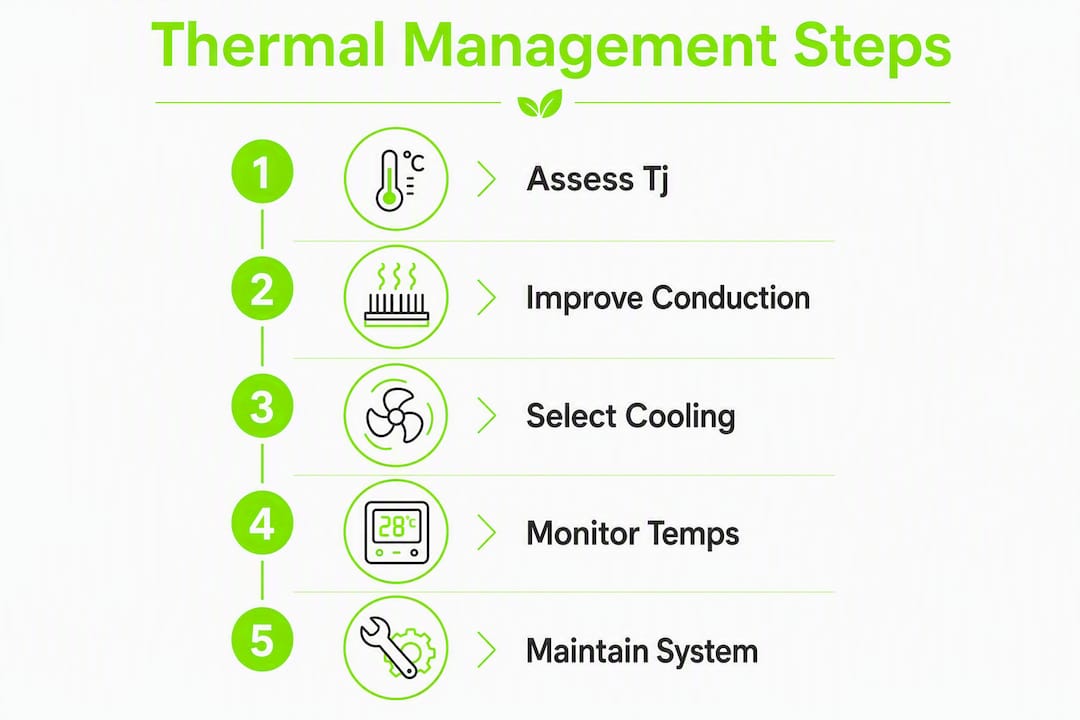
Whether you’re building a new fixture or improving an existing one, the process follows the same sequence.
For fixture layout: keep driver heat separated from emitter boards whenever possible. Drivers run hot and radiate heat that raises ambient temperature around the emitters. DIY fixture builders often mount drivers on the opposite side of the chassis or externally.
Pro Tip: When replacing TIM on a retrofit, phase-change pads are more forgiving than thermal grease. Grease requires precise application thickness; too much is almost as bad as too little. Phase-change materials conform under heat and pressure, which compensates for minor surface irregularities.
Surface flatness matters more than most growers realize. Even a slight bow in an MCPCB creates air gaps that spike thermal resistance at the interface.
Tools you need:
Baseline testing protocol:
Maintenance schedule:
Red flags to watch for:
Greenhouse thermostat and environmental controls at the room level matter too. A grow room that runs 85°F ambient makes every fixture’s thermal job harder, regardless of how well the heat sink is designed.
The DOE data is direct: an 11°C junction temperature increase can cut useful LED life from ~37,000 hours to ~16,000 hours. Longer daily operation hours mean that reduced LED life translates into a significant difference in operational years before lumen maintenance drops to 70%.
Scenario comparison:
The cost math is straightforward. A quality forced-air cooling upgrade for a home tent costs $50–$150 in fans and ducting. A fixture replacement costs several hundred dollars. For commercial operators running dozens of fixtures, the ROI on proper thermal design is measured in tens of thousands of dollars over a 5-year cycle.
Higher PAR maintenance also means more consistent crop quality. Variance in light output across a canopy creates uneven growth, which affects bud grading and harvest timing. Keeping Tj stable keeps PAR stable, and that consistency shows up in the crop.
For long-term LED cost comparisons, thermal management is the variable that most determines whether the LED efficiency advantage actually materializes over time.
Ledgrowlightsdepot carries a 4.8/5 rating from more than 5,800 customer reviews, and the patterns across those installs are consistent. The most common thermal mistake in home tents is a fixture hung too close to the ceiling with no exhaust fan, trapping heat against the emitter board. In commercial racks, it’s drivers mounted directly against the emitter chassis with no separation.
Growers who address thermal management as part of their initial setup — not as a fix after problems appear — consistently report more stable yields and fewer fixture-related issues over multi-year runs.
Typical Tc ranges observed across installs: small tents with adequate ventilation run 45°C–60°C at the case; commercial racks without active cooling can push 70°C–80°C, which is at or above the limit for many mid-range emitters. After thermal upgrades (improved airflow, TIM replacement, driver separation), case temperatures in those commercial setups typically drop 10°C–20°C.
Ledgrowlightsdepot’s proximity systems improve under-canopy light distribution, which reduces the temptation to overdrive fixtures to compensate for poor penetration. Running fixtures at lower drive currents is one of the most effective thermal management techniques available — lower current means lower Tj, longer life, and more stable spectrum.
Common recommendations from field installs:
Proper thermal management keeps junction temperature within manufacturer specs, which directly determines how much usable light your plants receive and how long your fixtures last.
| Point | Details |
|---|---|
| Junction temperature drives lifespan | An increase in junction temperature can significantly reduce LED useful life, as shown by DOE data. |
| 70% of LED power becomes heat | Most electrical input exits as heat, not light — making active heat removal a design requirement, not an option. |
| Match cooling method to power density | Air cooling suits most home tents; liquid cooling pays off in dense commercial racks where air can’t keep Tc within spec. |
| Monitor Tc, not Tj | Measure case temperature with a thermocouple at the manufacturer’s test point and calculate Tj from published Rth values. |
| Ledgrowlightsdepot field guidance | Fixtures with external drivers, bar-style layouts, and a master controller for dimming consistently show lower Tc and longer service life across installs. |
Most growers treat cooling as an afterthought — something to fix when a fixture starts dimming or a panel section goes dark. That’s backwards. The thermal design of a fixture determines its real-world performance from day one, not just its failure point years later.
The manufacturers who publish Tc and Tj limits aren’t being conservative for liability reasons. Those numbers reflect the physics of semiconductor degradation. Running an LED 10°C above its rated case temperature every day isn’t a minor deviation; it’s a compounding tax on output and lifespan that you pay in crop quality and replacement costs.
What I find underappreciated is the spectrum stability angle. Growers obsess over PPFD numbers at purchase, then never consider that a thermally stressed fixture is delivering a different spectrum six months later. The red-to-blue ratio shifts. Flowering response changes. The fixture that tested well at 25°C Tj is a different light source at 75°C Tj.
The roadmap is simple: assess your current Tc under real operating conditions, fix the conduction path first (TIM, MCPCB seating, driver separation), add active cooling if needed, then maintain it on a schedule. Staying within manufacturer Tc/Tj specs protects your warranty and your investment.
The fixtures that hold their output longest share a few things: external or separated drivers, well-engineered heat sinks, and drive currents calibrated to keep Tj within spec under real grow-room conditions. Ledgrowlightsdepot stocks exactly those options, from the PhotonTek X 600W PRO for high-output commercial canopies to the Grower’s Choice ROI-E720 for growers who need commercial-grade thermal engineering without a custom build.

Pair any fixture with the Grower’s Choice Master Controller to automate dimming during peak ambient temperature hours — one of the most cost-effective thermal management moves available. Browse the full range at Ledgrowlightsdepot or reach out for fixture-specific thermal guidance before your next setup or upgrade.
0 of 3 items selected





Leave a comment