
Free Shipping in the USA on nearly all items!
Limited phone hours during the Holidays! Call us: 888-611-9305
Free Shipping in the USA on nearly ALL items! Limited phone hours during the Holidays!

Aim for 150 to 220 µmol/m²/s of PPFD at the canopy and 16 to 17 hours of light daily using daylight white LED bars or shop lights. Position fixtures 6 to 12 inches above the tray and measure with a PPFD meter rather than guessing from wattage. That combination covers most mixed microgreen trays, from radish to broccoli, without stretching or scorching leaves.
TL;DR:
- Most microgreens require a PPFD of 150 to 220 µmol/m²/s at the canopy for optimal growth, measured at 6 to 12 inches above the tray.
- A daily light integral below 20 mol/m²/day suits microgreens, which grow best with 16 to 17 hours of light, using timers for consistency.
- Full-spectrum daylight white LEDs in the 5500K to 6500K range provide the best results, while spectrum-specific fixtures are unnecessary for mixed trays.
- Multiple low-watt LED shop lights spread evenly across shelves outperform high-output panels and are more cost-effective at scale.
- Proper light uniformity, PPFD measurement, and adjusting fixture height based on actual readings prevent stretching, bleaching, and uneven growth.
Most microgreens grow lights get chosen by wattage or lumens, and that’s the mistake that causes stretched stems and pale trays. Meeting actual microgreens light requirements means working in PPFD (Photosynthetic Photon Flux Density) and DLI (Daily Light Integral), the two metrics that describe what a plant’s leaf surface actually receives.
PPFD measures the number of photosynthetically active photons hitting one square meter of canopy each second, expressed as µmol/m²/s. DLI totals that intensity over a full day, expressed in mol/m²/day. The math is simple: DLI equals PPFD multiplied by photoperiod in seconds, divided by one million. A tray sitting under 180 µmol/m²/s for 16 hours receives a DLI of about 10.4 mol/m²/day. Run the same light for 12 hours and DLI drops to roughly 7.8 mol/m²/day, even though nothing about the fixture changed.
Wattage tells you how much electricity a fixture draws, not how many usable photons reach the leaf. Lumens measure brightness as the human eye perceives it, weighted heavily toward green and yellow wavelengths that matter less to a plant. Kelvin temperature only describes the color appearance of light, not the underlying spectral makeup. A grow light rated at 6500K and 4000K can deliver nearly identical PPFD, or wildly different amounts, depending on the diodes behind the number.
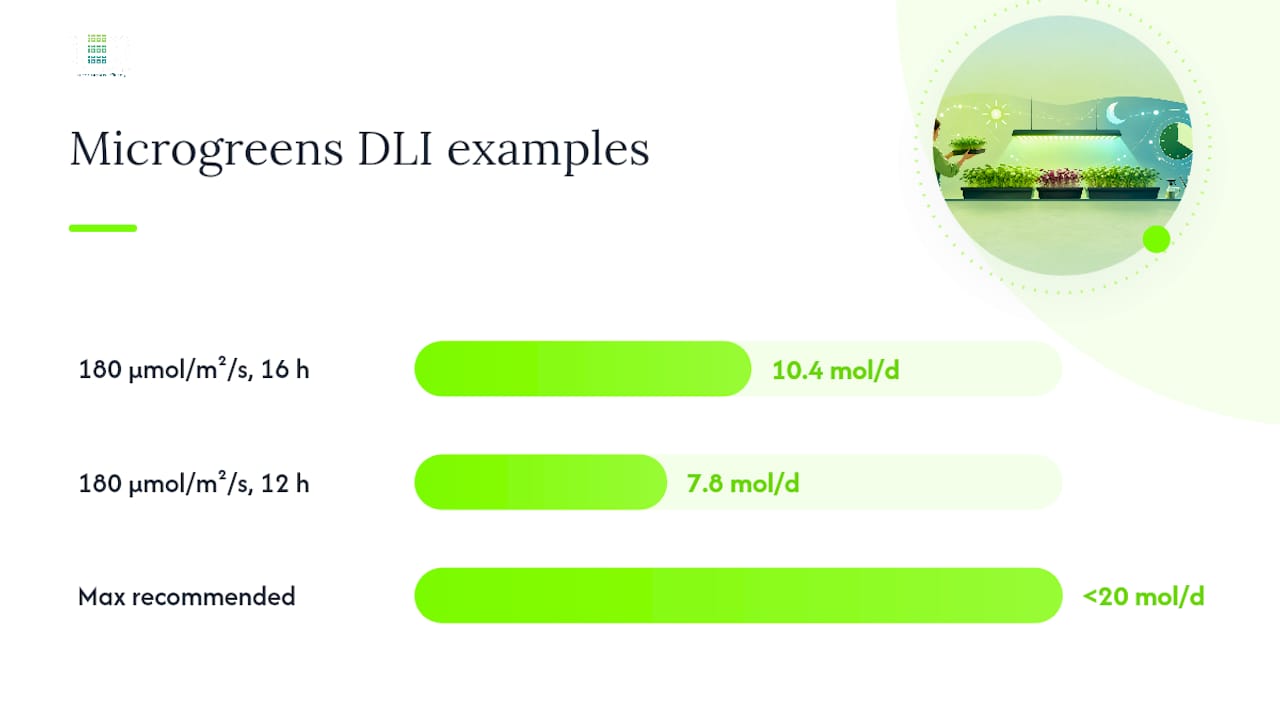
Penn State Extension notes that microgreens are generally low-light crops, with most needing a DLI below 20 mol/m²/day to finish a healthy 7 to 21 day cycle. That’s well below what a full-size tomato or pepper plant wants, which is exactly why an inexpensive shop light setup can outperform an expensive high-output panel bought for flowering cannabis.
When you’re checking a spec sheet before buying, look for these details:
A basic quantum PPFD meter runs $30 to $80 and pays for itself the first time it catches a fixture that’s underperforming its listing. Hold it at canopy height, take readings at the center and four corners of the tray, and average them. If you don’t own a meter yet, a rough sanity check works too: if you can comfortably read fine print by the light at tray height without squinting, you’re probably in a reasonable ballpark for microgreens, though that’s no substitute for real numbers once you’re running multiple shelves.
The default schedule that works for nearly every home setup is 16 to 17 hours of light on, 7 to 8 hours off. University of Maryland Extension backs this range for home microgreen production, and multi-year testing from independent growers lands on the same window, typically settling at 17 hours on and 7 hours off as a reliable standard.
Two alternate schedules exist for specific goals:
Germination is the exception to all of this. Seeds should stay in the dark, or under a light-blocking dome or weighted cover, for the first 2 to 4 days depending on the crop. This blackout period encourages roots and stems to establish before leaves need to photosynthesize. Once you see the first hints of yellow or pale green growth pushing against the cover, that’s your cue to remove it and start the light schedule.
Here’s how the math plays out for a fixture delivering 180 µmol/m²/s:
Pro Tip: Put your grow lights on a mechanical or digital timer from day one, even if you think you’ll remember to flip the switch. A missed evening turns into a stretched, leggy tray by morning, and that batch is rarely worth eating.
Running lights during off-peak electricity hours, where your utility offers them, trims cost without touching plant performance. Extension guidance on timers applies here directly: schedule the “on” window overnight or during cheaper rate periods if your setup allows it, since microgreens don’t care whether their 16 hours happen at noon or at midnight.
Full-spectrum daylight white LEDs in the 5500K to 6500K range are the right default for nearly every home grower, and chasing a custom red/blue recipe rarely pays off for mixed trays. Spectrum shapes plant form more than most people expect, but the differences matter less at the microgreen stage than they do for flowering or fruiting crops.
Red light (620 to 700nm) drives stem elongation and biomass accumulation efficiently, but too much red without balancing wavelengths produces stretched, weak stems. Blue light (400 to 500nm) does the opposite: it keeps growth compact and encourages stronger stem structure, while also influencing pigment production, which is one reason blue-heavy spectrums can deepen color in crops like red cabbage or purple basil. Green light penetrates deeper into a leaf canopy than red or blue, useful once a tray thickens up. Far-red (700 to 750nm) at low levels can trigger the shade-avoidance response, the same mechanism that makes stems stretch when they sense a neighboring plant blocking light.
A 2026 peer-reviewed study on irradiance and spectrum response confirms these effects vary meaningfully by species, meaning there’s no universal spectrum recipe that maximizes every crop at once. That’s the practical argument for starting simple: a full-spectrum white LED gets you a workable result across radish, broccoli, kale, and basil without four separate fixtures tuned to four separate recipes.
Kelvin rating alone can’t tell you what’s happening inside that white light. Two fixtures both marketed at 6500K can carry completely different photon ratios of red to blue to green, because Kelvin describes color temperature, not the underlying SPD. If a manufacturer publishes SPD charts, that data is worth more than the Kelvin number printed on the box.
LED bars and basic LED shop lights are the best fit for most home microgreens setups, beating T5/T8 fluorescents and larger panel lights on efficiency, heat, and cost for this specific use. Each fixture type comes with real trade-offs worth understanding before you buy.
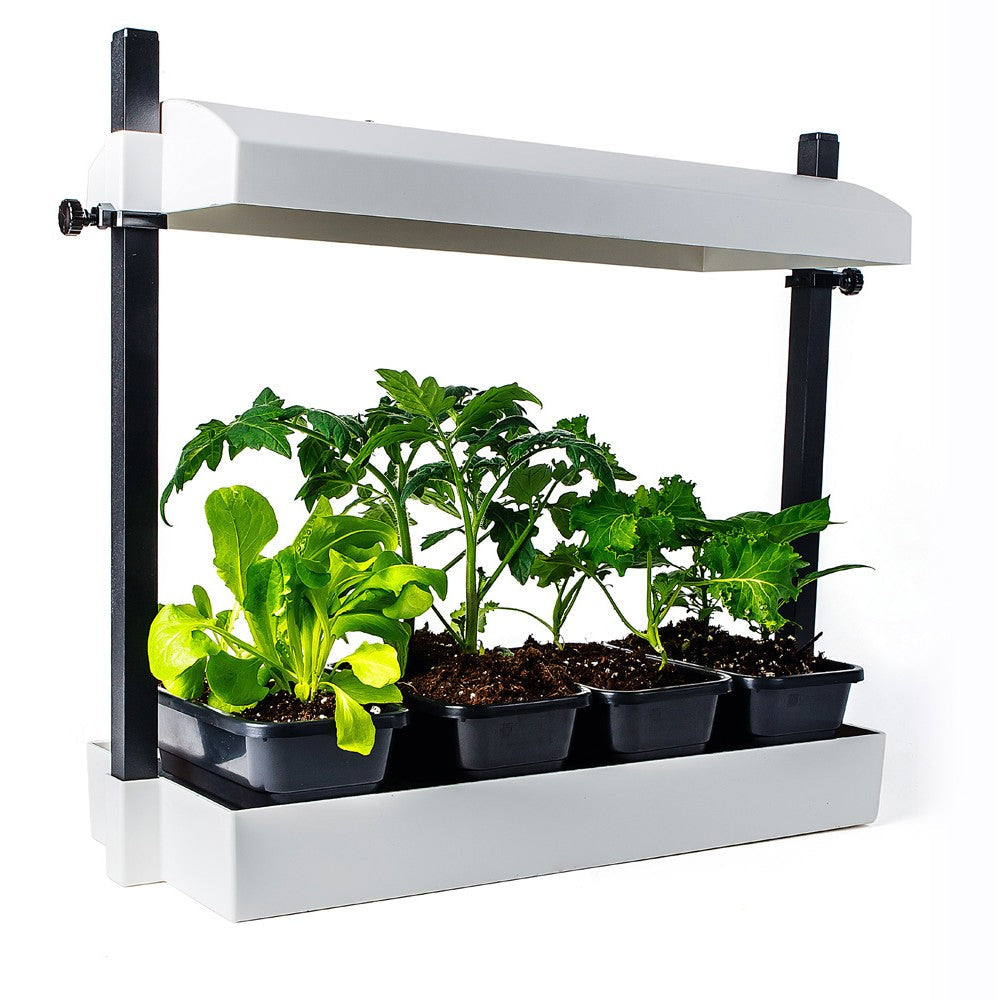
LED shop lights and bars run cooler than fluorescents, use less electricity for equivalent output, and last far longer before dimming. Multiple lower-watt fixtures spread across a shelf tend to beat one high-output unit, since overlapping beams smooth out coverage and avoid the hot center, weak edge problem that plagues single-point sources. LED efficiency becomes especially noticeable once you’re running several shelves around the clock.
T5/T8 fluorescents still show up in older setups and remain serviceable, but they run hotter, draw more power per unit of usable light, and degrade in output well before they burn out, meaning a two-year-old tube may be delivering a fraction of its original PPFD without any visible sign of failure.
Dedicated panel lights built for full-size plants often output far more intensity than microgreens need, and mounting them close enough to hit a reasonable PPFD without excess heat gets awkward on a tight shelf.
A shelf setup that consistently works well: three 20-watt LED shop lights spanning the width of a standard wire shelving unit, mounted 8 to 10 inches above a single 10x20 tray, delivering somewhere in the 150 to 200 µmol/m²/s range at canopy height. Scale that pattern across a multi-shelf rack, and you can run four or five trays’ worth of production in the same footprint most people dedicate to bulky storage shelving.
Mounting and spacing checklist:
Running-cost checklist before you commit to a setup: total wattage per shelf, hours per day, your local electricity rate, and expected fixture lifespan. Three 20-watt lights running 17 hours a day cost only a few cents daily in most markets, which is part of why LEDs beat fluorescents on total cost of ownership even when the upfront price is higher for the fixture itself. Upgrade to higher-output fixtures once you’re running enough trays that manual light-moving and timer juggling start eating more time than the upgrade would cost.
Start LED bars and shop lights at 6 to 8 inches above the tray, then adjust based on what a PPFD meter tells you, not on how the tray looks after one day. University of Maryland Extension recommends the 6 to 12 inch range as a reliable starting point for most home fixtures, with fluorescents and larger panels typically needing to sit toward the higher end of that range to avoid heat buildup.
Mapping PPFD across the tray, not just at dead center, catches the uniformity problems that cause one side of a tray to bolt upward while the other stays short. Take readings at the center and all four corners, then calculate a uniformity ratio: lowest reading divided by average reading. Commercial lighting guidance targets a ratio above 0.80, meaning no point on the tray falls more than 20% below the average.
| Distance from canopy | Typical effect | Best for |
|---|---|---|
| 4–6 inches | Higher PPFD, risk of edge unevenness on single fixtures | Compact single-tray setups with low-watt lights |
| 6–10 inches | Balanced intensity and coverage | Most standard shelf setups |
| 10–14 inches | Lower PPFD, better uniformity across wide trays | Multi-fixture shelves, fluorescents, larger panels |
If your uniformity ratio comes in under 0.80, three fixes usually solve it: increase beam overlap by adding a fixture or moving existing ones closer together, raise the light slightly to let beams blend before hitting the canopy, or rotate the tray 180 degrees halfway through the cycle to even out any lingering bias. Reflective shelf liners help too, bouncing stray light back toward weak edges instead of losing it to the room.
Heat stress and photobleaching look similar at a glance, both leave pale or bleached patches, but they come from different causes. Heat stress typically shows up as wilting alongside the discoloration, often worse near the center where fixtures run hottest. Photobleaching from excess intensity shows crisp, dry-looking pale patches without wilting, usually concentrated wherever the tray sat closest to the light. If you’re not sure which you’re dealing with, back the light off an inch or two for 24 hours and watch whether new growth improves.
Crop-specific tuning saves real trial time, since a setting that’s perfect for kale can bleach basil sitting six inches closer to the same fixture.
Kale and broccoli, both brassicas, tolerate and often benefit from the higher end of the PPFD scale, sometimes pushing toward 300 µmol/m²/s in commercial setups without bleaching. Lettuce and basil sit at the opposite end, staying tender and avoiding bitterness better under gentler light.
Run small A/B tests before committing a full shelf to any recipe: two trays of the same crop, one at your baseline distance and one moved an inch or two, tracked over a single cycle. That’s a faster path to dialing in taste and yield than reading forum threads about someone else’s setup.
Most lighting problems show up as one of five symptoms, and each has a specific, fast fix.
Before touching the lights at all, rule out the usual non-light suspects: uneven watering, poor airflow that traps humidity against the leaves, and seed density packed so tight that inner seedlings can’t reach any light regardless of fixture quality. A tray sown too thick will stretch even under perfect PPFD, simply because seedlings are competing with each other for the light that does arrive.
Pro Tip: Before you buy a new fixture to fix a problem tray, run the same crop again at the exact same seed density with only the light distance changed. Half the “bad light” complaints turn out to be a seeding or watering issue wearing a lighting disguise.
Long-running fixture testing across home and small commercial setups keeps landing on the same practical truth: measured PPFD and a consistent 16 to 17 hour photoperiod outperform any single spec printed on a box. Scott’s published guidance on translating PPFD and DLI into real growing decisions runs through the same principle behind every recommendation here: measure the canopy, don’t trust the label.
Proximity systems address a related problem at a different scale, under-canopy light penetration in larger commercial setups, where standard top-down fixtures leave lower leaves starved even when the top of the canopy reads fine on a meter. That approach has been tied to yield increases of over 20% and improved bud grading in cultivation trials.
For home-scale microgreens specifically, fixture choice depends heavily on tray count:
Measurement beats marketing every time. A $40 meter reading of 180 µmol/m²/s tells you more about what your tray will actually do than any wattage number on a product page.
Bench-test any new fixture on one tray before committing an entire rack to it, and compare the PPFD reading against the ranges already covered here.
Buy a PPFD meter before you buy a second grow light. Set your timer for 16 hours on, target 150 to 220 µmol/m²/s at canopy height, and start your fixture 6 to 12 inches above the tray. Everything else is adjustment, not guesswork.
Don’t assume the most expensive fixture on the shelf solves problems a $25 shop light and a meter reading can’t. Iteration beats spending: move the light an inch, wait a day, check the result.
— Scott
Matching the fixture to the tray count matters more for microgreens than for almost any other indoor crop, since even a slightly oversized light wastes money on a single tray. The Active Grow 1020 Heavy Duty Microgreens Kit is built specifically around the 10x20 tray footprint covered throughout this guide, making it a direct fit for anyone running a compact multi-tray rack rather than piecing together shop lights and hardware store brackets.
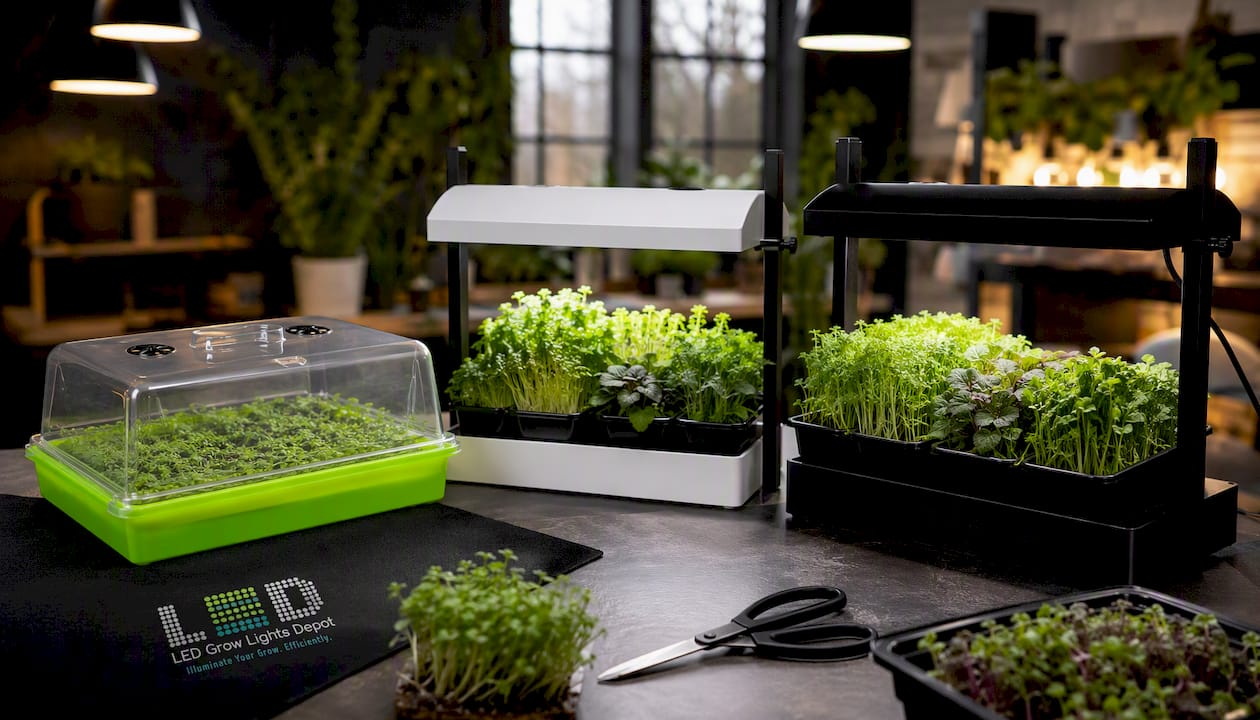
For a single tray on a windowsill shelf or a small countertop setup, the Sunblaster Micro LED Grow Light Garden in white delivers a compact fixture sized for exactly that scale, without the overkill intensity of a full panel built for flowering plants. The same fixture is also available as the Sunblaster Micro LED Grow Light Garden in black, if you want the identical performance in a different finish to match your shelving or grow space.
Whichever setup you choose, measure PPFD at canopy height within the first day of installation and compare it against the 150 to 220 µmol/m²/s range for mixed trays, or the crop-specific numbers covered earlier, before scaling up to full production. Browse the current lineup of LED grow lights to compare specs side by side and find the fixture sized correctly for your tray count.
The blackout period is the 2 to 4 days after sowing when seeds stay covered or in darkness to encourage root and stem development before lights turn on. Remove the cover once you see pale green or yellow growth pushing against it.
The biggest mistakes are judging light quality by wattage or lumens instead of measured PPFD, running too short a photoperiod, and sowing seeds too densely for the light to reach lower seedlings. Uneven coverage across the tray, caused by a single fixture with no overlap, is a close fourth.
Growing microgreens indoors is straightforward once you’re working from measured PPFD and a consistent 16 to 17 hour photoperiod rather than guessing. Most failures trace back to lighting basics, not to any inherent difficulty in the crop itself.
Full-spectrum daylight white LED bars or shop lights, in the 5500 to 6500K range and positioned 6 to 12 inches above the tray, are the best default for most home growers. They deliver the needed PPFD efficiently without the heat and higher running costs of fluorescents or oversized panel lights.
0 of 3 items selected





Leave a comment