
Free Shipping in the USA on nearly all items!
Limited phone hours during the Holidays! Call us: 888-611-9305
Free Shipping in the USA on nearly ALL items! Limited phone hours during the Holidays!

Most grow light flicker traces back to an electrical or control-signal fault, not a dying diode. The usual suspects are a dimmer mismatched to the driver, a loose connection, an overheating driver, or dirty power on the circuit. Power the fixture down safely, then run it at 100% brightness with any dimmer bypassed. If the flicker disappears, you’ve already isolated the problem to your control setup.
TL;DR:
- Flicker is usually caused by control-signal mismatches, faulty drivers, loose wiring, or overheating, not diode failure.
- Testing with the fixture at full brightness on a dedicated circuit quickly isolates control or wiring issues from hardware faults.
- Specific flicker patterns can reveal underlying problems, such as rhythmic pulsing indicating thermal throttling or high-pitched whine suggesting capacitor failure.
- Using external or removable drivers with proper heat management extends fixture lifespan and prevents rhythmic flicker.
- Maintaining a flicker percentage below 5% or ensuring stable DLI is crucial, as invisible flicker can still harm crop flowering and yield.
Grow light flicker almost always starts in one of four places: the control signal, the driver, the wiring, or the circuit feeding the fixture. Knowing which category you’re dealing with saves you from replacing parts that were never broken.
Most flicker complaints turn out to be driver or wiring issues rather than diode failure, which is good news. Diodes rarely fail all at once, and the fix is usually cheaper than a full fixture swap.
Work through this checklist in order. Each step rules out one variable before you move to the next, and it keeps you from replacing a driver when the real problem was a $12 connector.
Running the fixture at full power on its own dedicated circuit is the fastest way to separate a control or wiring problem from a driver or mains issue, and it takes under five minutes.
Pro Tip: Label your dimmer’s protocol (PWM or 0–10V) with a piece of tape before you ever swap fixtures or controllers. Mismatched replacements are the number one reason growers reintroduce the exact flicker they just fixed.
The way your light flickers is a diagnostic clue on its own. Match what you’re seeing against these patterns before you buy a single replacement part.
| Flicker pattern | Likely cause |
|---|---|
| Random, no pattern | Loose wiring, floating neutral, or electrical noise on the line |
| Rhythmic pulsing every 1–3 seconds | Thermal throttling from an overheating driver |
| Strobing only when dimmed | PWM dimmer paired with a driver built for 0–10V |
| Flicker plus a high-pitched whine | Failing electrolytic capacitors inside the driver |
| Flicker when other equipment kicks on | Voltage sag or an overloaded shared circuit |
A floating or loose neutral connection at the breaker or outlet is one of the most overlooked causes of random flicker, mostly because it points outside the fixture entirely. Growers tear apart their driver looking for a fault that’s actually sitting in the building’s wiring.
The whine-plus-flicker combination deserves particular attention. A failing capacitor rarely fixes itself, and running the fixture in that state risks a harder failure down the line, so treat that pairing as a signal to replace the driver rather than keep testing it.
If your flicker only shows up when a space heater, dehumidifier, or another grow light powers on nearby, you’re likely dealing with voltage sag from a shared or overloaded circuit rather than anything wrong with the fixture itself. That’s an electrical capacity problem, not a lighting problem.
Once you know which category your flicker falls into, the fix is usually straightforward.
Pro Tip: If you’re wiring a driver outside the tent, use 14 to 16 AWG cable for the run and secure it with a cable clamp at the entry point. A stressed cable at the grommet is a sneaky, slow-developing cause of intermittent flicker.
Not every flicker is a DIY job. Use these thresholds to decide your next move.
Driver failure is one of the most common points of failure in any LED grow light, and heat is the biggest reason drivers age faster than they should. Fixtures built with external or remote-mounted drivers keep that heat source away from the diode board entirely, which extends driver life and cuts down on the thermal throttling that causes rhythmic flicker in the first place.
LedGrowLightsDepot’s proprietary proximity systems address a related but separate problem: uneven light penetration under the canopy. Fixtures paired with well-ventilated, removable driver designs give you two advantages at once: more consistent under-canopy light distribution and drivers that run cooler, longer. Customers rate the catalog 4.8 out of 5 across more than 5,800 reviews, and the product pages list exact voltage and amperage specs so you can match a replacement driver correctly instead of guessing. For deeper reading on why steady light output matters at all, the DLI guide for indoor grows breaks down the physiology side.
Flicker isn’t just an annoyance. It interrupts the steady photoperiod your plants depend on, and that interruption has measurable consequences depending on how severe and frequent it is.
Interrupted light regimes can affect flowering and yield in sensitive crops, particularly during the flowering stage, when photoperiod stability signals the plant’s internal clock. A fixture cycling on and off, even briefly, chips away at your effective Daily Light Integral, or DLI, the total light energy a plant receives over 24 hours.
Extension research on flowering crops emphasizes that steady photoperiods and consistent DLI matter more than peak intensity alone. A grow light that flickers for a few seconds every hour might still hit its rated PPFD on paper, but the plant experiences something closer to a strobe light than a sun.
In flowering cannabis and other photoperiod-sensitive crops, this kind of intermittent stress carries a specific risk. Prolonged or repeated interruptions during the flowering window can contribute to hermaphroditism and reduced yield in sensitive strains, which turns an electrical annoyance into a crop-quality problem.
The takeaway isn’t to panic over minor flicker you can barely see. It’s to fix persistent flicker quickly, especially heading into flower, rather than assuming plants shrug off inconsistent light the way people do. If you want to understand why spectrum consistency during flower matters just as much as photoperiod consistency, the flowering spectrum guide covers the PPFD and far-red side of that equation.
Human eyes are bad at spotting flicker above roughly 60 to 90 Hz, which means plenty of problematic flicker happens invisibly while you assume everything’s fine.
The simplest detection method costs nothing: point your phone camera at the fixture and watch the screen. Rolling shutter on most smartphone cameras will show banding or wave patterns across the frame if the light is pulsing at a frequency the sensor can catch. Slow-motion video mode makes this even more obvious, since it samples at a higher frame rate and will exaggerate any pulsing that’s otherwise invisible.
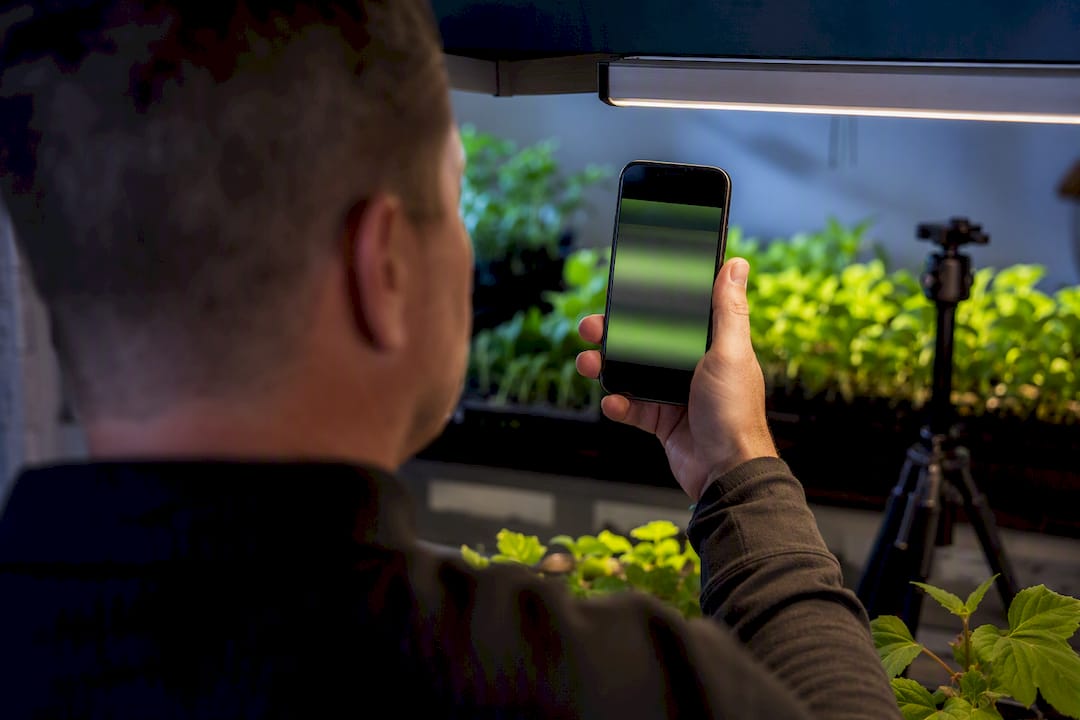
For anyone running multiple fixtures or a commercial operation, a light meter with flicker-measurement capability gives you an actual number instead of a guess. These tools report flicker percentage and flicker index, two figures that quantify how deep the light dips between pulses and how that dip is shaped over time. A flicker percentage near zero means rock-steady output; anything climbing past 10 or 20% is worth investigating even if it’s invisible to your eyes.
Multimeters help with a different piece of the puzzle. Checking voltage at the outlet under load can reveal a sag that lines up with when your flicker happens, which points you straight at circuit capacity rather than the fixture. If you already suspect a shared circuit, this test confirms it before you spend money on a new driver.
Every light technology has its own relationship with flicker, and the differences come down to how each one converts power into light.
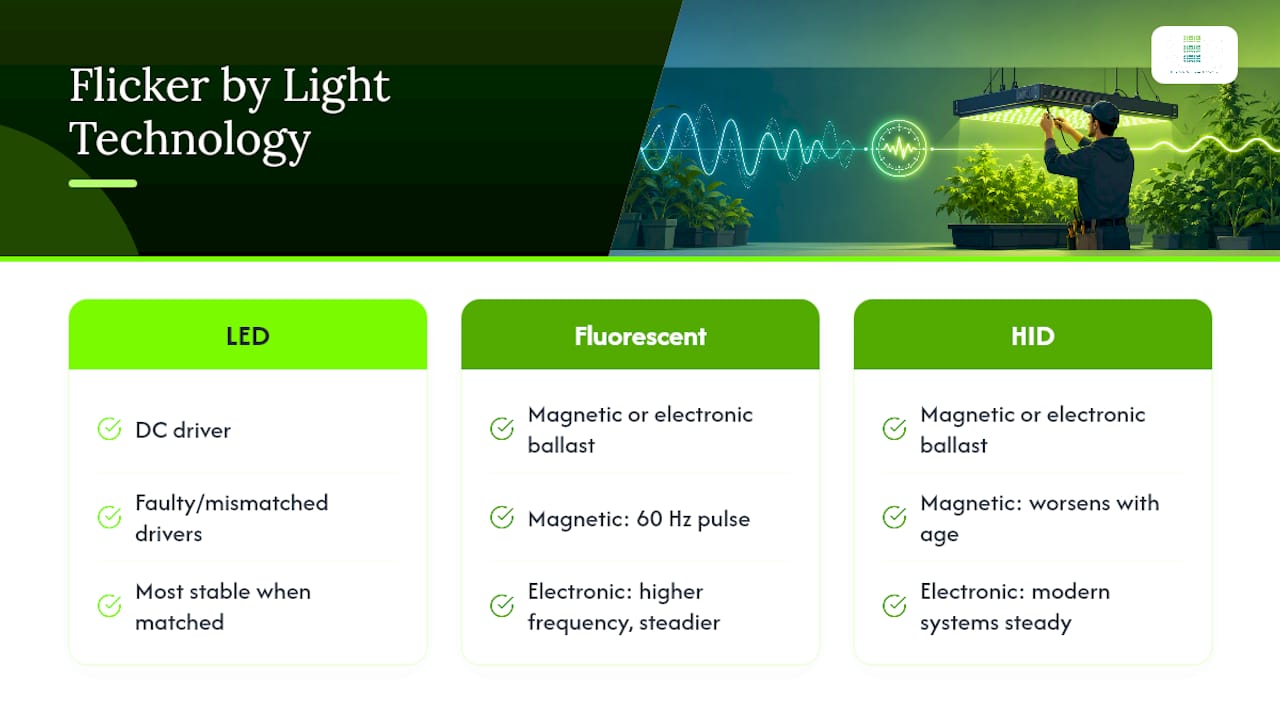
Fluorescent fixtures with old magnetic ballasts flicker at the AC line frequency, which is 60 Hz in most of the United States. That’s fast enough to be invisible most of the time, but it’s still a real pulse, and older or failing ballasts often drop well below that rate into visibly noticeable flicker. Electronic ballasts improved this substantially by driving the tubes at a much higher frequency.
HID fixtures, including HPS and metal halide, run similarly: modern electronic ballasts hold a steady high-frequency output, but older magnetic ballast HID systems flicker more, and that flicker tends to get worse as the ballast ages or the bulb nears end of life.
LED fixtures should, in theory, offer the steadiest output of the three, since a well-designed driver delivers constant DC current with no inherent pulse. In practice, LED flicker complaints are almost always about faulty drivers or mismatched controls, not a limitation of the diode technology itself. A properly matched LED driver and controller combination is genuinely the most stable option available, but a cheap or incompatible driver can make an LED fixture flicker worse than a well-maintained HID system ever would.
There’s no single regulatory flicker standard written specifically for horticultural lighting the way there is for some commercial and residential lighting applications. That gap means growers are largely borrowing thresholds from general lighting research and applying common sense to plant response.
As a practical benchmark, aim for a flicker percentage in the low single digits, ideally under 5%, and treat anything above 10% as worth investigating even if you can’t see it with the naked eye. That guidance mirrors general lighting-industry practice rather than a horticulture-specific rule, but it’s a reasonable target until crop-specific standards catch up.
The more useful framework for growers is thinking in terms of DLI stability rather than a flicker percentage alone. If your fixture’s output stays consistent enough that your measured DLI doesn’t waver from day to day, you’re almost certainly within a safe range regardless of what a lab-grade flicker meter would report. Persistent, visible flicker is the bigger red flag than a small percentage reading on a meter, since visible flicker almost always means something is actively malfunctioning rather than operating at a minor, harmless tolerance.
The most durable fix for flicker isn’t a patch. It’s choosing hardware designed around the failure points this article just walked through: mismatched controls, overheating drivers, and inconsistent power delivery.
Fixtures with removable or external drivers solve the thermal side of the equation directly, since the driver’s capacitors and components stay outside the humid, warm tent environment where heat shortens their lifespan fastest. Fixtures like the ThinkGrow LED Model-I and ThinkGrow LED Model-I Plus are built around this principle, with driver components positioned to shed heat efficiently rather than trap it against the canopy.
Higher-output setups benefit from the same logic at scale. The Grower’s Choice ROI-E720 and Grower’s Choice ROI-FF 650W both pair high-wattage output with driver designs meant to handle sustained full-power operation without the thermal throttling that causes rhythmic pulsing. For full-spectrum coverage with efficiency in mind, the HortiBloom Mega Eco 720 delivers steady output across a large canopy footprint, while the HortiBloom Mega Optic 720W adds lensing and IR for growers prioritizing consistent PPFD distribution alongside flicker-free operation.
Smaller setups have flicker risks too, just at a different scale. The compact Mars Hydro FC-E1500 and the Sunblaster Micro LED Grow Light Garden are sized for propagation trays and microgreens, where a stable, low-wattage driver matters just as much as it does on a full flowering fixture.
The mistake I see constantly is growers replacing an entire fixture before checking the two cheapest possibilities: the dimmer and the connectors. A $500 driver swap fixes nothing if the real fault was a $15 controller mismatch.
Run the light at full power on its own dedicated circuit before you buy anything. That single test, done first, saves more time and money than any other step in this guide.
— Scott
If you’ve worked through the checklist above and landed on “replace the driver” or “replace the fixture,” it’s worth choosing hardware that won’t put you back in this position next season. Look for fixtures with external or removable drivers, since keeping the electronics away from tent heat is one of the clearest ways to extend driver life and avoid thermal throttling altogether.
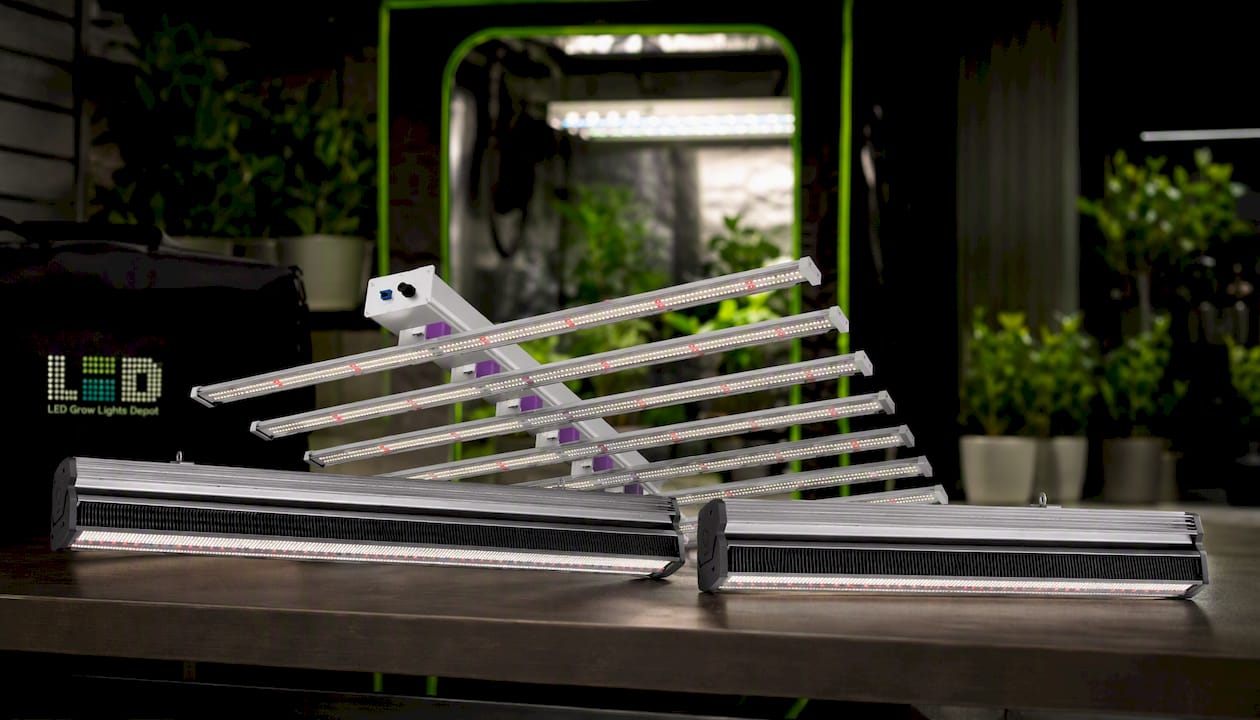
LedGrowLightsDepot’s catalog is built around that exact design principle. The ThinkGrow LED Model-I and Grower’s Choice ROI-E720 both use driver placements engineered to shed heat efficiently, and every product page lists the exact voltage, current, and dimmer protocol specs you need to confirm compatibility before you buy a replacement controller. That last part matters more than most growers realize. A mismatched 0–10V versus PWM purchase is how half of these flicker problems start in the first place.
Check the compatibility specs on your current setup, then browse the full grow light catalog to find a fixture or replacement driver that matches your circuit and space.
For readers who want to go deeper on the electrical and plant-physiology side of grow light flicker, these sources cover the ground this article draws from.
0 of 3 items selected





Leave a comment