
Free Shipping in the USA on nearly all items!
Limited phone hours during the Holidays! Call us: 888-611-9305
Free Shipping in the USA on nearly ALL items! Limited phone hours during the Holidays!

Yes, dim your grow lights for seedlings. Dimming gives you finer control than moving the fixture up and down, so measure PPFD or DLI when you can and watch for leggy stems or bleached cotyledons as your feedback signal.
TL;DR:
- Dimming should be the primary control during seedling stages to ensure even light distribution and prevent bleaching or stretching.
- Start with approximately 30–40% dimming during germination, gradually increasing up to 80–100% as seedlings develop true leaves over 3–4 weeks.
- Use PPFD targets of 100–200 for germination, rising to 400+ for transplant-ready seedlings, and confirm with a PAR meter or DLI calculations.
- Raising or lowering the fixture affects uneven coverage more than dimming, which maintains consistent intensity across the entire tray.
- Adjustments should be made based on plant response, not just calendar timing, with attention to environmental factors like humidity and heat that influence light effects.
Seedlings don’t need full power on day one. Cotyledons have thin cuticles and underdeveloped antioxidant systems, which makes them vulnerable to bleaching under intense light before they’ve had a chance to build up tolerance. Ramping intensity by stage instead of running lights wide open avoids that problem entirely and matches what most practical LED grow guides now recommend.
Here’s a working ramp schedule you can apply to most dimmable LED fixtures, whether you’re running a single bar over a tray or a full seedling rack:
Pace those increases every 5 to 7 days, or key them to leaf development rather than the calendar. A tray that’s slower to sprout doesn’t need more light on day 4 just because the schedule says so. If you’re using a propagation dome, remember the extra humidity and warmth speed early growth, so seedlings under a dome often reach the true-leaf stage a few days faster than uncovered trays, which means the ramp should follow the plants, not the clock.
Extension research backs this general approach: University of Maryland Extension recommends keeping fluorescent fixtures just 1 to 2 inches above seedlings and running lights 14 to 16 hours a day to prevent stretch, particularly in tomato and cabbage-family crops that stretch easily under weak light. LED fixtures behave differently than fluorescents in terms of heat and intensity per inch, which is exactly why dimming, rather than height alone, gives you the precision to match that same stocky growth without scorching young leaves.
Two numbers matter here: PPFD and DLI. PPFD (Photosynthetic Photon Flux Density) measures how much usable light hits a surface at any given moment, in micromoles per square meter per second. DLI (Daily Light Integral) measures the total amount of that light a plant receives over a full day, in moles per square meter per day. Think of PPFD as the flow rate from a hose and DLI as how much water ends up in the bucket by nightfall. UNH Extension makes this exact point: quantity, measured as DLI, matters more than spectrum when it comes to preventing stretched, weak seedlings.
Target ranges by stage look like this:
Pro Tip: To convert PPFD into DLI, use the formula DLI = PPFD × hours × 0.0036. A tray running at 300 µmol/m²/s for 14 hours works out to roughly 15.1 mol/m²/day, which lands right in the target zone for true-leaf seedlings.
A handheld PAR meter gives you exact PPFD readings under your specific fixture, which matters because manufacturer spec sheets often measure output at the fixture’s face, not at seedling height. If you don’t own a meter, watch the plants instead: stocky, deep-green stems with tight node spacing signal adequate light, while pale, stretched growth reaching toward the fixture tells you output is too low for the current stage. Our DLI guide for indoor grows walks through the math in more detail if you want to plan run times around a specific target.
Dimming and height adjustment solve different problems, and mixing them up is one of the most common seedling mistakes growers make. Dimming changes intensity uniformly across the entire footprint. Raising or lowering the fixture changes intensity too, but nonlinearly across the tray, meaning edge plants and center plants end up with different exposure even after the adjustment.
That’s why practical propagation guides like FyTech Systems treat dimming as the primary tool for routine intensity changes and reserve height adjustments for fixing coverage gaps or hot spots. Growers running multi-tray racks lean on dimming for exactly this reason: it keeps output even from edge to center, while height changes can widen that variance instead of shrinking it.
Pro Tip: If your fixture’s dimmer bottoms out above the PPFD you need, don’t force it down further by raising the light too high. A very high fixture can create uneven spread across the tray. Look for a fixture with a wider dimming range instead.
Some fixtures force your hand on height regardless of dimming. Ballast placement, driver heat, or a fixture that runs hot even at low settings can require raising it purely to protect seedlings from heat stress, not to control intensity.
Most seedling light issues show up within a day or two of the actual cause, and most are fixable without buying new equipment. Rule out temperature swings and damping-off (a fungal issue that causes sudden collapse at the soil line) before assuming light is the culprit, since both can mimic light stress.
| Symptom | Likely cause | Fix |
|---|---|---|
| Leggy, stretched stems | PPFD too low for current stage | Increase dim setting or lower fixture 2 to 4 inches |
| Bleached or white leaf tops | PPFD too high for current stage | Reduce dim setting or raise fixture |
| Curled or “tacoed” leaves | High PPFD combined with heat stress | Dim the fixture and improve airflow around the tray |
| Uneven growth across the tray | Coverage gap or hot spot | Adjust fixture height or reposition for even spread |
Expect visible change within 48 to 72 hours of making a correction, according to practical grow-light troubleshooting guides. If nothing improves in that window, the cause probably isn’t light at all. Check soil moisture, airflow, and ambient temperature before adjusting your dimmer again.
Fixtures built with proximity systems distribute light more evenly under the canopy, which cuts down on the constant height-adjusting many growers fall into when their light spreads unevenly across a tray. That matters most at the seedling stage, when even a small hot spot can bleach one corner of a tray while the opposite corner stretches.
Feedback across many reviews points to consistent reliability across setups ranging from a single 5x8 tray to full commercial racks. Scott’s notes from working with growers on ramp schedules echo the extension guidance above: start dim, increase gradually, and let the seedlings’ own growth pattern (not a fixed calendar) set the pace between stages.
Dimming an LED fixture reduces overall output, but it generally does not shift the ratio of wavelengths coming from a well-designed diode array the way changing bulb types would. That’s a meaningful difference from older lighting technology, where dimming could shift color temperature noticeably.
This is exactly why extension sources stress DLI and PPFD over spectrum concerns for seedling stretch: quantity, not color balance, drives most of the leggy growth growers see. Where spectrum does matter for seedlings is in supplemental far-red light, which can trigger stem elongation if it makes up too large a share of total output early on. Fixtures with separate far-red channels, like a supplemental far-red lamp, let you control that element independently instead of it riding along with your main dimmer setting. Keeping far-red use minimal during the cotyledon stage, then introducing it more deliberately closer to transplant, avoids the stretch that comes from too much red-shifted light too early.
Light intensity, temperature, and humidity work as a set for seedlings, not as separate dials. Lowering your dim setting during germination isn’t just a light decision. It also reduces the radiant heat reaching the tray, which matters when you’re running a humidity dome that already traps warmth and moisture near the soil surface.
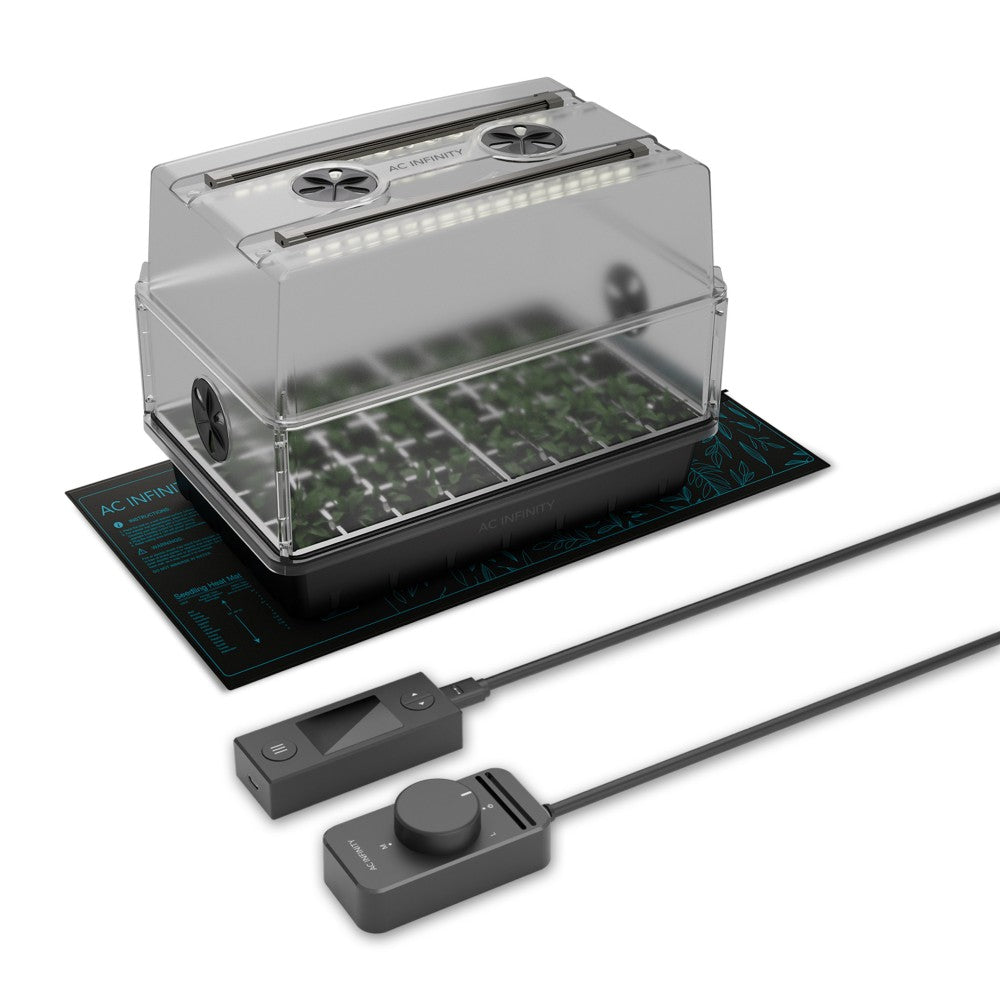
If you’re using a propagation dome with a seedling heat mat, dimming your fixture lower during the first few days keeps combined heat from the mat and the light from pushing tray temperature too high, which can encourage damping-off in overly warm, humid conditions. As you ramp light intensity upward in week two and three, start venting the dome more or removing it, since seedlings need less humidity buffering once true leaves appear and better airflow becomes more important than moisture retention. A germination kit built with an adjustable dome height lets you make that adjustment without swapping equipment mid-cycle, which keeps the transition smoother for the plants.
Over a multi-week seedling cycle, that adds up, especially for growers running several trays under separate fixtures simultaneously.
The bigger savings usually isn’t the electricity bill itself. It’s avoiding wasted light that seedlings can’t use yet. Pushing full PPFD onto cotyledons that can only process a fraction of it doesn’t grow them faster. It just burns power the plant isn’t equipped to use, while raising the risk of bleaching that sets growth back and costs you the tray. Dimming appropriately by stage means every watt you’re running is actually doing useful work, which is a better return on your electricity than blasting maximum output from day one and hoping the seedlings keep up.
The most common mistake is skipping the ramp entirely and running fixtures at full power from the moment seeds sprout. That’s the fastest way to bleach cotyledons before they’ve had a chance to develop, according to multiple LED seedling setup guides, and it often sets a tray back further than starting too dim ever would.
A second mistake is adjusting height instead of the dimmer for routine ramp increases, which creates uneven exposure across the tray instead of a clean, uniform bump in intensity. A third is ramping on a fixed calendar regardless of how the seedlings actually look, pushing week-three settings onto plants that are still developmentally at week two. And a fourth, easy to overlook, is forgetting that a propagation dome traps both heat and light-driven warmth together, so a dim setting that’s fine without a dome can run too hot underneath one.
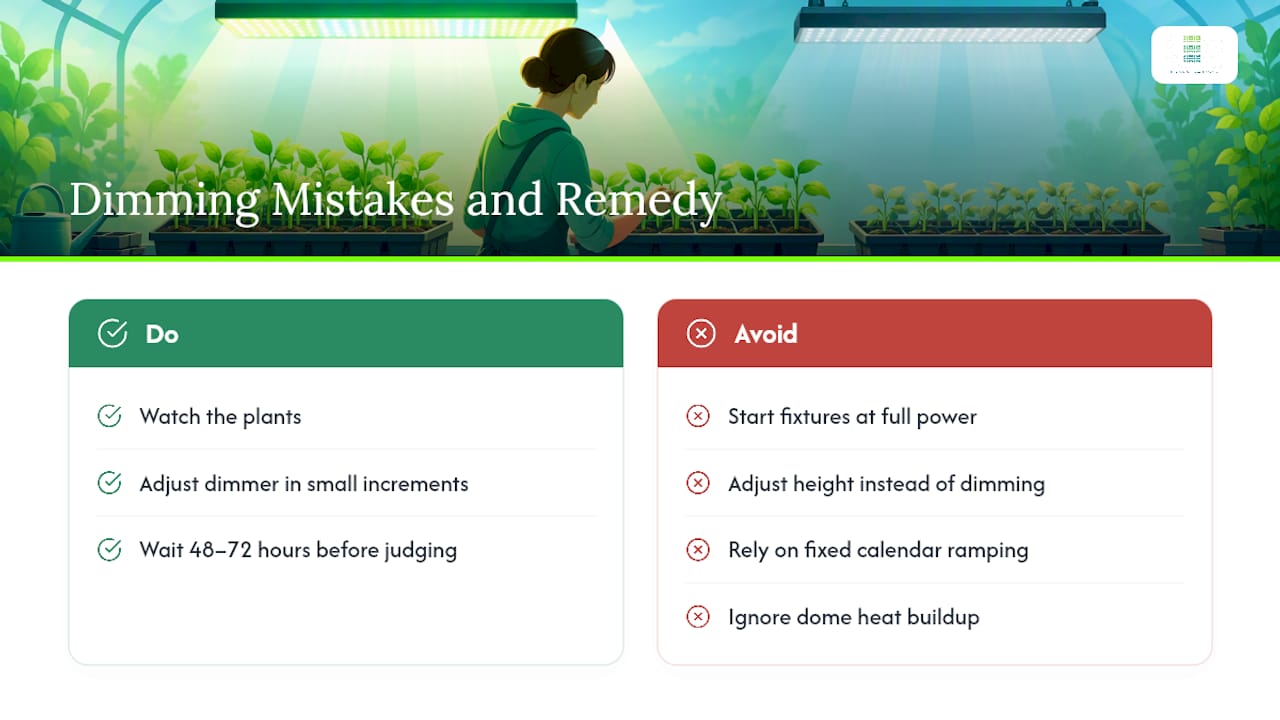
The fix for all four is the same: watch the plants, adjust the dimmer in small increments, and give each change 48 to 72 hours before deciding whether it worked.
The conventional advice on seedling lighting spends too much time on spectrum charts and not enough on the two numbers that actually predict stretch and bleaching: PPFD and DLI. Extension research backs this clearly, and it’s the piece most seedling guides bury under marketing language about “full spectrum” and “optimized wavelengths.”
What the evidence supports is simpler than most articles make it sound. Start dim, ramp on a schedule keyed to leaf development rather than the calendar, and use dimming as your default control instead of chasing height adjustments for every stage change. Height matters, but it’s a coverage fix, not an intensity dial.
If you take one thing from this, prioritize getting a PPFD reading, even a rough one, before you assume your fixture is doing what the spec sheet claims. Most seedling problems trace back to either too much light too soon, or a grower who never checked what their fixture was actually delivering at tray height.
— Scott
Proximity systems solve the coverage side of seedling lighting that dimming alone can’t fix. Even distribution under the canopy means fewer hot spots forcing you into constant height adjustments.
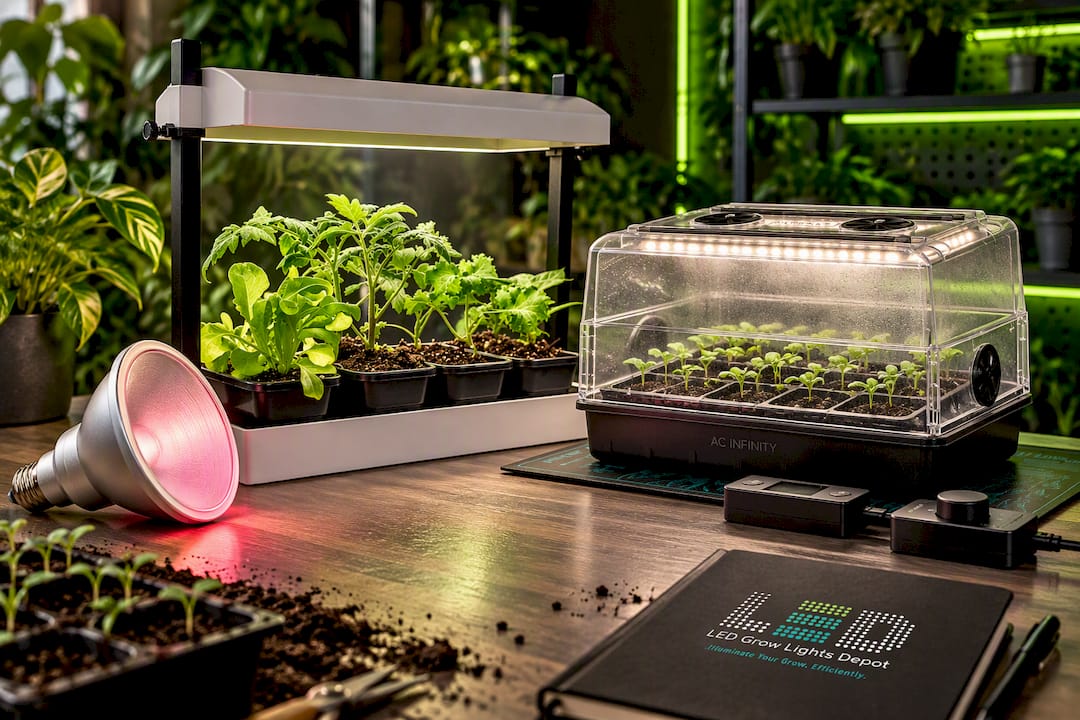
Building out a seedling station usually comes down to four pieces working together. A dimmable full-spectrum LED handles your main ramp schedule. An adjustable hang kit lets you fine-tune height for coverage once dimming has intensity locked in. A PAR meter or DLI calculator tells you what your fixture is actually delivering at tray height, not just what the spec sheet claims. And a propagation dome manages humidity while seedlings are most vulnerable to drying out or damping off.
For a compact setup, the Sunblaster Micro LED Grow Light Garden, White gives you dimmable, close-range coverage suited to a single tray or small propagation footprint. If you want far-red control handled separately from your main dimmer, the TotalGrow Far Red Lullaby Lamp adds that channel without disrupting your primary ramp. For a full germination setup in one box, the AC Infinity humidity dome kit with heat mat and LED bars covers a 5x8 tray with adjustable dome height built in.
Match the fixture to your tray footprint first, then dial in dimming from there. Browse the full LED grow light catalog or reach out to LedGrowLightsDepot directly for help sizing a setup to your specific tray count and space.
Seedlings generally need between 100 and 500 PPFD depending on stage: closer to 100–200 during germination, ramping toward 400–500+ as they approach transplant readiness. Starting too high before roots and true leaves develop is the more common mistake compared to starting too low.
Lumens measure brightness as perceived by the human eye, not the PPFD value plants actually use for photosynthesis, so a lumen figure alone can’t tell you if a fixture is too intense for seedlings. Check the fixture’s PPFD rating at seedling height instead, and dim to the 100–200 range for germination regardless of what the lumen number suggests.
Yes. Dimming to roughly 30–50% at germination and ramping upward by stage is the recommended approach for preserving uniform light across a tray while avoiding the bleaching that comes from full power too early. LedGrowLightsDepot fixtures with built-in dimming make this ramp straightforward without needing separate hardware.
Yes. Excess PPFD, especially before cotyledons have developed enough to handle it, causes bleached or curled leaves and can stall growth for days. Watch for pale or white leaf tops as the first sign and dim the fixture rather than raising it, since raising alone won’t fix an intensity problem evenly across the tray.
PPFD measures instantaneous light intensity in micromoles per square meter per second, while DLI measures the total light delivered over a full day in moles per square meter per day. You need both: PPFD tells you if your dimmer setting is right for the current stage, and DLI confirms your photoperiod is long enough to add up to what the plant needs by day’s end.
0 of 3 items selected





Leave a comment