
Free Shipping in the USA on nearly all items!
Limited phone hours during the Holidays! Call us: 888-611-9305
Free Shipping in the USA on nearly ALL items! Limited phone hours during the Holidays!

Run Cal-Mag under LEDs when you’re feeding RO or very soft water, growing in coco, running a hydroponic reservoir, or pushing high light intensity that’s driving fast, LED-fueled growth. Otherwise, check your climate first. Adding calcium magnesium supplements without fixing vapor pressure deficit (VPD) or an already-high EC reading often makes deficiencies worse, not better. Before you dose anything, work through the diagnostic checklist below.
TL;DR:
- Correct diagnosis is essential, as yellowing leaves or curling tips often result from transport issues or climate problems, not actual deficiencies.
- Transpiration-driven mineral movement varies with spectrum and intensity, meaning light conditions can influence calcium and magnesium uptake significantly.
- Growers should tailor Cal-Mag dosing based on water type and medium, with higher doses needed for reverse osmosis or coco substrates, and lower or none for tap water.
- To prevent lockouts, avoid prophylactic dosing without confirmation, and always monitor EC, pH, and system health before adding supplements.
- Improving canopy uniformity and airflow often addresses localized symptoms better than increasing supplement doses or changing water chemistry.
Not every yellow leaf or curled tip is a calcium magnesium LED growth problem. Half the “deficiencies” growers chase under LED lighting turn out to be transport issues, not mineral shortages, according to grower guidance on Cal-Mag traps under LED lighting. Confirm the problem before you touch the reservoir.
Start by separating the two deficiencies on sight:
Then run these checks in order:
If symptoms persist past that window, run a small comparison: foliar spray one affected branch, feed the reservoir normally on another, and compare results over three to seven days.
Pro Tip: Photograph the same three leaves every two days. Chlorosis patterns are easy to misjudge from memory, especially under color-shifted LED light.
Calcium and magnesium travel through the plant dissolved in water moving up the xylem, driven almost entirely by transpiration. When a plant transpires less, less calcium and magnesium reach new growth, regardless of how much is available in the root zone. This is why LED grows behave differently than HPS grows: LEDs run cooler, which changes leaf temperature and stomatal behavior, which in turn changes how much water plants pull and how minerals ride along with it.
A 2025 controlled trial backs this up directly. Researchers found that Ca and Mg treatments raised tissue concentrations across LED spectra, but the spectrum itself mattered too — red-heavy light produced the highest fresh and dry weight, while red-treated plants also showed the highest magnesium levels. Calcium concentrations peaked under blue plus far-red and red plus far-red combinations instead.
A few practical patterns worth knowing:
Before blaming your nutrient line, check whether your light intensity or spectrum shift is the real driver. A full spectrum light setup that matches your growth stage does more to stabilize uptake than another bottle of supplement ever will.
Your starting dose depends on what’s already in your water and what medium you’re growing in, not on a single universal number. Growers running reverse osmosis or very soft water typically need a higher baseline dose because there’s essentially zero calcium or magnesium coming in naturally. Medium-hard tap water often needs little or none, since the minerals are already present, according to dosing guidance from Cronk Nutrients’ Cal-Mag supplement guide.
| Water/media type | Typical starting approach |
|---|---|
| RO or very soft water | Higher baseline Cal-Mag dose, added at every feeding |
| Medium-hard tap water | Low or zero added dose; test before supplementing |
| Coco coir | Pre-saturate (buffer) before planting, then moderate ongoing dose |
| Hydroponic reservoir | Mixed in during reservoir build, dosed before pH adjustment |
| Soil with dolomite lime | Minimal extra Mg needed; monitor before adding more |
Coco substrates need special handling because coco’s cation exchange sites strip calcium and magnesium out of your feed before your roots ever see it. A pre-saturating soak, or a few feedings at moderate Cal-Mag concentration before the plant goes in, fills those exchange sites so future feeds actually reach the root zone, per buffering protocols detailed by ZenWeedGuide’s coco cal-mag guide. Coco and LED setups together tend to burn through calcium and magnesium faster than soil grows, according to supplier guidance on why coco and LED grows need Cal-Mag, which is one reason prophylactic dosing is common in that combination specifically.
Follow this sequence every time you add Cal-Mag to a reservoir:
Foliar application works as an emergency fix for a localized problem, like one branch showing tip dieback, but it isn’t a substitute for fixing the reservoir baseline. Reservoir feeding should be your default; foliar spray is triage.
Pro Tip: Keep your prophylactic dose lower than your corrective dose. A grower who doses at corrective strength every feeding, “just in case,” is usually the one dealing with lockout by week four.
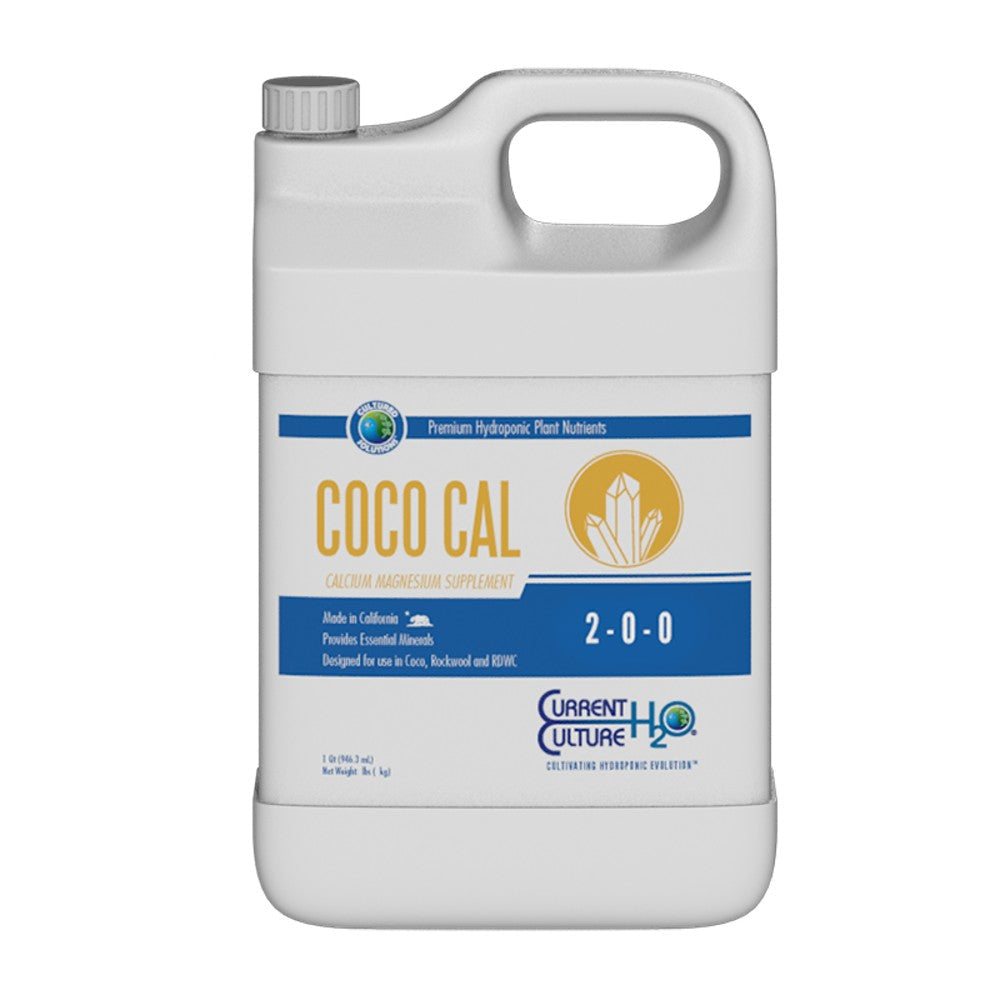
Most lockouts trace back to the same handful of habits. Growers dose Cal-Mag prophylactically without confirming a deficiency exists, ignore VPD swings that are the actual cause of the symptoms, or add Cal-Mag into a reservoir that’s already running high EC. Any one of those can push a system past its tolerance for dissolved minerals, and calcium, magnesium, and potassium compete for the same uptake pathways once concentrations climb, an antagonism grower resources sometimes reference through Mulder’s chart and VPD-based diagnosis.
If you’re already seeing lockout symptoms, work through recovery in this order:
To avoid repeating the cycle:
That customer base backs it, too: a 4.8 out of 5 rating across more than 5,800 reviews. Scott, a blog contributor for LedGrowLightsDepot, applies that lighting-first lens to nutrient questions.
Under-canopy cold spots create their own microclimate. A leaf sitting in one of those pockets transpires less than its neighbor two inches away, and no amount of Cal-Mag in the reservoir fixes a transport problem that’s really a lighting problem.
Readers looking to go deeper on spectrum choice can start with LedGrowLightsDepot’s grow light spectrum basics before adjusting their feed schedule.
The evidence points to a simple hierarchy that most Cal-Mag advice skips: fix light and airflow distribution before you touch dosing. Conventional grow forums treat calcium magnesium LED growth problems as a supplement question first, when the research and the grower guidance both suggest transport and VPD deserve the first look. That’s not a minor sequencing preference. Dosing into a system with poor transpiration doesn’t correct the underlying delivery problem, and it raises EC in a reservoir that may already be running hot.

What’s overrated: prophylactic dosing as a default habit, especially in setups where the water and medium don’t clearly call for it. What’s underrated: canopy uniformity. A grow with even light distribution and stable VPD needs less Cal-Mag intervention overall, because the plant’s own transport system is doing more of the work.
If you take one thing from this guide, make it the sequence: diagnose the symptom location, check VPD and airflow, confirm with a small test, then dose. Skipping steps to get to the bottle is how lockouts happen.
— Scott
A lot of the Cal-Mag confusion under LEDs traces back to uneven light reaching the lower canopy, not a shortage in the reservoir. LedGrowLightsDepot’s proximity lighting systems close that gap by putting supplemental light directly into the mid and lower canopy, which keeps transpiration and nutrient transport more consistent from top to bottom instead of concentrated where the main fixture points.
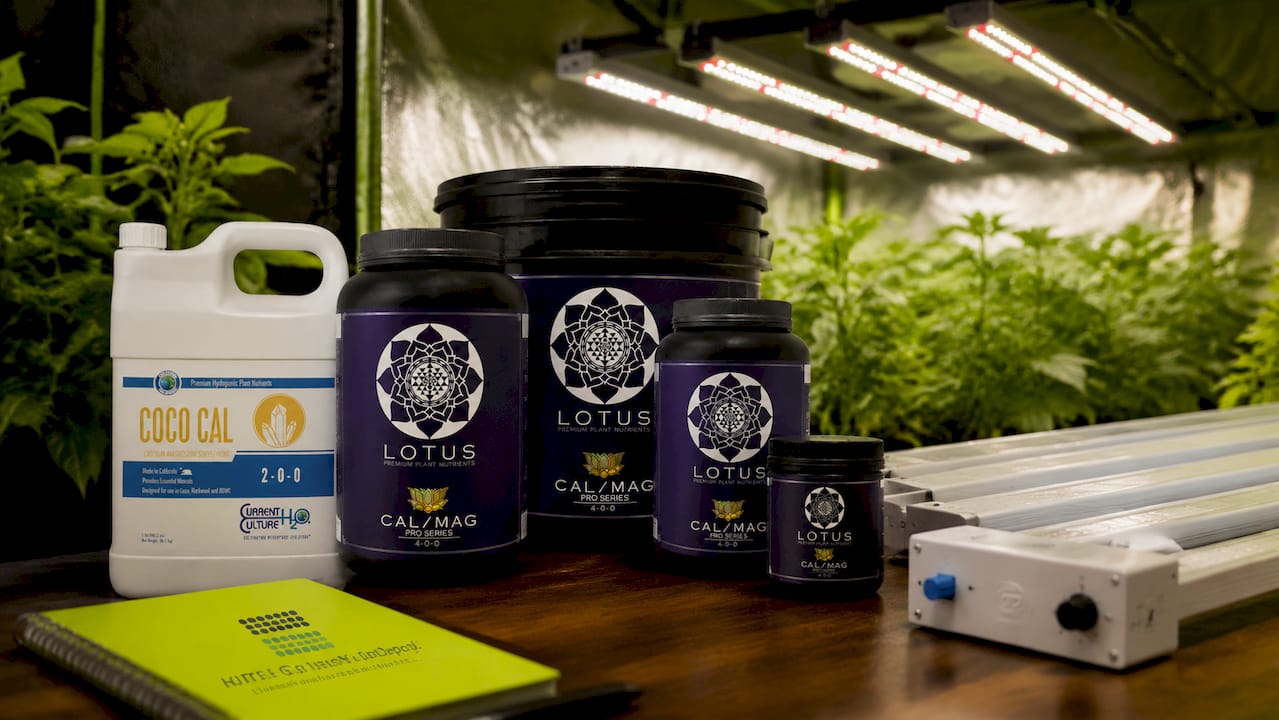
For growers dealing with localized symptoms that dosing hasn’t resolved, the ThinkGrow LED Model-I Grow Light and the Grower’s Choice ROI-E720 both deliver stronger canopy penetration as primary fixtures, while the PROXIMITY Cube Lighting System is built specifically to eliminate the under-canopy cold pockets that mimic nutrient deficiency. Compact spaces and clone rooms are better served by something like the Sunblaster Micro LED Grow Light Garden, while multi-tier or shelf setups often pair well with the Active Grow Integrated Strip T5.
Browse the full catalog and match a fixture to your canopy size at LedGrowLightsDepot before your next feed cycle.
0 of 3 items selected





Leave a comment