
Free Shipping in the USA on nearly all items!
Limited phone hours during the Holidays! Call us: 888-611-9305
Free Shipping in the USA on nearly ALL items! Limited phone hours during the Holidays!

Wall-mounted grow systems turn vertical wall space into productive growing area, pairing LED proximity lighting with environmental controls to deliver more yield per square foot than most floor-based layouts. Sealed recirculating designs commonly use 70–90% less water than container soil gardening, and leaf harvests finish 20–30% faster under steady nutrient and light conditions. Ledgrowlightsdepot’s proprietary proximity systems improve under-canopy light distribution and can push yield gains above typical floor-based systems.
The role of wall-mounted grow systems, in short: convert unused vertical surface into a zoned, LED-lit production column that is easier to manage, water, and harvest than sprawling floor beds.
Urban growers, restaurant herb walls, and small commercial bays are the clearest fits. Avoid wall-mounted rigs for heavy fruiting crops like indeterminate tomatoes unless you plan active support and training from day one.
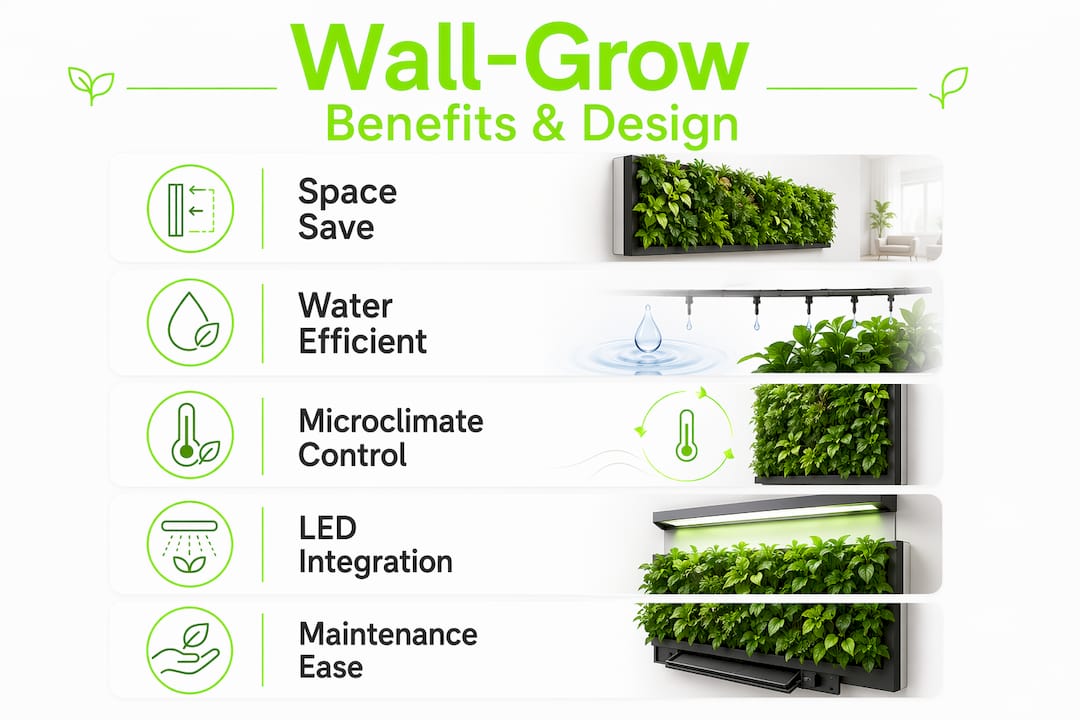
Square-foot productivity is the headline benefit, but the operational advantages run deeper. Stacking growing zones vertically means each tier gets its own light zone, its own airflow pocket, and its own harvest window. That separation is what makes vertical farming techniques genuinely useful for succession planting: pull one tier of basil, replant, and the other tiers keep producing.
Water efficiency is measurable. Recirculating hydroponic wall systems use a fraction of what container soil requires, and because nutrients loop back to the reservoir, you lose far less to evaporation and runoff. Workflow improves too: plants at standing height mean no bending, no kneeling, and cleaner harvests.
Microclimate control is easier to zone on a wall array than on a sprawling floor bed. You can direct a dehumidifier at a single row, add a fan to a stagnant corner, or adjust light intensity tier by tier. Industry professionals note that living walls can improve perceived indoor air quality and reduce ambient noise, though standardized health-outcome data remains limited.
Pro Tip: For low-maintenance locations like restaurant pass-throughs or classrooms, choose a sealed recirculating design over passive wicking. Recirculating systems catch nutrient drift early; wicking systems are quieter but harder to diagnose when a plant underperforms.
Shallow-rooted, fast-cycling crops are the natural fit. Leafy greens, microgreens, culinary herbs, and some strawberry varieties thrive because their root volume is small, their canopy stays compact, and they tolerate the consistent moisture of NFT or pocket systems. NFT rails provide thin nutrient films and excellent oxygenation for lettuces and herbs, but limited root volume and pump-dependency are downsides.
Crops that need training but can work:
Crop choice also drives mechanical design. Climbing crops need trellis integrations built into the frame; shallow-rooted greens favor NFT or shallow-panel solutions. Decide the crop first, then spec the system.
Pro Tip: Run a single test column of cucumbers before committing a full wall to them. The training labor per plant is higher than most growers expect, and fruit slings add cost and access complexity.
Proximity and angle matter more than raw fixture wattage. A 600W panel hung 36 inches above a wall array will light the top tier and leave the bottom tiers starved. Proximity LED bars mounted 6–12 inches from each tier face deliver far more usable PAR per watt to the actual canopy than a single overhead fixture ever can.
Measurement steps before you lock in placement:
Spectrum choices by growth phase:
| Phase | Spectrum priority | Notes |
|---|---|---|
| Seedling / leafy veg | Blue-heavy (high blue ratio) | Compact growth, dense leaf set |
| Herb production | Balanced full spectrum | Flavor compound development |
| Fruiting / flowering | Red-heavy (high red ratio) | Drives bud set and fruit sizing |
| Dense canopy | Add interlighting bars mid-tier | Penetrates lower leaves as canopy closes |
LED bar fixtures outperform panels on vertical rigs because their narrow profile minimizes shadowing between tiers. Panels work for single-tier walls or wide bays where shadow overlap is less of a problem. Reflective wall finishes behind the array recover spilled light and improve uniformity without adding a single watt.
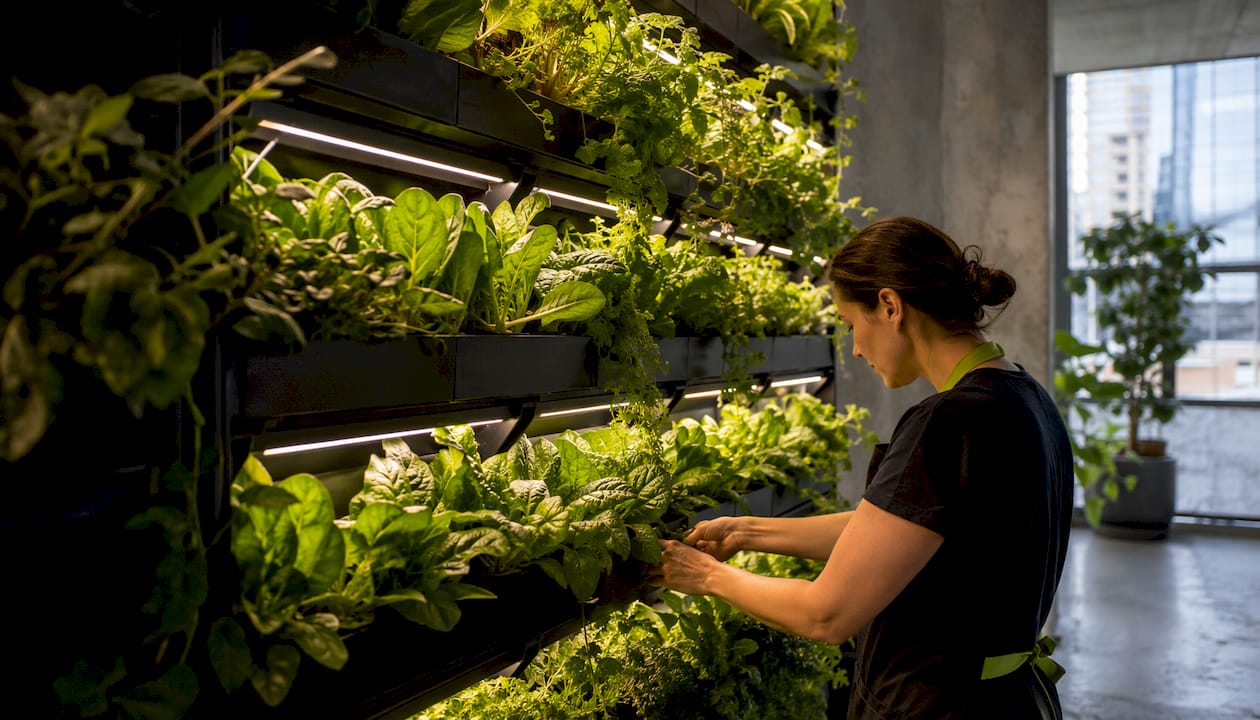
Targeted ventilation beats brute-force exhaust for wall arrays. A single large exhaust fan pulling from the top of the room creates a pressure gradient that leaves stagnant pockets at mid-tier and near the wall surface. Staged airflow, with small inline fans positioned to push air horizontally across each tier, breaks up those pockets without overcooling the canopy.
Fan placement guidelines:
Humidity stratification is a real problem in tall wall arrays. The bottom tier tends to run wetter (drainage drips, cooler air settles), while the top tier dries faster under heat from fixtures. Zone your dehumidification if possible: a small unit near the lower tiers prevents the fungal pressure that builds in stagnant, moist air. Research on indoor plant effects on air quality documents environmental benefits, but quantified human health outcomes from wall arrays specifically remain limited.
Pro Tip: Smoke a stick of incense near the wall surface before finalizing fan placement. Watch where the smoke stalls. Those stagnant zones are exactly where botrytis and powdery mildew will appear first.
Design mounts for maximum wet weight plus a safety factor, and protect every electrical component from moisture before you plug anything in.
Load calculation rule: wet weight = dry module weight + (reservoir capacity in liters × 1 kg/L) + plant and media weight. Apply a 2× safety factor for dynamic loads and handling.
Structural checklist:
Electrical checklist:
Drip containment: install a drip tray or channel at the base of every tier. A single failed fitting can saturate drywall in hours.
Pro Tip: If your total wet weight exceeds 200 lb or you are mounting into a non-standard wall assembly, consult a licensed structural engineer before drilling. The cost of a consultation is trivial compared to a wall failure.
Small recirculating wall volumes experience faster pH and EC drift than large reservoirs. Weekly monitoring is not optional; it is the baseline.
Monitoring sequence:
Sensor placement: put pH/EC sensors in the reservoir return stream, not the supply line. Place temperature and RH sensors at canopy height, away from direct fan airflow that would bias readings.
The TrolMaster Hydro-X environmental control system automates temperature, humidity, and CO₂ responses across the grow space. Pair it with the TrolMaster Aqua-X Pro for scheduled irrigation dosing and the TrolMaster 4-in-1 sensor (MBS-Pro) for multi-parameter canopy monitoring in commercial deployments.
Pro Tip: Set a recurring phone alarm for pump filter checks. It takes two minutes and prevents the single most common wall-system failure: a clogged filter that starves roots and kills a full tier overnight.
Hobby setups typically have longer payback periods. Small commercial operations reach breakeven faster when turnover and labor are optimized.
Cost factors to budget:
| Cost line | Home wall rig (8 sq ft) | Small commercial bay |
|---|---|---|
| LED fixtures | $150 | $800 |
| Mounting hardware | $80 | $300 |
| Controllers and sensors | $200 | $600 |
| Monthly energy | $15 | $80 |
| Monthly nutrients/water | — | $50 |
| Sample monthly herb revenue | $30 | $300 |
Proximity LED placement and scheduled dimming are the two fastest levers for cutting kWh costs. Thermal management matters too: drivers that run hot waste energy and shorten fixture life. Scaling LED systems for commercial bays requires planning dimming schedules and driver placement from the start, not as an afterthought.
Avoid wall-mounted rigs when average fruit weight or root volume exceeds what the wall system’s load capacity or access geometry can handle.
Do-not-use list:
Common implementation mistakes:
Corrective options: add structural blocking between studs before mounting, retrofit per-tier LED bars to replace a single overhead panel, or switch to floor-based rack systems when root volume or plant height consistently exceeds wall-system limits.
Components: 4-tier NFT rail system, LED bar fixtures mounted 6–8 inches per tier, small inline pump, drip tray, basic pH/EC test kit.
Components: modular NFT or pocket panels, proximity LED bars per row, TrolMaster Hydro-X environmental controller, TrolMaster Aqua-X Pro irrigation controller, TrolMaster 4-in-1 sensor (MBS-Pro) at canopy height, central reservoir with return-line pH/EC sensors, PAR meter for commissioning.
For home gardeners building their first wall rig, starting with a single 4-tier NFT column and two proximity bars is enough to validate crop choice and light placement before committing to a full wall.
Wall-mounted grow systems deliver meaningful yield gains only when LED placement, crop selection, and maintenance cadence are matched to the system’s actual load and volume constraints.
| Point | Details |
|---|---|
| Space and crop fit first | Leafy greens, herbs, and microgreens are the strongest candidates; heavy fruiting crops need active training and structural support. |
| Proximity LEDs over overhead panels | Per-tier LED bars at 6–12 inches improve under-canopy PPFD far more than increasing fixture wattage from above. |
| Weekly maintenance is non-negotiable | Small recirculating volumes drift in pH and EC fast; weekly checks and filter cleaning prevent the most common failures. |
| Safety factor on every mount | Calculate wet weight (module + reservoir liters × 1 kg/L + plant weight) and apply a 2× safety factor before drilling. |
| Ledgrowlightsdepot for integrated LED and controls | Proximity LED systems paired with TrolMaster Hydro-X and Aqua-X Pro give growers automated environmental and irrigation control from a single source. |
The gap between a wall-mounted system that works and one that underperforms almost always comes down to a single skipped step: nobody measured under-canopy PPFD before scaling up. Growers assume that if the top tier looks healthy, the lower tiers are fine. They rarely are.
Before committing to a full wall installation, test a single 1 m² panel with staggered planting across three tiers. Measure PPFD at canopy height and 6–12 inches below on each tier. Track harvest weight per square meter and watch for internode stretching on lower tiers, which signals light starvation. Those three KPIs, PAR uniformity, harvest weight per square meter, and plant morphology, tell you everything about whether your fixture placement and spacing will hold at scale. Skipping this pilot is how growers end up retrofitting bars onto a wall they just finished mounting panels on.
Growers who want their wall-mounted system to actually hit yield targets need two things dialed in before anything else: per-tier LED placement and automated environmental response. Ledgrowlightsdepot carries proximity LED systems designed specifically for under-canopy distribution, highly rated by many grower reviews (https://ledgrowlightsdepot.com), alongside the full TrolMaster lineup including the Hydro-X environmental controller and Aqua-X Pro irrigation system. Start with a sensor-first pilot: deploy the TrolMaster 4-in-1 sensor at canopy height, log a week of data, then spec your fixtures around what the numbers actually show. Contact Ledgrowlightsdepot for custom design help or a quote on a complete wall-rig package.
0 of 3 items selected





Leave a comment