
Free Shipping in the USA on nearly all items!
Limited phone hours during the Holidays! Call us: 888-611-9305
Free Shipping in the USA on nearly ALL items! Limited phone hours during the Holidays!

Low-heat LED grow lights are defined as solid-state lighting systems engineered to deliver photosynthetically active radiation while keeping both ambient and surface temperatures low enough to prevent plant stress in confined growing areas. The industry term for this category is “low-thermal-output LED horticulture lighting,” and it has become the standard for small space indoor gardening as urban growers pack more plants into less square footage. Modern energy-efficient LEDs use 50–80% less electricity than traditional HPS or fluorescent systems. That gap matters most when your grow tent, shelf, or closet has nowhere to send excess heat. LED Grow Light Depot carries a full range of these systems, built specifically for growers who need controlled light without the thermal penalty.
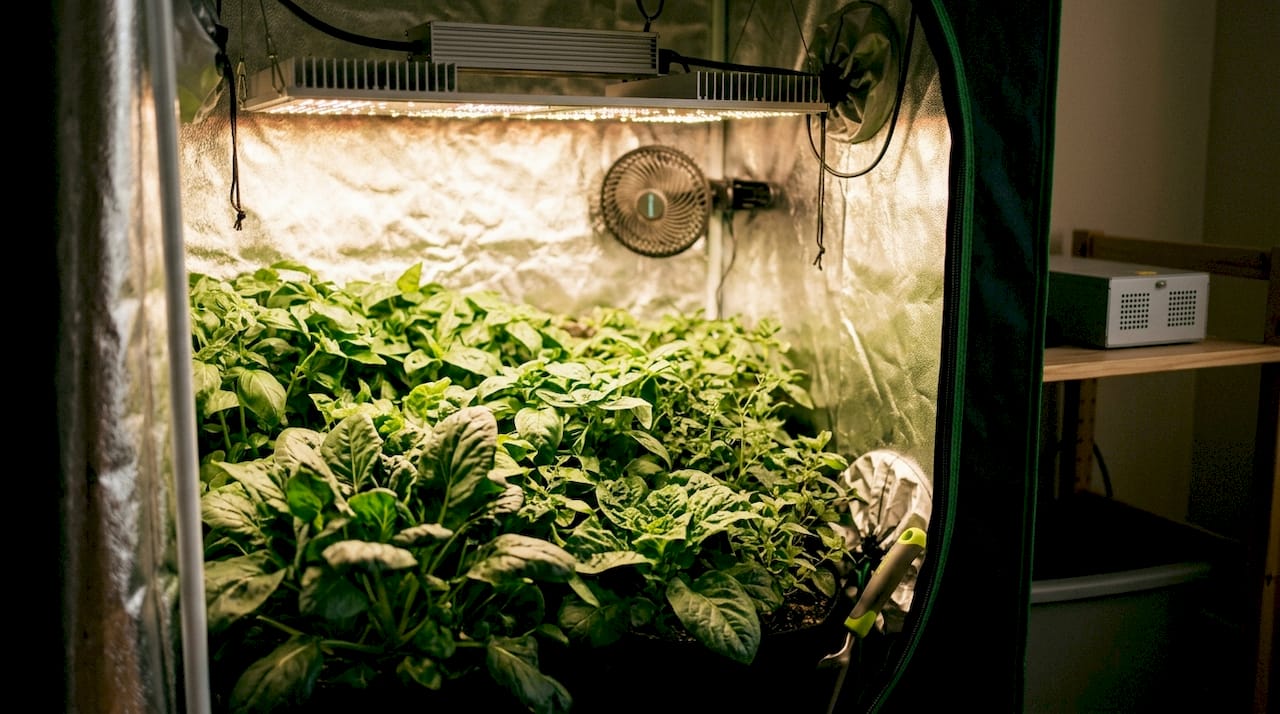
Heat in any LED fixture comes from two sources: the diodes themselves and the driver unit that converts AC power to DC current. Most growers assume LEDs run cool across the board, but that assumption breaks down fast in tight spaces. Localized heat at diode and driver level can create micro-climates under 5 cm of clearance that dehydrate foliage even when the room temperature reads fine.
Modern low-heat designs solve this with three core strategies:
LEDs rely on ambient air for heat dissipation and emit minimal infrared radiation compared to HPS. That physical property is what makes them viable for compact grow lights in spaces where a traditional bulb would cook the canopy within hours.
Pro Tip: Mount your driver outside the grow tent whenever the fixture design allows it. Drivers generate significant heat, and keeping them outside the canopy zone can drop internal tent temperature by several degrees.
Selecting the right fixture for a confined grow comes down to five measurable factors. Getting even one wrong, especially wattage density, creates problems that no amount of ventilation fixes.
The standard recommendation for vegetative growth is 30–50 watts per square foot, and for flowering it runs 50–80 watts. In tight spaces, staying toward the lower end of those ranges and extending your photoperiod produces better results than pushing intensity. Increasing PPFD beyond the saturation threshold of roughly 500 μmol m⁻² s⁻¹ does not significantly increase biomass but does increase heat and energy demand. That is a critical insight for anyone growing microgreens, herbs, or leafy greens on a shelf system.
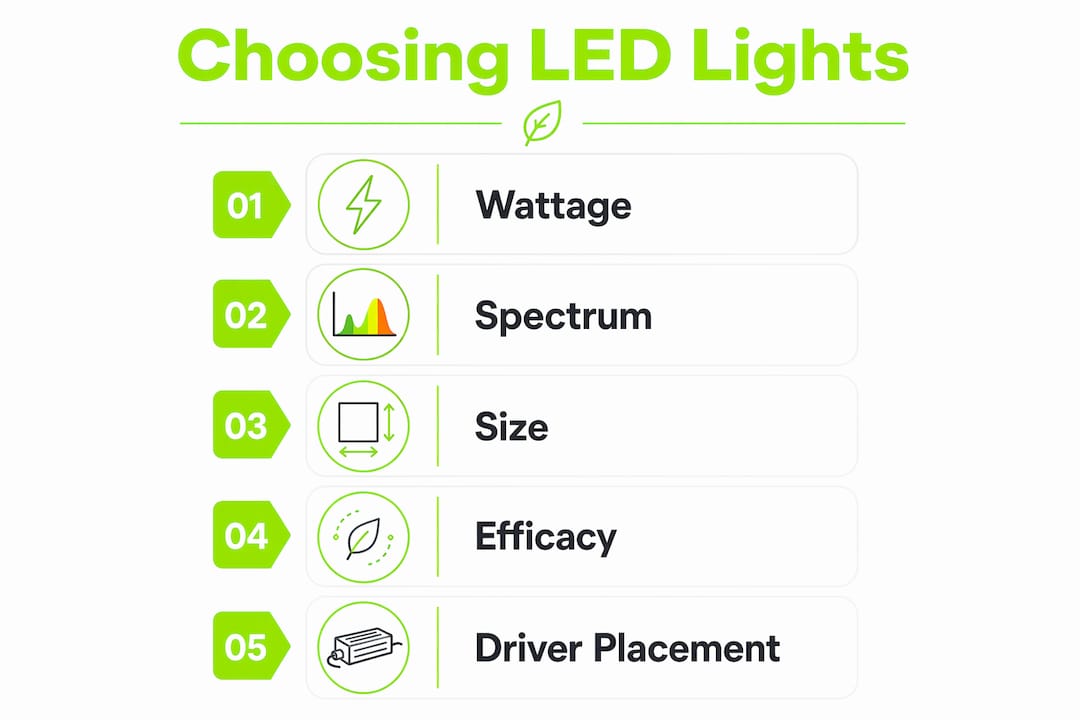
Full-spectrum white LEDs with targeted red and blue peaks cover most crop types. For ultra-slim panels in tight rows, light homogeneity above 92% across the growing surface prevents hot spots and uneven canopy development. Uneven distribution forces you to rotate plants constantly, which defeats the purpose of a fixed compact setup.
The physical footprint of the fixture must leave clearance for airflow above and around the canopy. Ultra-slim panels, clip-on designs, and bar-style arrays all work well in constrained spaces. Compact LED systems improve coverage while minimizing heat generation in exactly these scenarios.
The table below compares key feature categories to evaluate when selecting a fixture for a tight indoor garden:
| Feature category | What to look for | Why it matters in tight spaces |
|---|---|---|
| Energy efficiency | 50–80% less draw than HPS | Reduces heat load and electricity cost |
| Heat emission | Passive heat sink, remote driver | Prevents micro-climate dehydration |
| Portability and size | Ultra-slim or bar-style panel | Fits shelves, tents, and vertical racks |
| Spectrum suitability | Full-spectrum with tunable red/blue | Matches crop stage without excess IR heat |
| Light homogeneity | Above 92% uniformity rating | Eliminates hot spots on dense canopies |
Pro Tip: Check the fixture’s efficacy rating in μmol/J before buying. A rating above 2.5 μmol/J means the light converts electricity to photons efficiently, which directly reduces heat waste.
Placement and mounting determine whether your low-heat system actually stays low-heat in practice. Follow these steps for a clean, effective installation.
Pro Tip: WiFi-enabled light controllers let you schedule intensity ramps that mimic sunrise and sunset. Gradual ramp-ups reduce thermal shock to the canopy and give you remote monitoring without opening the tent repeatedly.
For a deeper look at apartment-scale setups, the urban herb garden lighting guide from LED Grow Lights Depot covers fixture placement for kitchens, balconies, and closet grows in detail.
Even well-designed low-heat systems create problems when the grow space is too tight or the setup ignores airflow. Knowing the symptoms early saves a crop.
“The most common mistake in tight grow spaces is treating LED heat as a non-issue. LEDs are cooler than HPS, but in a sealed 2x2 tent with no airflow, even a 100-watt panel creates enough localized heat to stress plants within 48 hours. The fix is almost always airflow, not a new light.”
LED technology enables continuous production cycles precisely because it reduces heat emission significantly. But “reduced” does not mean “eliminated.” Growers who treat it as eliminated are the ones who lose crops to preventable stress.
Switching from HPS to an energy-efficient LED system also cuts cooling costs substantially. Most growers save 40–60% on lighting costs after switching to LED, with additional savings from reduced air conditioning load. In a tight space, that cost reduction is immediate and measurable.
Low-heat LED grow lights succeed in tight spaces because they combine efficient photon delivery with passive thermal management, not because they generate zero heat.
| Point | Details |
|---|---|
| Heat sources are specific | Diodes and drivers generate localized heat; remote drivers and passive heat sinks solve this directly. |
| PPFD saturation limits gains | Pushing light intensity above 500 μmol m⁻² s⁻¹ adds heat without adding biomass; extend photoperiod instead. |
| Airflow is non-negotiable | A small circulation fan prevents the micro-climates that dehydrate foliage even under low-heat fixtures. |
| Fixture selection drives results | Prioritize efficacy above 2.5 μmol/J, light homogeneity above 92%, and a form factor that fits your clearance. |
| Energy savings are real | Switching to LED cuts lighting costs by 40–60% and reduces cooling load in compact indoor gardens. |
The conventional wisdom says “just get an LED and your heat problems disappear.” That advice has burned more crops than bad nutrients ever did. What I’ve actually found is that heat management in a small grow is a systems problem, not a product problem.
The fixture matters, but the driver placement, the fan position, and the photoperiod schedule matter just as much. I’ve seen growers drop $400 on a premium low-heat panel and then mount the driver inside a 2x2 tent with no circulation fan. The plants cooked within a week. The light was fine. The setup was not.
The approach that consistently works is moderate intensity plus an extended photoperiod. Running a fixture at 60–70% power for 18 hours produces better vegetative growth in a tight space than running it at full power for 12 hours. You get less heat, lower electricity draw, and plants that never hit the stress threshold. Advanced LED panels can reduce crop cycle times by up to 18% and increase yields by up to 40% when used correctly. The “correctly” part is the piece most growers skip.
Modular bar-style fixtures are also worth the investment for anyone serious about vertical growing. They distribute light more evenly across multiple canopy levels than a single panel, and they leave more airspace between the fixture and the plants. Pair them with a WiFi controller and you have a system you can monitor from your phone without disturbing the grow environment.
— Scott
Ledgrowlightsdepot carries a curated selection of low-heat, energy-efficient LED grow lights built for exactly the kind of compact indoor gardens this article covers. Every fixture in the lineup is chosen for thermal performance, light homogeneity, and real-world usability in small grow tents, shelves, and vertical racks.
The PhotonTek X 465W PRO delivers high-efficiency output with a passive thermal design that keeps canopy temperatures stable in tight setups. For growers who need a step up in coverage, the Grower’s Choice ROI-E420 offers a compact footprint with low heat output and a full-spectrum array suited to both vegetative and flowering stages. LED Grow Light Depot’s 4.8 out of 5 rating from more than 5,800 reviews reflects what growers find when they match the right fixture to their space.
A low-heat LED grow light uses passive heat sinks, remote drivers, and spectrally tuned diodes to minimize thermal output at the canopy level. These designs dissipate heat away from the plant zone rather than radiating it downward.
Start at 30–45 cm above the canopy for moderate-intensity fixtures and adjust based on leaf temperature readings. Leaves should stay below 28°C (82°F) during the light cycle.
Yes. Even low-heat LEDs generate localized heat at the diode and driver level. In spaces with under 5 cm of clearance or no airflow, micro-climates form that dehydrate foliage regardless of ambient room temperature.
An extended photoperiod at moderate intensity outperforms high-intensity short cycles in confined spaces. For vegetative growth, 18 hours on at 60–70% fixture power reduces heat load while maintaining strong biomass production.
Most growers save 40–60% on lighting costs after switching from HPS to LED, with additional reductions in cooling expenses. In a standard 4x4 grow space, that typically translates to $100–$150 in annual savings.
0 of 3 items selected





Leave a comment