Free Shipping in the USA on nearly all items!
Limited phone hours during the Holidays! Call us: 888-611-9305
Free Shipping in the USA on nearly ALL items! Limited phone hours during the Holidays!

A grow cabinet setup is a fully enclosed indoor growing system that controls light, temperature, humidity, and airflow inside a single unit to maximize plant health. Unlike open shelves or grow rooms, a cabinet creates a sealed microenvironment where every variable is yours to manage. The core components are full-spectrum LED grow lights, an active ventilation system, reflective interior lining, and environmental monitors. Popular starting points include repurposed IKEA Milsbo cabinets, purpose-built grow boxes, and custom DIY builds. Get these fundamentals right, and you can grow herbs, vegetables, or flowering plants year-round regardless of season or climate.
A grow cabinet, also called a grow box or indoor garden cabinet, is a self-contained growing environment built inside a closet, cabinet, or box. The enclosed design is what separates it from a grow tent or open shelf. Every surface works for you instead of against you. Enclosed grow cabinets achieve 90–95% light efficiency compared to just 40–60% in open systems. That gap means your plants receive nearly twice the usable light from the same wattage.
The benefits extend well beyond lighting. Grow cabinets maintain temperature consistency within ±3°F, which open setups simply cannot match. That stability matters because temperature swings stress plants and slow development. Pest control is also far easier inside a sealed cabinet. Insects and mold spores cannot drift in freely the way they do in open-air setups.
The compactness is a real advantage for home growers. You do not need a dedicated grow room to get professional results. A well-built cabinet in a small apartment can outperform a poorly managed grow room three times its size.
The best grow cabinet features work together as a system. No single component carries the whole setup. Lighting, airflow, reflectivity, and monitoring must all be dialed in before you add a single plant.
Lighting is the most critical variable. Adjustable, full-spectrum LED grow lights prevent legginess and poor leaf development better than fixed or low-quality bulbs. Full-spectrum coverage mimics natural sunlight across all growth stages, from seedling to harvest. Ledgrowlightsdepot offers a range of compact LED grow lights specifically sized for enclosed cabinet environments.
Ventilation is the second pillar. The standard CFM formula for grow cabinets is Length × Width × Height × 1.5. A 2-foot by 4-foot by 5-foot cabinet requires roughly 60 CFM of airflow to maintain safe ambient temperatures. Under-ventilating is the most common mistake beginners make, and it leads directly to heat stress and mold.
Reflective lining multiplies the value of your lights. Mylar film delivers 90–95% reflectivity, making it the top choice for interior walls. Flat white paint reaches 85–90% and costs less. Panda film sits at around 90% and handles moisture well, which makes it a solid pick for humid environments.
Additional must-have components include:
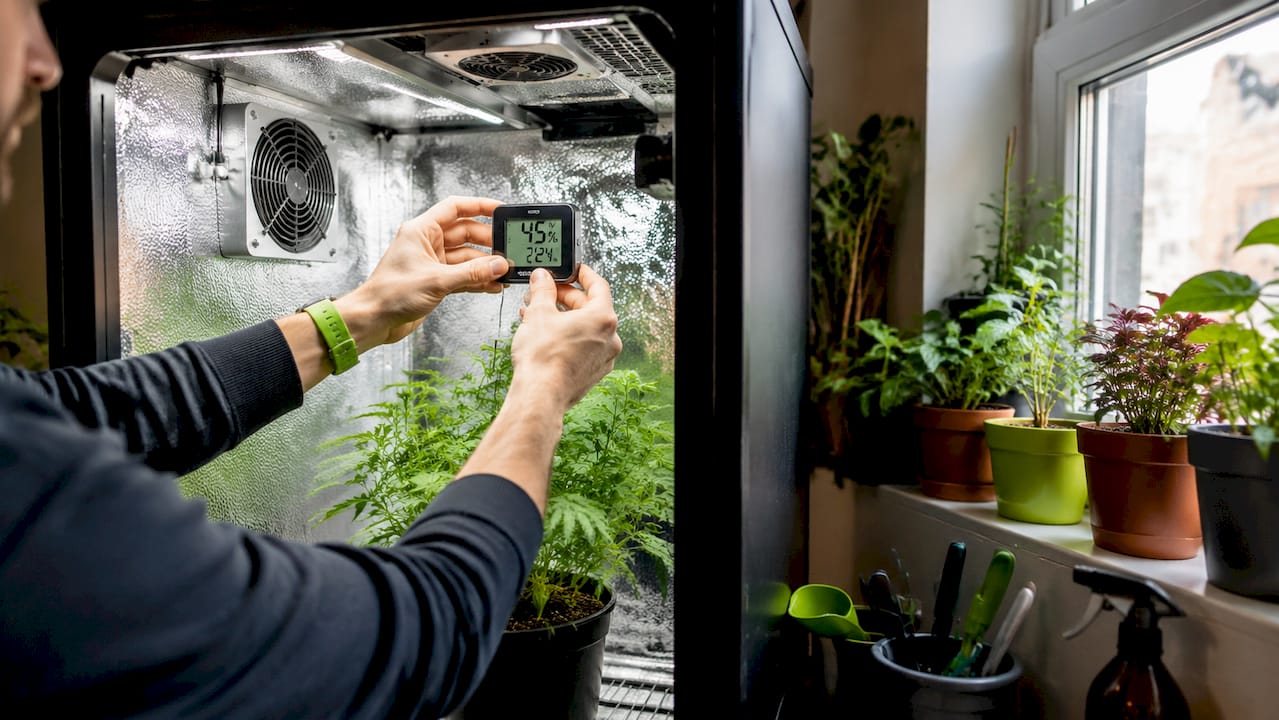
Pro Tip: Buy a hygrometer with a min/max memory function. Knowing the overnight low and afternoon high tells you far more than a single snapshot reading.
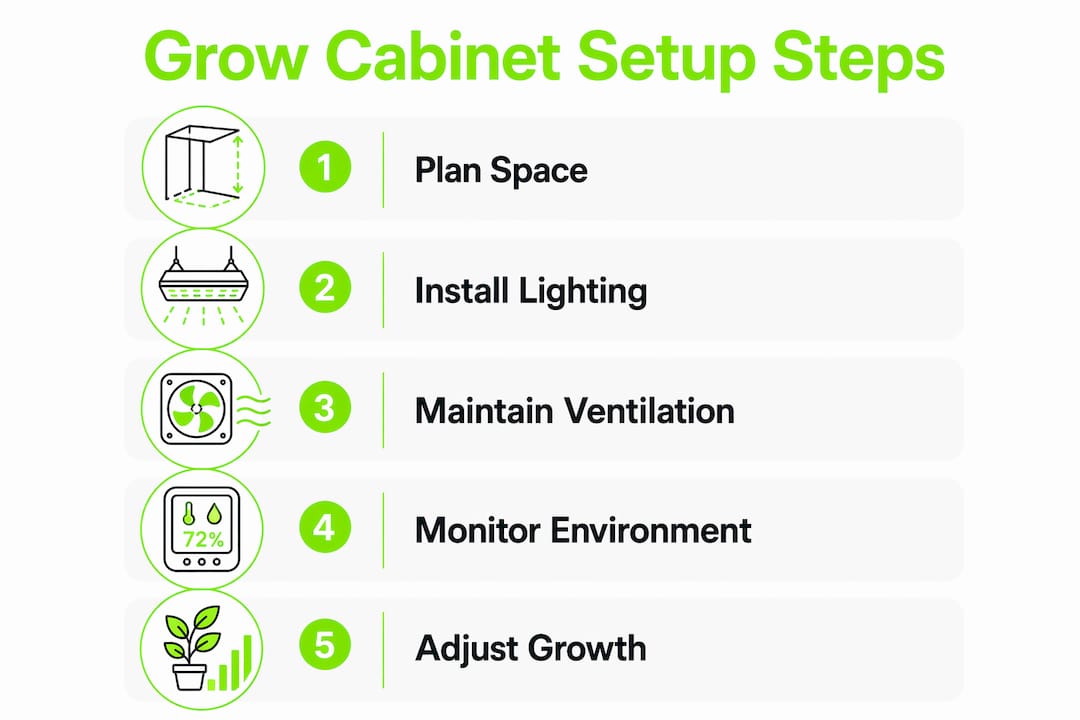
Setting up a grow cabinet correctly the first time saves you weeks of troubleshooting. Follow this sequence and you will have a stable environment before a single plant goes in.
Choose your cabinet and location. Pick a spot with access to an electrical outlet and good ambient airflow. A 2-foot by 2-foot cabinet suits herbs and small plants. A 2-foot by 4-foot unit handles most vegetables and flowering plants. Avoid locations with extreme temperature swings like uninsulated garages in winter.
Install reflective lining. Cut Mylar or Panda film to fit all interior walls, the ceiling, and the floor. Use spray adhesive or double-sided tape. Smooth out air bubbles so the surface reflects evenly. Wrinkled Mylar creates hot spots that can burn leaves.
Mount your LED grow lights. Position lights at the manufacturer’s recommended hanging height, typically 12–24 inches above the canopy depending on wattage. Use adjustable rope hangers so you can raise the light as plants grow. Check the full-spectrum lighting benefits guide from Ledgrowlightsdepot if you are choosing a light for the first time.
Install your ventilation system. Mount an inline fan at the top of the cabinet where heat collects. Cut a matching intake hole near the bottom for passive or active fresh air intake. Run the CFM calculation for your specific cabinet dimensions before purchasing the fan.
Set up shelving. Use adjustable wire shelves or a pegboard system with rails. Modular cabinetry features like pegboards and adjustable rails let you reconfigure lights and fans as plants mature. Build in at least two height positions from the start.
Add environmental controls. Place your hygrometer at canopy height, not at the cabinet floor. Add a small USB humidifier or a pebble tray with water if your ambient humidity runs below 40%.
Route cables safely. Route all cables through a sealed 2-inch grommet and group them outside the cabinet. Moisture inside a grow cabinet degrades unprotected wiring faster than you expect.
Run a dry run for 24–48 hours. A dry run before adding plants verifies temperature, humidity, and airflow stability. Adjust fan speed, seal any light leaks with weather stripping, and confirm your timer cycles are working correctly.
Pro Tip: During the dry run, place a piece of white paper at canopy height and check for uneven light distribution. Adjust the light position or add reflective panels to fill in dark corners.
The choice between a DIY grow cabinet and a commercial unit comes down to budget, time, and how much you enjoy building things. Neither option is universally better.
| Factor | Ready-Made Cabinet | DIY Cabinet |
|---|---|---|
| Upfront cost | Higher ($200–$800+) | Lower ($80–$300 in materials) |
| Setup time | 1–2 hours | 8–20+ hours |
| Customization | Limited to manufacturer specs | Fully custom to your space |
| Ventilation quality | Pre-engineered and tested | Requires accurate CFM calculation |
| Learning curve | Low | Moderate to high |
| Scalability | Fixed dimensions | Expandable as needed |
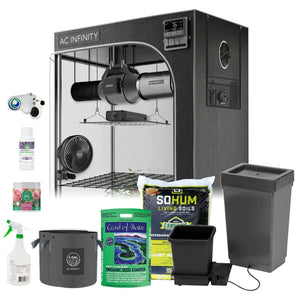
Ready-made options like professional grow boxes and converted IKEA Milsbo cabinets are popular because they eliminate guesswork. The Milsbo in particular has a strong DIY community behind it, with documented builds that include pre-drilled ventilation holes and modular shelf systems. The trade-off is that you work within fixed dimensions.
DIY builds let you match the cabinet exactly to your space and plant types. The common pitfalls are heat management and ventilation sizing. Heat traps form in enclosed grow cabinets even with LED lights, so exhaust fan sizing based on volume is non-negotiable. Many first-time DIY builders also underestimate how much cable management matters in a humid environment.
For beginners, a ready-made cabinet or a well-documented Milsbo conversion is the lower-risk starting point. Experienced builders who want a specific footprint or multi-tier setup will get more value from a custom build.
Consistent results come from consistent habits. The plants do not care how much money you spent on equipment. They respond to stable conditions and attentive management.
Light schedules matter more than light intensity. Timers that enforce strict 12–16 hour daily light cycles create the photoperiod rhythm plants need. Irregular schedules confuse flowering plants and slow vegetative growth. Set your timer once and do not override it manually. A proper grow light schedule is one of the highest-leverage habits you can build.
Adjust your setup as plants grow. Modular setups improve plant health outcomes over time because you can raise lights, reposition fans, and add shelves without rebuilding from scratch. Check plant height weekly during the vegetative stage and raise your light accordingly.
Monitor humidity at canopy level, not at the floor. Humidity stratifies inside a cabinet. The canopy zone is where mold and pests actually develop. Overwatering leads to root rot, while under-watering causes wilting, so tracking the actual growing zone gives you the data you need to water correctly.
Run a maintenance check every two weeks. Wipe down interior walls to remove dust and mineral deposits. Inspect fan blades for buildup that reduces airflow. Check grommet seals for moisture intrusion. Small maintenance tasks prevent the large problems that kill a grow.
Pro Tip: Keep a simple grow journal. Note the date, temperature, humidity, and any changes you make. When something goes wrong, the journal tells you exactly what changed and when.
A grow cabinet setup succeeds when lighting, ventilation, reflectivity, and environmental monitoring work together inside a sealed, controlled space.
| Point | Details |
|---|---|
| Light efficiency is the core advantage | Enclosed cabinets achieve 90–95% light efficiency versus 40–60% in open systems. |
| CFM calculation is non-negotiable | Use Length × Width × Height × 1.5 to size your exhaust fan before purchasing. |
| Dry run before planting | Run the cabinet for 24–48 hours without plants to catch ventilation and sealing issues. |
| Modular shelving pays off long-term | Adjustable rails and pegboards let you reconfigure the setup as plants grow taller. |
| Cable management prevents hazards | Route all wiring through sealed grommets and keep cables grouped outside the cabinet. |
The first cabinet I built was a converted wardrobe. I thought the hard part was the lighting. It was not. The hard part was airflow. I sized the fan based on gut feeling instead of the CFM formula, and the cabinet ran 10°F hotter than it should have. The plants survived, but they were stressed for the first two weeks until I swapped in a properly sized inline fan.
The second lesson was about modularity. I fixed my first shelf positions before I knew how tall my plants would grow. By week four, I was improvising with zip ties and scrap wood to raise the light. A simple pegboard system on the back wall would have solved that in ten minutes.
What I tell every grower who asks me about starting out: spend less on the cabinet itself and more on a quality adjustable LED light and a reliable timer. Those two components determine 80% of your results. Everything else is refinement. The process of dialing in a grow cabinet is genuinely satisfying once you stop fighting the fundamentals and start working with them.
— Scott
The right light transforms a functional cabinet into a high-performing grow system. Ledgrowlightsdepot carries full-spectrum LED options sized specifically for enclosed cabinet environments, from compact fixtures for small herb cabinets to higher-output units for multi-tier vegetable setups.

The NextLight 150h LED Grow Light is a strong fit for most home grow cabinets, with adjustable output and a full-spectrum design that supports every growth stage. For growers who want environmental control alongside lighting, the TrolMaster Hydro-X system integrates temperature, humidity, and lighting management into one controller. Ledgrowlightsdepot holds a 4.8 out of 5 rating from more than 5,800 reviews, and their team can help you match the right light to your specific cabinet dimensions.
Herbs like basil and mint, leafy greens like lettuce and spinach, and compact flowering plants like dwarf tomatoes and peppers all perform well in grow cabinets. Choose varieties labeled “compact” or “dwarf” to stay within typical cabinet height limits.
A grow cabinet is a rigid, enclosed structure that offers better light sealing, pest control, and structural stability than a fabric grow tent. Grow tents are more portable and lower in cost, but they allow more light leakage and are harder to keep pest-free.
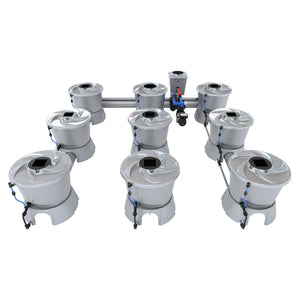
Yes. A hydroponic grow cabinet setup replaces soil containers with a reservoir and growing medium like rockwool or clay pebbles. The enclosed environment actually benefits hydroponics by keeping humidity and temperature stable, which is critical for nutrient uptake.
Wipe down interior walls and fan blades every two weeks to prevent mold and dust buildup. Do a full deep clean between grow cycles, including sanitizing the interior surfaces with a diluted hydrogen peroxide solution.
Match light wattage to your cabinet’s footprint. A 2-foot by 2-foot cabinet typically needs 100–200 watts of actual LED draw. A 2-foot by 4-foot cabinet performs well with 200–400 watts. Always check the manufacturer’s recommended coverage area before buying.
{"one"=>"Select 2 or 3 items to compare", "other"=>"{{ count }} of 3 items selected"}


Leave a comment